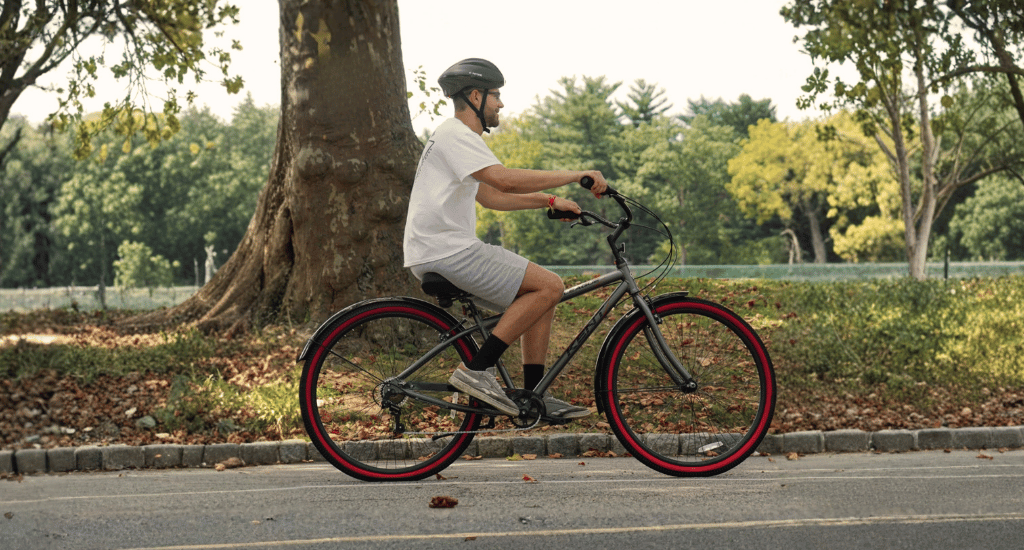
A small change at the front of your bike can change how your whole body feels on the trail. This is why how to adjust handlebars on a mountain bike matters more than many riders think.
Poor handlebar setup can cause back pain and sore wrists. Brakes may feel far. The bike may shake on rough paths. These problems hurt comfort, control, and safety during rides.
Handlebars move in three simple ways: height, angle, and control position. This guide shows how to adjust all three with basic tools. Read on to set your bike right and ride with ease.
How to Adjust Handlebars on a Mountain Bike (Step-by-Step)
Handlebar setup controls how your bike feels on every ride. A correct setup helps your arms relax and keeps steering steady. This section explains how to adjust handlebars on a mountain bike with clear steps, basic tools, and safe workshop methods that beginners can follow.
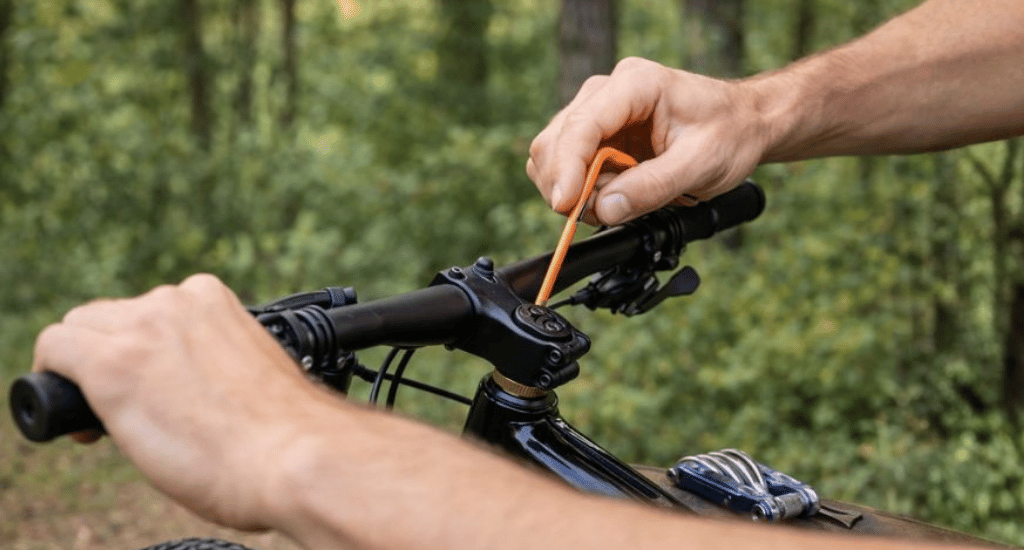
Tools You Need
Before you start, gather the right tools so the job stays safe and smooth. These tools fit most mountain bikes and help protect bolts from damage. No special bike stand is needed, and the work can be done at home.
Allen Keys and Torque Wrench
Use Allen keys in 4mm, 5mm, and 6mm sizes. These fit the stem and control bolts. A torque wrench helps apply the correct force. This tool protects bolts and parts from cracks or stripped threads.
Adjusting Handlebar Height Using Stem Spacers
Handlebar height has a big effect on comfort and control. Stem spacers are small rings on the fork tube. Moving these spacers changes how high or low the bars sit on the bike.
Loosen the Stem
First, loosen the two side bolts on the stem. These bolts hold the stem tight on the fork tube. Next, loosen the top bolt on the stem cap. This bolt controls headset pressure.
Remove the Stem
After loosening bolts, slide the stem upward and off the fork tube. Hold the front wheel steady so parts do not fall. Keep spacers in order so you know where they were before.
Move the Spacers
To raise handlebars, place spacers below the stem. To lower handlebars, move spacers above the stem. Leave a small gap, about 2 to 3 mm, above the stem for proper top cap pressure.
Reinstall and Align
Put the stem back on the fork tube. Lightly tighten the top cap bolt until play disappears. Line the stem with the front wheel. Tighten side bolts in an X pattern. Follow the torque value written on the stem.
Adjusting Handlebar Angle (Bar Roll)
Bar angle affects wrist comfort and steering feel. A small rotation can reduce wrist pain and improve control. This step focuses on the bar roll inside the stem clamp.
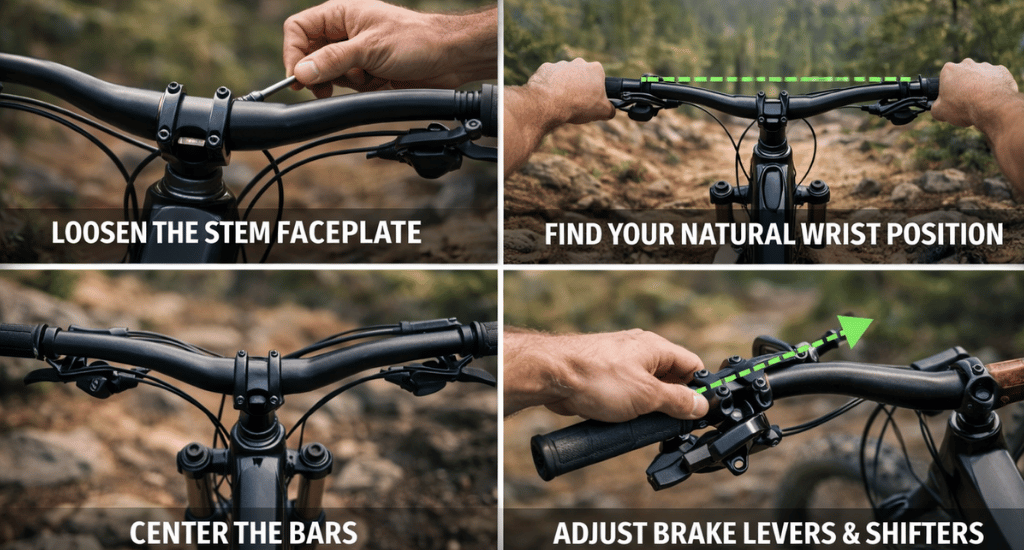
Loosen the Stem Faceplate
Loosen the front plate bolts a little. Do not remove them. The bars should turn with light force. This allows safe angle change without stress on bolts or bars.
Find Your Natural Wrist Position
Stand over the bike or sit in a ride stance. Rotate the bars until arms, wrists, and hands form one straight line. Hands should feel relaxed. Wrists must not bend up or down.
Center the Bars
Check the markings near the stem clamp. These lines help center the bars. Make both sides equal. This keeps the steering balanced and stops the bike from pulling to one side.
Adjusting Brake Levers & Shifters
Controls must match hand position. Poor placement can slow braking and shifting. This section helps place levers and shifters so hands stay relaxed, and the reach feels natural.
Loosen Control Clamps
Loosen the clamp bolts for brake levers and shifters. Do not remove the bolts. The controls should slide and rotate with gentle pressure on the bars.
Position the Brake Levers
Set brake levers so one finger reaches the blade with ease. The lever angle should follow the line of your forearm. This helps strong braking without wrist strain.
Position the Shifters
Place shifters just inside the brake levers. Thumbs should reach the shift paddles without stretching. Hands must stay on the grips during gear changes.
Tighten Carefully
Tighten all clamp bolts step by step. Use firm pressure but avoid force. A torque wrench works best here. Correct tightness keeps controls secure and prevents bar damage.
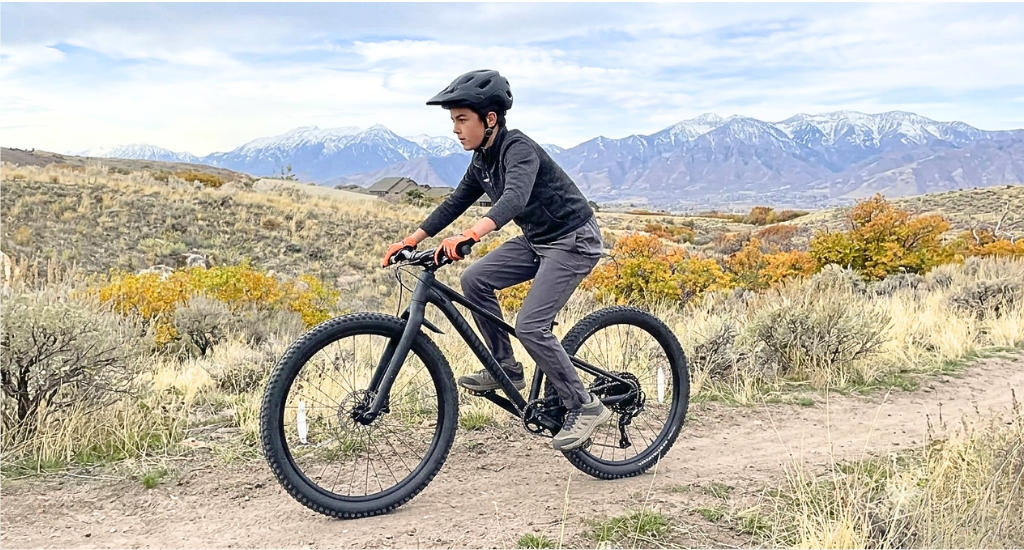
What Is the Correct Handlebar Height on a Mountain Bike?
Correct handlebar height keeps your body balanced on the bike. It affects comfort, control, and safety. The right height depends on riding style, body posture, and bike fit, not guesswork or trends.
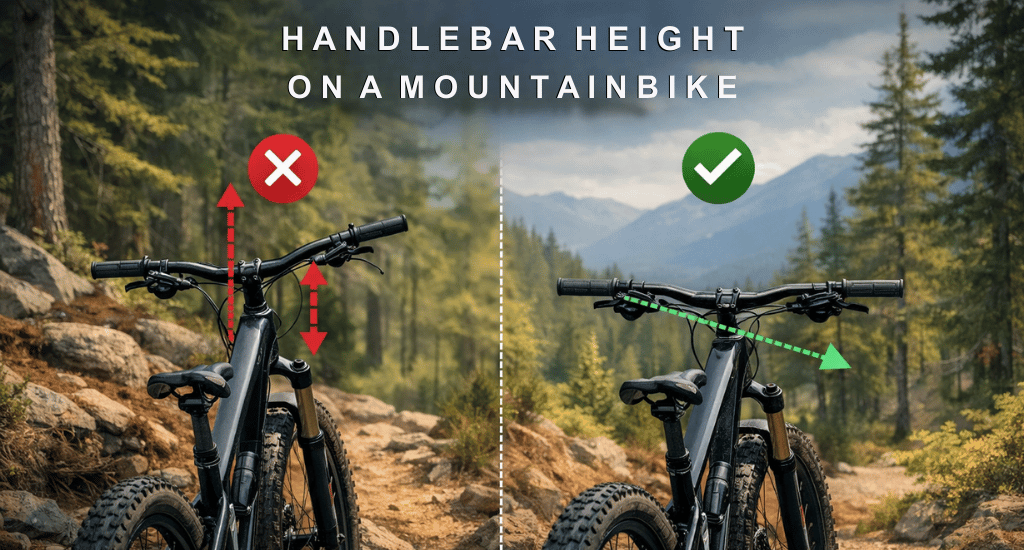
For sporty MTB and trail riding
Handlebars usually sit slightly lower than the saddle. A common range is 2 to 5 cm lower. This position helps weight the front wheel. It improves corner grip and control on climbs and rough trails.
For comfort and upright riding
Handlebars can sit level with the saddle or up to 3 cm higher. This setup reduces pressure on the lower back and wrists. It suits relaxed rides, long paths, and riders who prefer an easy body posture.
If bars need too much height increase
Raising bars more than 5 cm often points to another issue. A riser handlebar or higher-rise stem may help. In some cases, the bike frame size does not match the rider’s height.
Safety Rules You Must Follow When Adjusting MTB Handlebars
Handlebar work looks simple, yet small mistakes can cause serious crashes. These safety rules protect your bike parts and your body. Follow each rule every time you adjust mountain bike handlebars.
- Stem Height Limit
Never raise the stem above the minimum insertion line marked on the steerer tube. - Steerer Tube Gap
Always keep 2 to 3 mm of steerer tube below the top of the stem. - Torque Wrench Use
Use a torque wrench to stop stripped bolts and cracked carbon bike parts. - Front Wheel Alignment
Align the stem straight with the front wheel before final bolt tightening. - Bolt Tightening Pattern
Tighten stem bolts in a cross or X pattern for even pressure and safety.
Common Handlebar Adjustment Problems & Fixes
Handlebar setup can cause small problems that feel worse on long rides. Pain, hard braking, and slow shifting usually have simple fixes. Knowing the cause helps you adjust bars, levers, and shifters correctly for comfort and control.
|
Problem |
Likely Cause |
Fix |
|
Back pain |
Bars too low |
Add spacers under the stem or use a higher-rise stem to lift bars slightly. |
|
Wrist pain |
Bars rolled incorrectly |
Rotate handlebars until wrists form a straight, relaxed line with forearms. |
|
Hard braking |
Brake levers are too high or too low |
Adjust lever angle to match forearm line for easy, strong braking. |
|
Can’t shift easily |
Shifters are placed too far |
Slide shifters inward so thumbs reach without stretching or lifting hands. |
Conclusion
Adjusting mountain bike handlebars improves every ride. Height changes with spacers and stem, angle adjusts bar roll, and controls like brakes and shifters can be positioned for comfort. Each tweak makes steering easier and reduces pain.
Always test ride after adjustments and fine-tune small details. Follow safety limits on stem height and bolt torque. A correct setup gives better control, more comfort, and a smoother, safer ride every time.