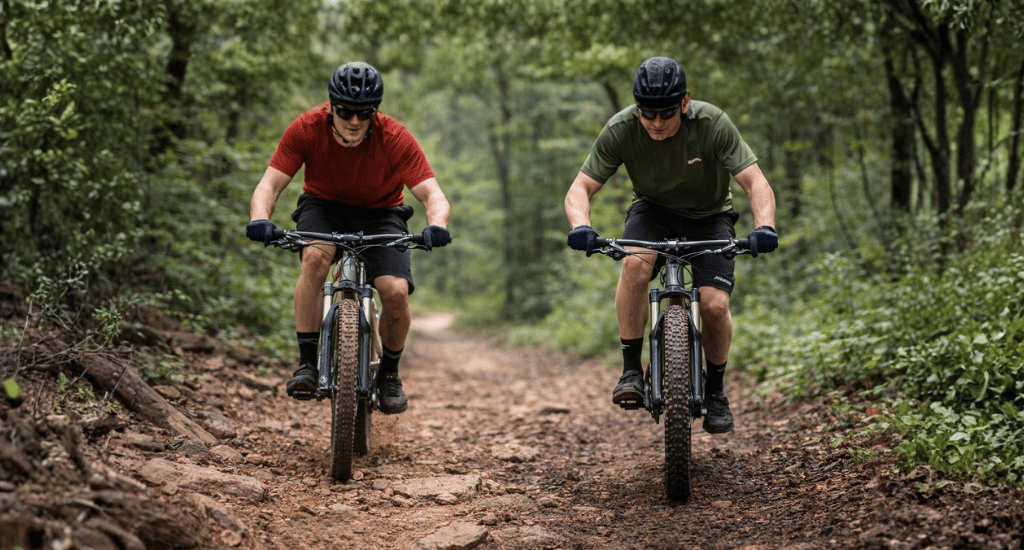
Many riders try a mountain bike to convert to gravel bike because their MTB feels slow on roads and hard-packed trails. Thick tires and suspension reduce speed on smoother surfaces. This leads to a common question: Can a mountain bike really turn into a proper gravel bike?
Yes, it is possible with a few smart upgrades and careful setup choices. You can swap tires, change handlebars, adjust gears, and even replace the fork for better performance. This process improves speed, comfort, and control on mixed terrain without the high cost of a new bike.
Want to learn the full process of mountain bike to a gravel bike? Read this guide and understand each part clearly.
Essential Tools to Convert to Gravel Bike
Before you start a mountain bike to gravel conversion, you need a few basic tools. These tools help you remove parts, install upgrades, and keep everything safe and properly tightened.
- Bike stand: Holds your bike steady at a good height, so you can work easily without strain.
- Allen keys (hex set): Used to loosen and tighten bolts on stems, brakes, seat posts, and many other parts.
- Screwdriver: Helps adjust small screws on derailleurs and remove simple components during the conversion process.
- Cassette removal tool: Required to remove the rear cassette when you plan to upgrade gearing for gravel riding.
- Chain breaker: Allows you to cut and resize the chain properly after changing gears or drivetrain parts.
- Torque wrench: Ensures bolts are tightened to the correct level, which prevents damage and keeps parts secure.
- Cleaning supplies (hot soapy water): Cleans dirt and grease from the frame and parts before you install new components.
Step-by-Step MTB to Gravel Bike Conversion (10 Core Steps)
A proper process to convert a mountain bike to a gravel bike follows clear steps for safe and smooth results. Each step improves comfort, speed, and control. Take your time and check each part before moving forward.
1. Strip the Bike for a Fresh Build
Start by removing key parts like tires, wheels, handlebars, and the cassette carefully. This step gives you a clean base and helps you check each part for wear or damage.
After removal, wash the frame with hot soapy water and remove all dirt and grease. A clean frame makes inspection easier and ensures new parts fit properly without hidden issues.
2. Upgrade Wheels (Optional but Recommended)
You can switch to 700c or 29-inch wheels, or choose 650 B wheels based on your frame space. This change improves rolling speed and makes the bike feel smoother on gravel roads.
Check frame clearance before you upgrade wheels, since not all frames support larger sizes. The main goal is faster movement while still keeping enough strength for rough terrain use.
3. Swap to Gravel Tires
Install gravel tires with a width between 35mm and 45mm for better balance. These tires reduce resistance and help your bike move faster on gravel and hard-packed surfaces.
Use semi-slick tread for grip without slowing down your ride on smoother paths. If possible, switch to a tubeless setup to reduce punctures and improve overall riding comfort.
4. Change Cassette (Optional)
A wide-range cassette, such as 11-46T, helps you ride more easily on loose gravel roads. It gives better gear options, especially when you ride uphill or on uneven terrain.
This upgrade is not always required, but it improves comfort during long rides. Choose a cassette that matches your riding style and works well with your current drivetrain system.
5. Adjust Chainring Setup
A 1x drivetrain setup with a 40T chainring is a popular choice for gravel riding. It keeps the system simple, reduces weight, and removes the need for a front derailleur.
You can also keep a 2x setup if your frame supports it and you prefer more gear options. Both setups work well, but the choice depends on your riding needs and terrain.
6. Install Derailleurs and Chain
First of all, if the derailleurs are broken, fix the derailleurs on your Mountain bike. Then, use a clutched rear derailleur to keep the chain stable on rough gravel surfaces. This helps prevent chain movement and reduces noise during rides on uneven terrain.
After installation, adjust and resize the chain so it fits your new gear setup correctly. Proper chain length ensures smooth shifting and prevents damage to drivetrain parts.
7. Fit the Right Pedals
Choose SPD two-bolt clipless pedals because they offer better control and easy foot placement. These pedals also allow comfortable walking when you step off the bike.
Avoid road-style three-bolt pedals since they are harder to walk in and less suitable for gravel paths. If it doesn’t fit well. Fix the loose pedal of your bike. The right pedal choice improves both comfort and riding efficiency.
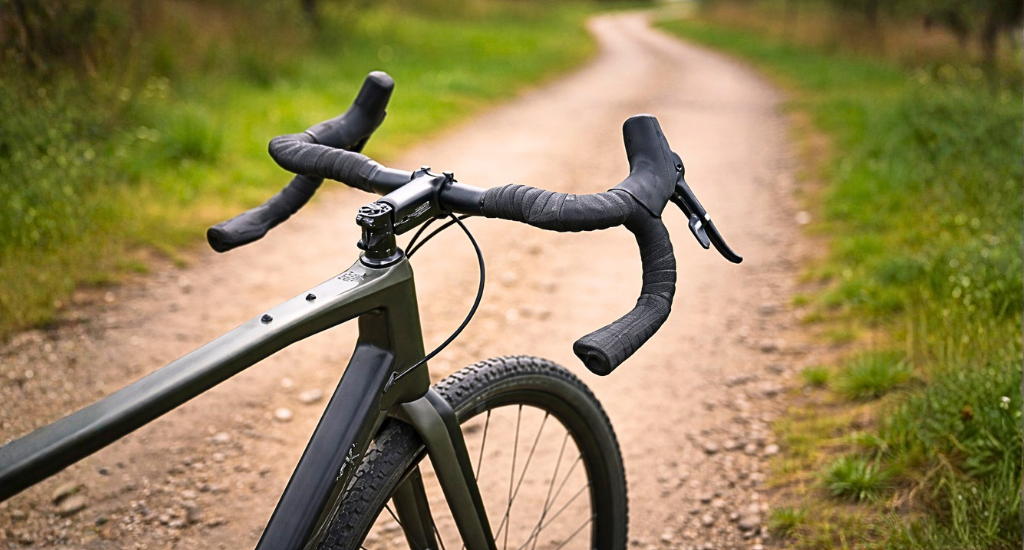
8. Replace Handlebars and Stem
Install flared drop bars to gain more control and better hand positions on gravel roads. These bars help you stay stable and reduce strain during long rides.
Use a stem between 80mm and 100mm to adjust reach and improve riding posture. This setup makes your bike feel more balanced and slightly more aerodynamic.
9. Set Up Brakes Properly
Disc brakes are the best option because they offer better control and stopping power. They perform well in wet and dry conditions, which is important for gravel riding.
If your bike has rim brakes, clean and adjust them carefully for safe use. Also, check that your brake levers work properly with your new handlebar setup.
10. Install Shifters and Bar Tape
Use shifters that match drop handlebars so you can change gears easily while riding. Proper cable routing helps smooth gear changes and keeps the setup neat.
Wrap the handlebars with grippy bar tape to improve comfort and control. Good bar tape reduces hand fatigue and gives a secure feel on rough gravel surfaces.
Key Considerations Before Converting Your MTB
Before you start your mountain bike converted to a gravel bike project, check a few important factors. These points help you avoid mistakes, save money, and make sure your bike performs well on gravel roads.
Frame Compatibility & Clearance
Your bike frame must support wider tires between 35mm and 45mm for proper gravel use. Also, check brake type compatibility, since some setups may not match new components. Older frames may require small compromises during conversion.
Budget Breakdown
Most conversions cost between $200 and $800, depending on the parts and upgrades you choose. A low budget covers tires and handlebars, while a higher budget includes drivetrain and wheel upgrades for better performance.
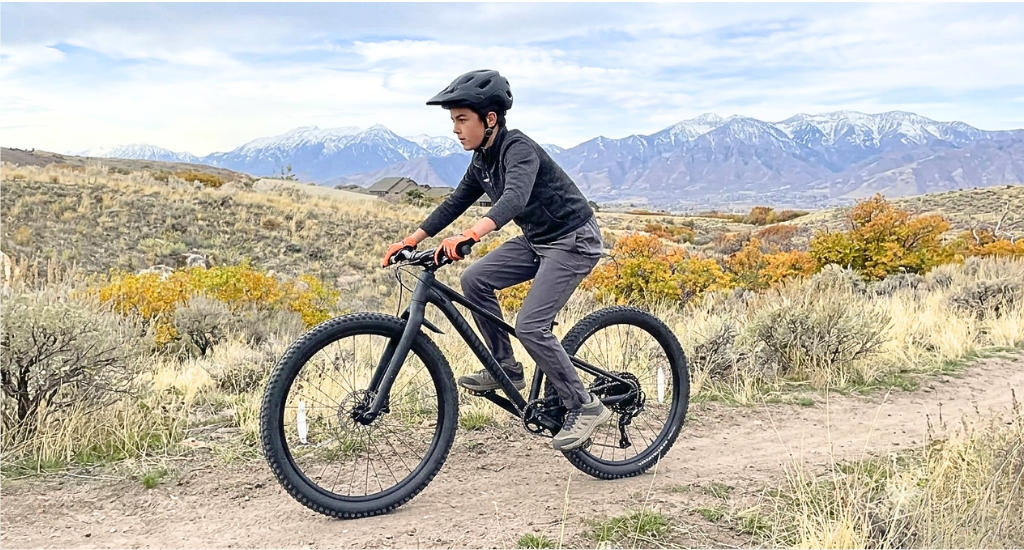
Which MTBs Work Best?
Older 26-inch mountain bikes and cross-country hardtails work best for gravel conversion projects. These bikes are lighter and easier to modify. Full suspension bikes are less suitable due to extra weight and a complex frame design.
Ride Testing & Safety
Test your bike after each upgrade to ensure everything works correctly and feels comfortable. Check riding position, braking response, and gear shifting performance. Regular testing helps you fix problems early and improves overall safety.
Geometry and Riding Position
Mountain bike frames often have a longer reach, which can feel uncomfortable on gravel rides. You may need small adjustments like stem length or handlebar position to improve comfort and maintain better control during longer rides.
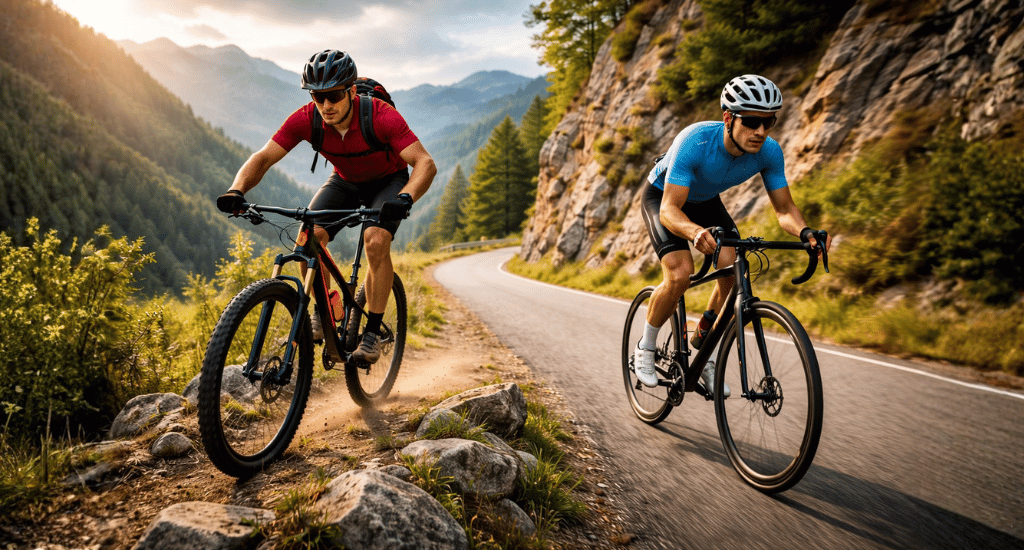
MTB vs Gravel Bike: What Changes After Conversion?
A mountain bike to convert to a gravel bike project changes how your bike feels and performs on different surfaces. The setup becomes faster, smoother, and more efficient for long rides on mixed terrain.
Before Conversion (MTB Setup)
Before conversion, a mountain bike focuses more on rough trails than smooth gravel roads. It feels stable but slower on flat surfaces due to heavy parts and an upright riding style.
- Flat handlebars for simple control on trails
- Knobby tires that grip dirt but slow down on hard surfaces
- Suspension fork that adds weight and reduces pedaling efficiency
- Upright riding position that limits speed and long-distance comfort
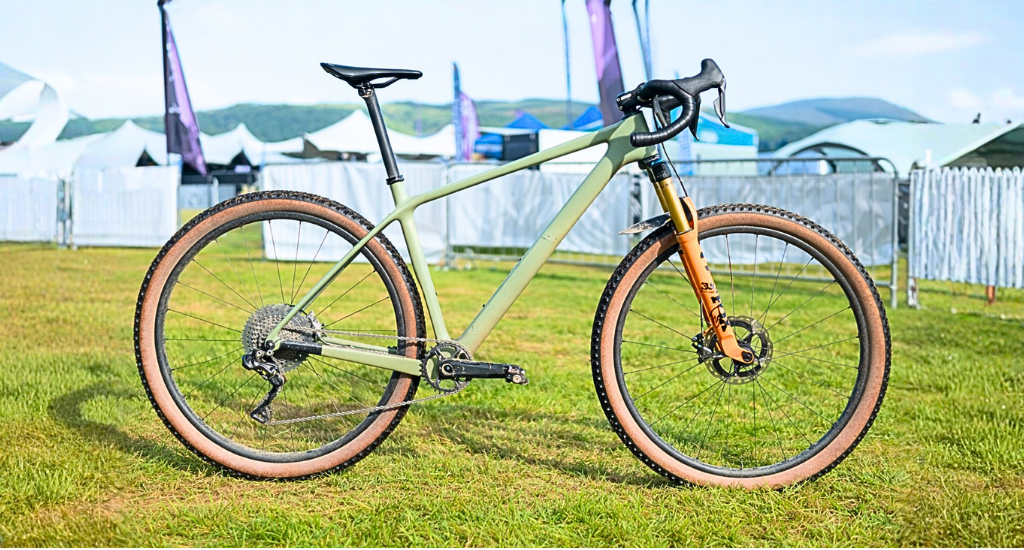
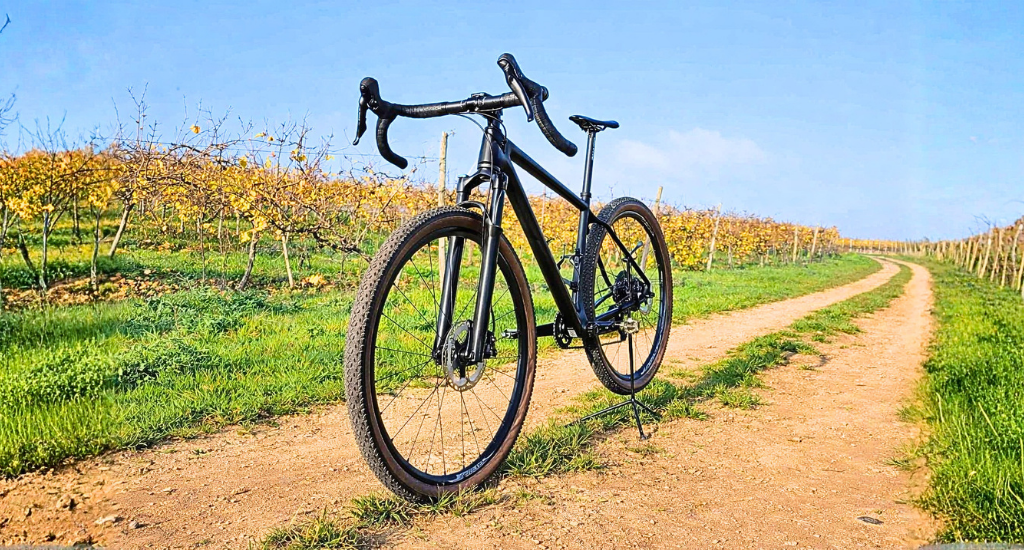
After Conversion (Gravel Setup)
After conversion, the bike becomes lighter and faster, with better control on gravel and paved roads. This setup suits long rides and mixed terrain with improved comfort and efficiency.
- Drop bars that offer multiple hand positions and better control
- Semi-slick tires (35-45mm) for speed with enough grip on gravel
- Rigid fork that reduces weight and improves pedaling response
- Faster and more efficient ride for gravel paths and light trails
Conclusion
A mountain bike to convert to a gravel bike project saves money and allows full control over parts and setup. It suits riders who enjoy simple DIY work and want a strong, flexible bike for mixed terrain.
Focus on key upgrades like tires, handlebars, drivetrain, and fork for better results. Start with basic changes like tires, then move step by step. Always test your bike after each change for comfort and safety.
FAQs
Can I make my MTB a gravel bike?
Is it worth converting a mountain bike to a gravel bike?
Can you use a mountain bike for gravel without converting?