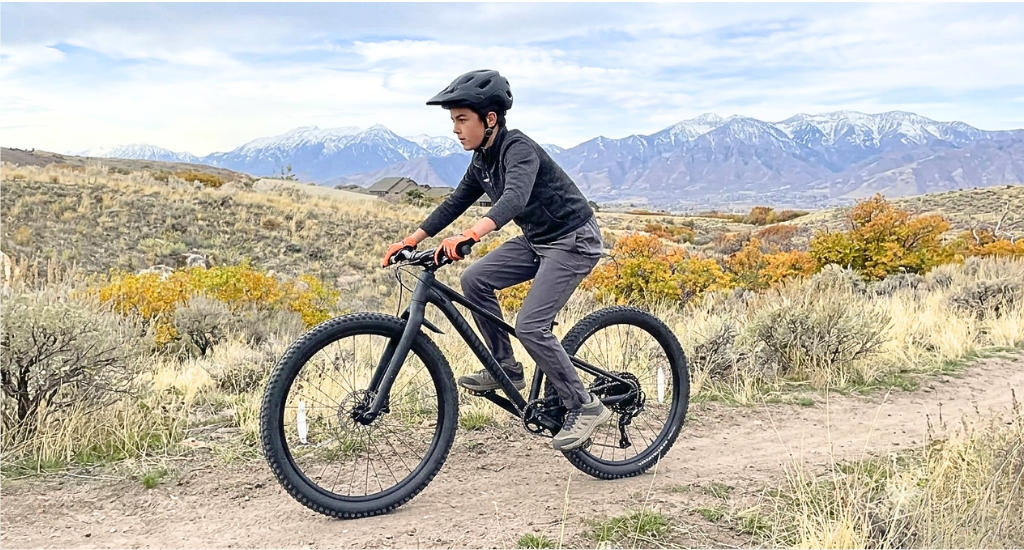
A bent crank on a mountain bike often comes from hard crashes, rock strikes, or long-term metal stress. This small bend can reduce pedaling power, shift the chain line, and create unsafe riding conditions.
Many riders try simple fixes at home with basic tools and careful steps. Some methods can help in mild cases, but metal strength may not return fully. In many situations, a full crank replacement remains the safest and most reliable choice.
This guide will explain how to fix bent crank on mountain bike, simple checks, repair steps, and when to replace it.
How to Fix Bent Crank on Mountain Bike (Step-by-Step)
A bent crank can feel strange during every pedal stroke and reduce your control on trails. This step guide will show how to fix bent crank on mountain bike with simple checks, safe removal, and careful repair steps.
Step 1: Confirm If the Crank Is Actually Bent
You should start with a clear check before you remove any part from the bike. A wrong guess can waste time and effort.
Turn the crank arm slowly until it lines up with the chainstay on your bike frame. This position makes it easier to compare spacing and spot any uneven gaps.
- Rotate the crank until it is in line with the chainstay to check alignment.
- Look closely at the gap between the crank arm and the frame on both sides.
- Check for any side movement or visible bend near the pedal area.
Now you should spin the crank slowly and watch the movement from the front side. A straight crank will rotate smoothly without side wobble or strange motion.
If you notice side-to-side movement or uneven rotation, the crank arm is likely bent.
Step 2: Remove the Crank Arm Properly
You must remove the crank arm before any repair attempt to avoid damage to other parts. This step also gives better control during inspection and repair.
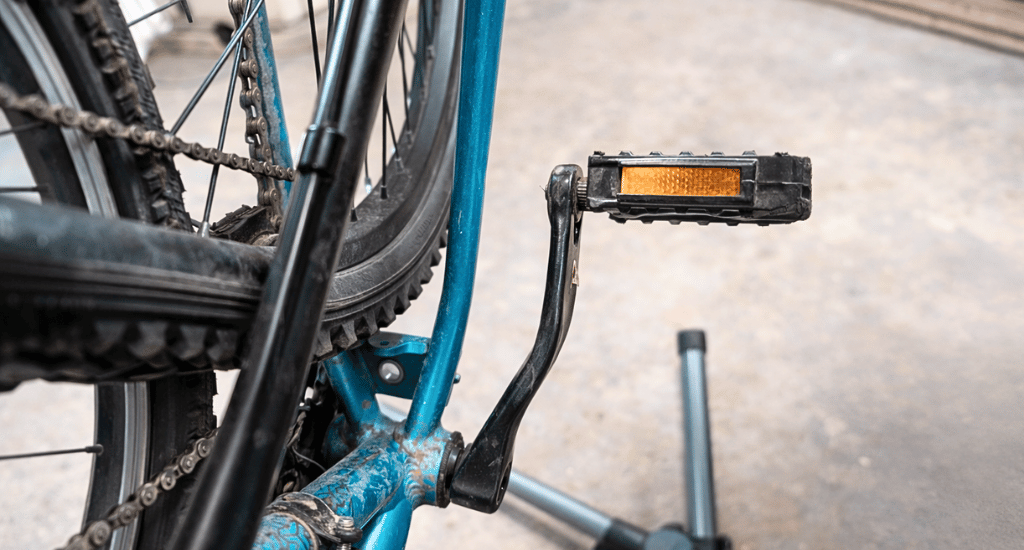
Start by removing both pedals using a pedal wrench or suitable tool. This step makes the crank arm easier to handle and safer to work with.
Next, you should loosen the chain or remove the chain from the chainring. If your bike has a chain guide, you should loosen it before moving forward.
- Remove pedals and loosen the chain guide before removal.
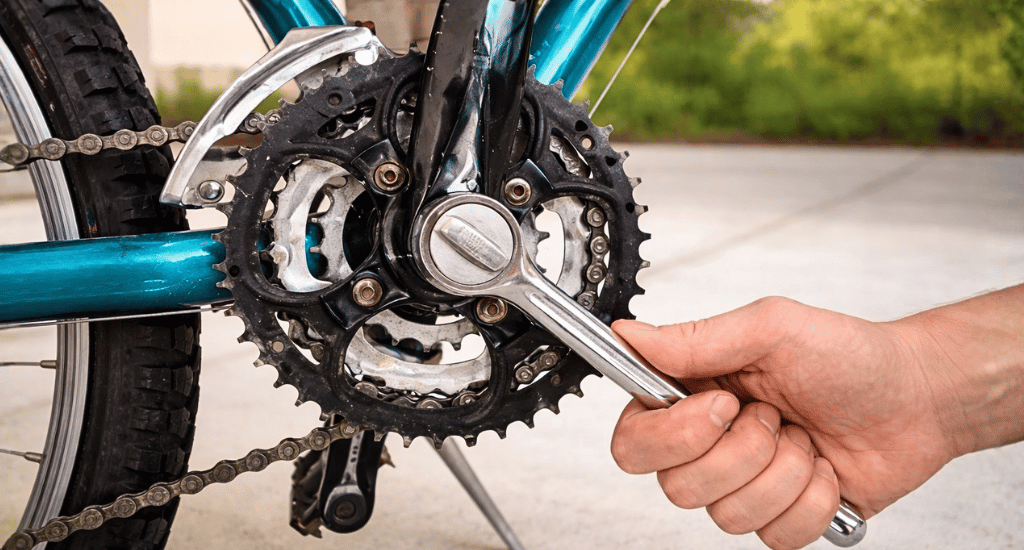
- Use an 8mm Allen key to remove the drive-side crank bolt.
You should insert the Allen key into the crank bolt and turn it counterclockwise with steady pressure. Once the bolt is loose, pull the crank arm gently away from the spindle.
If it feels tight, apply slight pressure and wiggle the arm slowly until it comes off.
Step 3: Decide – Repair or Replace
Now check the crank arm closely to decide the next step. Not every bent crank should be repaired, especially when safety becomes a concern.
Most mountain bikes use aluminum crank arms, which are light but not easy to bend back safely. Steel crank arms are rare but allow slight correction without sudden failure.
- You can never straighten a bent aluminum crankarm safely and accurately.
Look at the bend level and surface condition before making your decision.
- Small bend with no cracks → temporary fix may work
- Large bend or visible crack → replace immediately
If the crank looks weak or damaged, replacement is always the better and safer option.
Step 4: Attempt to Straighten (Temporary Fix Only)
This method works only as a short-term fix and should be done with care. It helps you ride again, but it does not restore full strength.
Place the crank arm inside a strong bench vice and secure it tightly. You should make sure the bent section stays outside for easy access during adjustment.
- Clamp in a vice and bend back using an adjustable wrench
You can use an adjustable wrench on the bent area and apply slow, steady pressure. Do not use sudden force because it can crack the metal or worsen the bend.
Check alignment after each small adjustment and compare both sides carefully. You should repeat the process until the crank looks straight enough for basic use.
Keep in mind that metal strength may be reduced after this process, so long-term use is not safe.
Step 5: Reinstall and Test the Crank
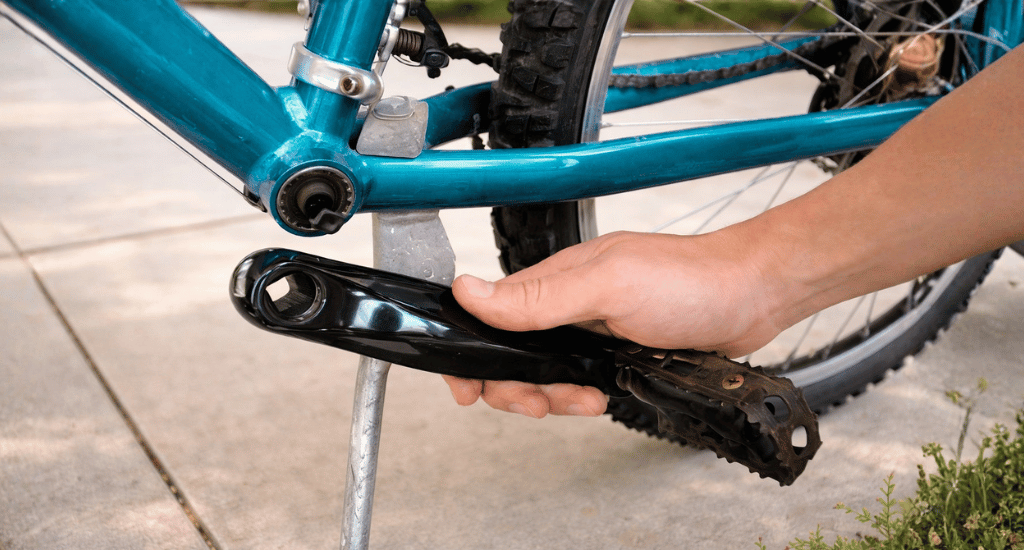
Once the crank arm looks straight, reinstall it on the bike with proper care. This step ensures the crank works smoothly without extra stress.
You should slide the crank arm back onto the spindle and push it into position. Insert the bolt and tighten it firmly with the correct tool.
If you know the torque value, use a torque wrench for better accuracy. It helps prevent future loosening or damage.
- Reinstall pedals securely on both sides.
- Spin the crank slowly to check for wobble or uneven motion.
Take the bike for a short and slow ride on flat ground. Pay attention to pedal feel and any strange movement during rotation. If the crank feels unstable, stop riding and check again.
Step 6: When Fixing Fails (Replacement Option)
Sometimes, repair does not give a safe or stable result. In such cases, replacing the crank arm becomes the only reliable solution.
You should check for clear signs that show repair is no longer a good option.
- Visible cracks on the crank surface.
- Bend returns after a short ride.
- Poor alignment even after multiple adjustments.
A new crank arm costs more than a simple repair, but it gives long-term safety and better performance. Riding with a weak crank can result in sudden failure and serious injury.
When safety matters, replacement is always the smarter choice over repeated repair attempts.
What Causes a Bent Crank on a Mountain Bike?
A bent crank does not happen without a reason, and most causes relate to impact or stress over time. Knowing these causes can help you avoid damage and reduce the chance of future crank problems.
Pedal Strikes on Rocks or Roots
Rough trails often bring your pedals close to rocks, roots, and uneven ground surfaces. A hard pedal strike can loosen the pedal, push the crank arm out of shape, and cause a visible bend.
Bike Crashes or Sudden Impacts
A crash can place heavy force on one side of the bike and damage the crank arm. Even a low-speed fall can bend the crank if the impact hits directly.
Repeated Heavy Pressure on Pedals
Strong pedaling during climbs or sprints puts high pressure on the crank arms over time. This constant force can slowly weaken the metal and lead to a bend.
Weak or Low-Quality Crank Material
Some crank arms use softer aluminum that cannot handle repeated stress or hard impacts. Lower-quality material may bend more easily compared to stronger and well-built crank options.
Loose Installation or Poor Maintenance
A loose crank bolt can allow small movements during each pedal stroke, which adds stress to the arm. Over time, this weak connection may result in bending or damage.
Can You Safely Ride with a Bent Crank?
Riding with a bent crank is not safe for regular use on trails or roads. The crank controls your pedaling motion, so any bend can affect balance and smooth power transfer.
A bent crank can cause uneven pedal movement and place extra pressure on your knees. This can result in discomfort during short rides and possible injury over longer distances.
The chain line may also shift slightly, which can affect gear shifting and increase wear on other parts. In some cases, the crank can fail suddenly and cause a dangerous fall.
You may ride slowly for a short distance in an emergency, but avoid hard pedaling. For long-term safety, you should follow how to fix a bent crank arm or replace it.
Repair vs Replace – What’s the Better Choice?
A bent crank often puts riders in a simple but important decision. You can try a quick repair for short use, or choose replacement for long-term safety and smooth riding performance.
When Repair May Work
A small bend without cracks can allow a careful repair at home. This option suits short rides or temporary use until you arrange a proper replacement.
- Slight bend near the pedal area.
- No visible cracks or surface damage.
- Crank still fits properly on the spindle.
- Used only for short and easy rides.
Repair can save money, but it does not restore full strength. The metal may stay weak even after you adjust the shape back.
When Replacement Is the Better Option
Replacement is the safest choice when the crank shows clear damage or repeated bending. A new crank gives better strength, smooth pedaling, and peace of mind during every ride.
- Deep bend or twisted shape.
- Visible cracks or rough edges.
- Bend returns after a short ride.
- Poor alignment even after a repair attempt.
Most crank arms use aluminum, and this material does not return to its original strength after bending. In such cases, repair may fail without warning.
Conclusion
Fixing a bent crank starts with a simple check, then safe removal, and a clear decision. You may try a quick fix for minor bends, but the results often stay temporary and limited.
A new crank gives better safety and smooth performance over time. You should check your bike parts often to avoid bigger drivetrain problems and keep every ride stable and secure.