A mountain bike feels wrong if your seat fights against you. The first step to smooth rides and less pain is to adjust the mountain bike seat properly. A poorly set saddle can make pedaling hard and cause aches in your knees, hips, or back.
Even a small mistake in seat height or angle can shift your weight the wrong way. You may notice your legs tire quickly or your rides feel uncomfortable. Correct placement improves power, balance, and control on every trail.
This guide will show simple steps to fix these issues. Keep reading to learn the exact saddle height, angle, and position adjustments for a more comfortable and efficient ride.
How to Adjust a Mountain Bike Seat
Adjusting a mountain bike seat is simple if you follow a few clear steps. The right saddle height, angle, and position make pedaling easier, improve comfort, and protect your knees and back from strain.
Step 1: Loosen the Seatpost Clamp
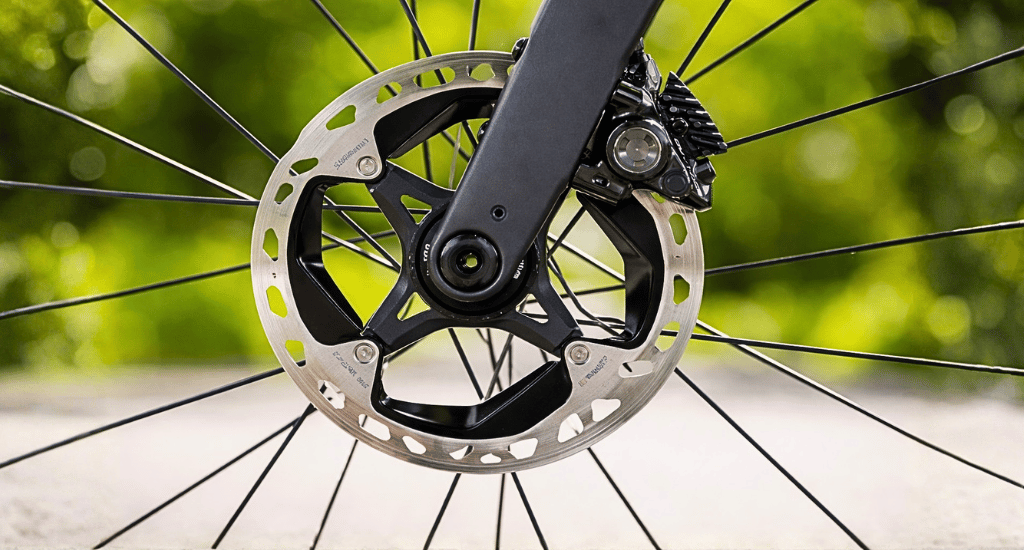
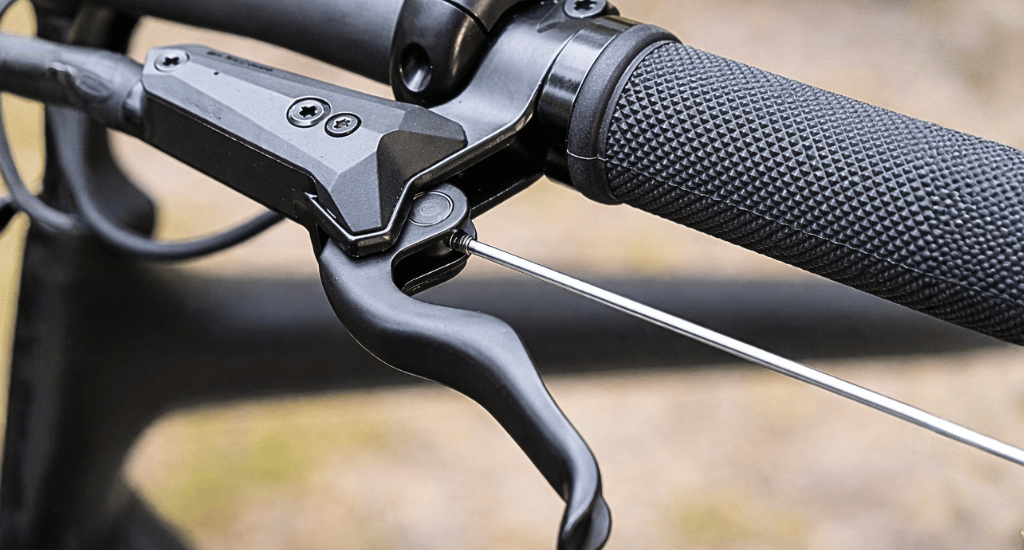
Most bikes use either a quick-release lever or a bolt-on clamp. Quick-release lets you adjust without tools, while bolt-on requires an Allen key or wrench. Always make sure your bike is stable and the frame is supported before loosening the clamp to avoid accidents.
Step 2: Set the Correct Saddle Height
Sit on the saddle and place your heel on the pedal at its lowest point. Your leg should straighten without locking your knee. Proper height improves pedaling efficiency, reduces strain, and helps your weight sit evenly over the bike. Small adjustments make a big difference.
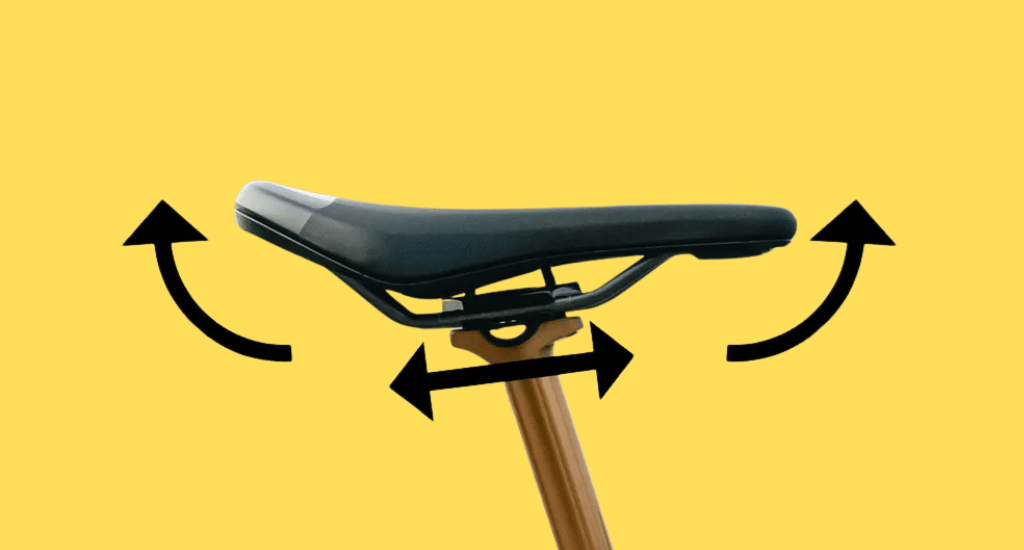
Step 3: Adjust Saddle Fore and Aft Position
Check that your knee sits roughly above the pedal spindle when the pedals are horizontal. Moving the saddle forward or back affects your power and balance. Too far forward strains knees; too far back reduces efficiency. Aim for a natural, stable pedaling position.
Step 4: Level the Saddle Angle
Most riders feel best with the saddle flat. A level seat prevents sliding forward and avoids pressure on sensitive areas. Some prefer a tiny forward tilt for comfort or long climbs, but keep adjustments small to prevent discomfort.
Step 5: Align the Saddle Straight
The saddle should point directly forward. Misalignment can twist your hips or knees and cause pain. Use the top tube or wheels as a visual guide and make small corrections until the saddle feels straight in line with the bike.
Step 6: Tighten the Seatpost Clamp Securely
Once positioned, tighten the clamp to the recommended torque. Too loose lets the seat move while riding; too tight can damage the seatpost or frame. Check that the saddle doesn’t shift when you push or twist it before riding.
Step 7: Test Ride and Fine-Tune
Take a short ride on flat terrain. Notice if your knees feel overextended or your hips rock. Small forward, backward, or angle tweaks can make a big difference. Repeat until pedaling feels smooth and comfortable.
Common Mistakes When Adjusting a Mountain Bike Seat
Adjusting a mountain bike seat might seem simple, but small mistakes can create big problems. A wrongly positioned saddle can make rides uncomfortable, reduce pedaling efficiency, and even cause injury. Paying attention to these common errors helps you ride longer and safer.
Saddle Too High or Too Low
If the saddle is too high, your hips rock side to side while pedaling. This wastes energy and can hurt your knees and lower back. A saddle too low makes your legs bend too much, making pedaling harder. The correct height keeps legs comfortable and pedaling smooth.
Saddle Tilted Too Far Forward or Back
A forward-tilted saddle pushes your body onto your hands and wrists, causing pressure and soreness. Tilted too far back puts too much weight on sensitive areas, making long rides painful. Starting with a mostly level saddle spreads your weight evenly and prevents discomfort.
Ignoring Seatpost Insertion Limits
Seatposts have a minimum insertion mark for safety. Pushing the post above this mark can damage your bike frame or bend the post. Always check these limits before adjusting to protect both the bike and yourself from accidents.
Using the Wrong Clamp Type
Quick-release levers are convenient but can slip if not tightened properly. Bolt-on clamps need the correct torque. Using the wrong method or over-tightening may cause the saddle to move during riding or damage the seatpost, reducing safety and comfort.
Overlooking Fore/Aft Position
The saddle’s forward or backward placement affects power and balance. A seat too far forward stresses knees, while too far back reduces pedaling efficiency. Check your knee alignment over the pedal spindle to ensure stable, smooth pedaling and balanced weight distribution.
How Seat Adjustment Affects Mountain Bike Performance
A properly adjusted seat changes everything about your ride. Correct height, angle, and position make pedaling easier, improve control on tricky trails, and keep your body comfortable, even on long rides.
Pedaling Efficiency and Power Transfer

A well-set saddle lets your legs move naturally, giving each pedal stroke more power. Too high or too low reduces efficiency, wastes energy, and strains knees. Proper adjustment keeps pedaling smooth, strong, and consistent for better performance on every ride.
Control and Balance on Climbs and Descents
Seat position affects how weight shifts on the bike. Correct height and fore/aft placement improve balance on climbs and descents. You stay stable, respond faster to obstacles, and avoid tipping or losing control on uneven terrain.
Comfort on Long Trail Rides
Saddle angle and height influence how pressure spreads across your body. A poorly adjusted seat can cause soreness in the hips, knees, or lower back. The right setup keeps you relaxed, reducing fatigue and making long rides more enjoyable.
When to Consider a Dropper Post or Professional Fit
If you ride steep trails or frequently switch between climbing and descending, a dropper post can help. It allows you to lower the saddle quickly for better control and raise it back for efficient pedaling.
A professional bike fit may be worth it if you experience persistent discomfort or pain. Experts can measure your body and adjust saddle height, angle, and position precisely, ensuring maximum comfort and efficiency tailored to your riding style.
Even experienced riders benefit from these upgrades. Dropper posts improve technical riding, while a professional fit prevents long-term strain. Both options make trails safer and more enjoyable, letting you ride longer without pain or fatigue.
Conclusion
Adjusting your mountain bike seat doesn’t have to be complicated. By loosening the clamp, setting the right height, adjusting fore/aft position, leveling the saddle, and testing on a short ride, you can create a setup that fits your body and style perfectly.
A properly adjusted saddle improves comfort, protects your knees, and enhances control on all trails. Take time to fine-tune as your riding skills and terrain preferences change. Small adjustments make every ride smoother, safer, and more enjoyable, helping you get the most from every adventure.