
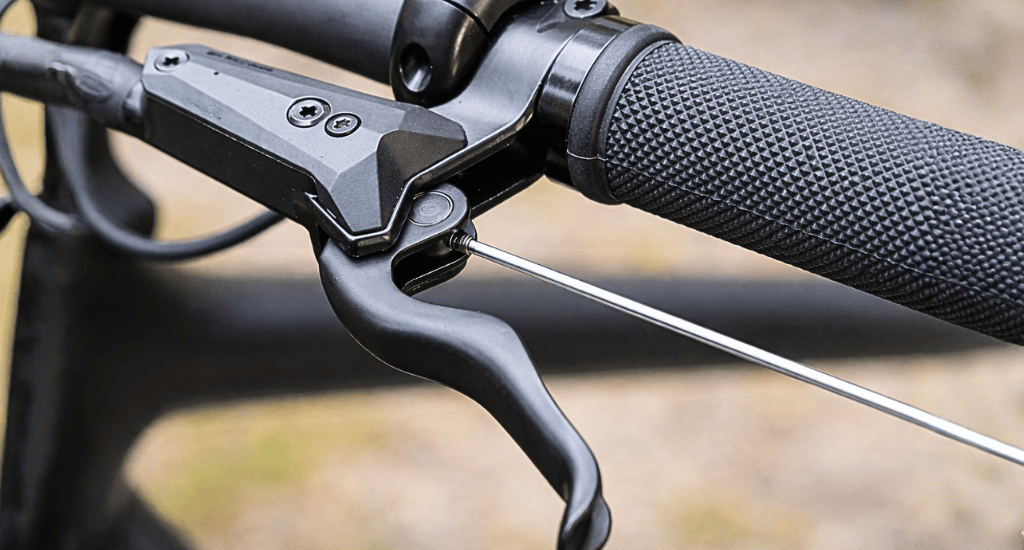
A brake lever that sits too far away, feels too loose, or pulls all the way to the handlebar makes every ride feel less safe. Most of the time, the fix takes five minutes and one small tool. This guide walks through reach, angle, and bite-point adjustments so your brakes respond the moment you need them.
Get these three settings right, and you get a shorter, more predictable stopping distance and less strain on your hands over a long ride. Get them wrong, and you are fighting your own brakes every time you need to stop fast.
Key Takeaways
- Reach controls how far the lever sits from the handlebar grip. Adjust it with the small screw near the lever pivot, usually with a 2mm or 2.5mm Allen key.
- Lever angle should keep your wrist in a straight line with your forearm. A flatter angle around 40 to 45 degrees suits aggressive mountain biking, while road and gravel riders usually prefer 50 to 55 degrees.
- Bite point (where the pads start to grip) matters as much as reach and angle. A late bite point adds real stopping distance.
- Mechanical brakes use a barrel adjuster and a cable pinch bolt. Hydraulic brakes use a reach dial or require bleeding the system for larger changes.
- Test one setting at a time and ride a short loop before changing the next one. Changing everything at once makes it hard to tell what actually helped.
- Poor lever setup is a common contributor to hand numbness on longer rides, and an improperly set bite point can add meaningful distance to an emergency stop.
Step-by-Step Brake Lever Adjustment
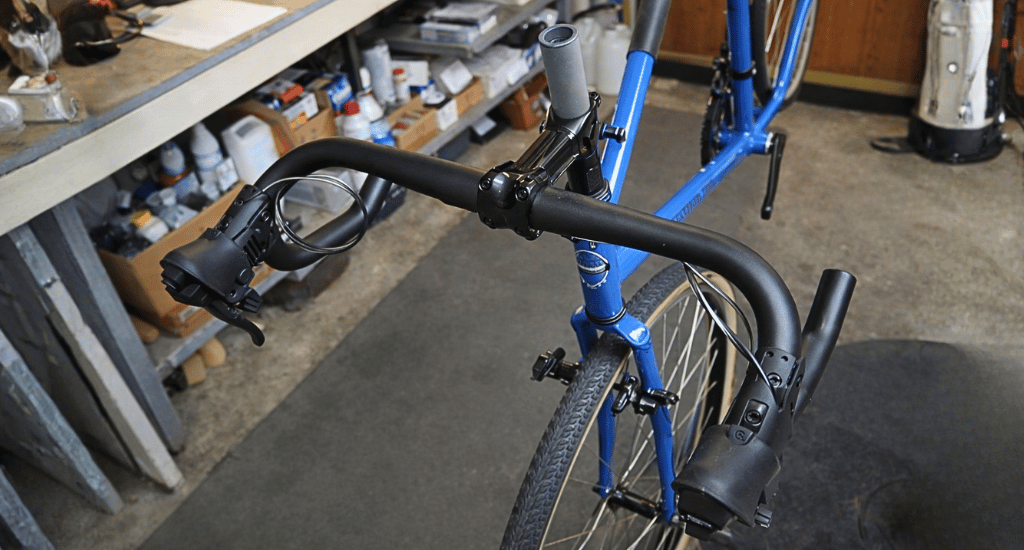
Step 1: Position the Lever on the Handlebar First
Before you touch reach or angle, get the base position right. Loosen the clamp bolt, slide the lever along the bar, and rest your hands on the grips the way you normally ride.
Your fingers should land on the lever without you shifting your grip or reaching. This is the foundation every other adjustment builds on, so do not skip it even if the lever looks fine.
Step 2: Adjust Lever Reach
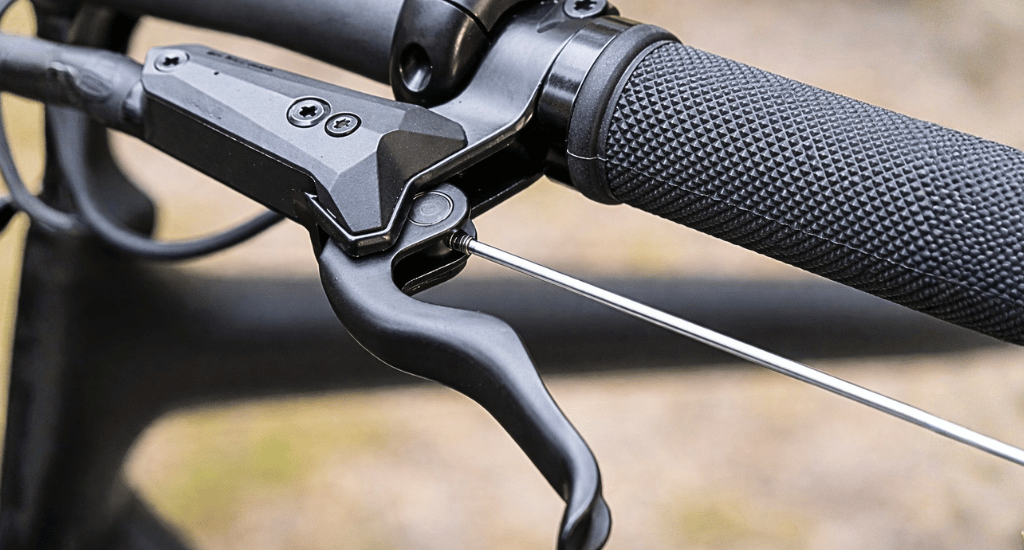
Reach is the distance between the lever blade and the grip. A good way to check it: rest your fingers on the lever and look at your first knuckle. It should land right on the blade. If only your fingertips touch, the lever sits too far away. If your whole finger wraps around it, the lever sits too close.
Find the reach screw near the lever pivot. Most brakes use a 2mm Allen key, though SRAM levers sometimes need a 2.5mm key. Turn it counterclockwise to bring the lever closer, clockwise to move it away. Small hands generally want the lever closer; larger hands want a bit more distance.
Step 3: Set Lever Angle
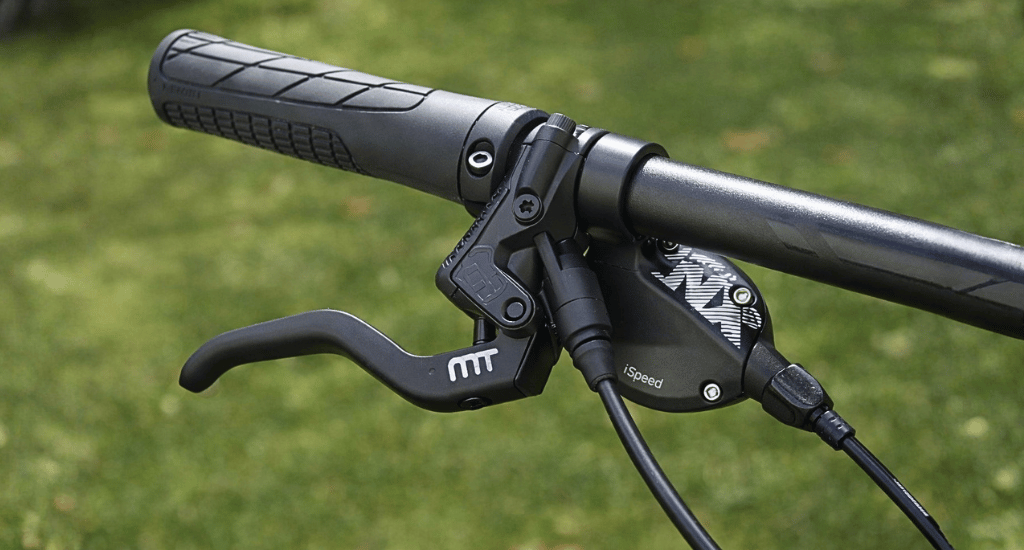
Angle decides how your wrist sits while you brake, and a bad angle causes fatigue and pain well before it causes a crash. Loosen the clamp bolt, rotate the lever, and match it to the natural downward slope of your arm when your hands are on the bar.
The exact angle depends on how and where you ride. See the riding-style breakdown below for specific numbers rather than guessing.
Step 4: Set the Bite Point
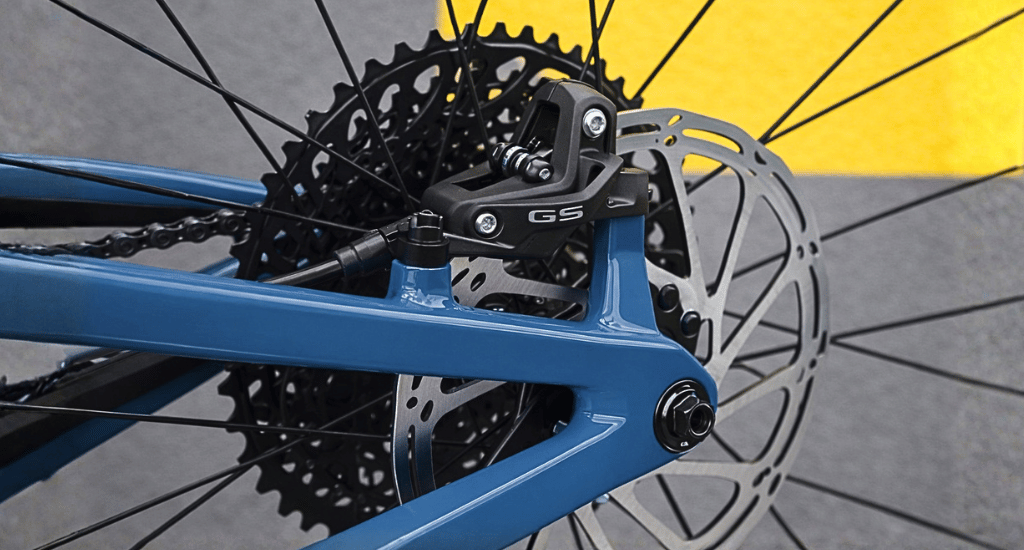
Bite point is the moment the pads actually start to slow the wheel during your pull. Set it too late, and you lose stopping distance you cannot get back. Set it too early, and the brake feels grabby and hard to modulate.
Mechanical brakes: use the barrel adjuster near the lever or caliper to tighten or loosen cable tension. If the barrel adjuster runs out of range, reset the cable at the pinch bolt.
Hydraulic brakes: Many higher-end levers include a dedicated bite point control separate from reach. Shimano calls this Free Stroke, SRAM calls it Contact Point Adjust, and Magura calls its version BAT (Bite Adjustment Tool). If your lever has one, use it instead of guessing with the reach screw.
Step 5: Test and Fine-Tune
Squeeze both levers and check that the levers stop well short of the handlebar. Spin each wheel with the bike off the ground and apply the brake to confirm it grabs promptly and releases cleanly.
Change one setting, then ride before changing the next. Give the setup two to three short rides before deciding it needs more work. This also helps with hydraulic brakes in particular, since cold weather stiffens the fluid slightly and thick winter gloves reduce your effective reach, so a setup that felt right in summer may need a small tweak in winter.
Lever Setup by Riding Style
| Riding style | Lever angle | Why |
|---|---|---|
| Aggressive mountain biking / descending | 40 to 45 degrees (flatter) | Keeps wrists neutral on long, sustained descents and reduces arm pump |
| Cross-country, gravel, road | 50 to 55 degrees (steeper) | Matches a seated position and quicker hand placement between the hood and drop |
| Commuting / everyday riding | Slight downward tilt, close to 45 degrees | Comfortable for an upright position and frequent stop-and-go braking |
Why Lever Setup Actually Matters
This is not a comfort detail you can skip. A lever set too far away or with a late bite point can add real distance to an emergency stop, and a poor overall setup is one of the more common causes of hand numbness on longer rides. Small, correct adjustments protect both your control and your hands over time.
Tools You Will Likely Need
| Tool | Used for |
|---|---|
| 2mm Allen key | Most reach adjustment screws |
| 2.5mm Allen key | SRAM reach screws and some lever throw adjustments |
| Torx T25 | Clamp bolts on some lever models |
| Flathead screwdriver | Reach screws on older or entry-level levers |
Common Mistakes to Avoid
- Setting reach too close. The lever bottoms out against the bar before you reach full braking power, so you lose stopping strength right when you need it most.
- Skipping the angle step. Jumping straight to bite point without correcting lever angle first still leaves your wrist fatigued on long descents.
- Changing everything at once. If you adjust reach, angle, and bite point in the same sitting, you cannot tell which change fixed or caused a problem.
- Ignoring a spongy lever. A soft, mushy pull on a hydraulic system usually means air in the line, and bleeding is a job for a home mechanic with the right kit or a shop, not a reach adjustment.
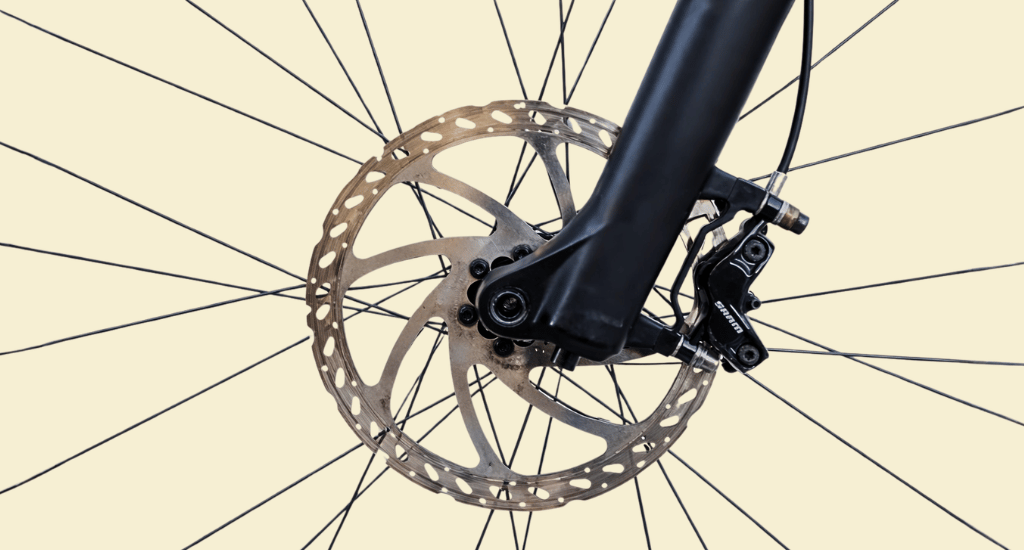
If your levers still touch the handlebar after these steps, the issue is likely cable tension or air in the line rather than reach. Our guide to adjusting mountain bike brakes covers caliper centering and pad position, which solves that specific problem. If a squeal shows up after adjustment, check our guide on sanding a brake rotor. For disc-specific setup, see our mountain bike disc brake adjustment guide, and if your brakes will not release at all, start with why bike brakes stop releasing. Handlebar position affects lever reach too, so it is worth checking our handlebar adjustment guide if your setup still feels off after these steps.
Conclusion
Brake lever adjustment comes down to three settings: reach, angle, and bite point. None of them take long to change, and getting all three right gives you a shorter stopping distance and less strain on your hands, whether you are commuting, climbing, or descending. Make one change at a time, test it, and only move to the next setting once the last one feels right.
FAQs
What is the ideal brake lever position?
The ideal position keeps your wrist in a straight line with your forearm. Your fingers should reach the lever without stretching or shifting your grip, and the first knuckle of your finger should land on the lever blade.
Why does my brake lever touch the handlebar?
This usually means the cable has too much slack or the bite point is set too far into the pull. Increase cable tension with the barrel adjuster, or use your lever's bite point control if it has one.
How do I reduce brake lever reach?
Turn the reach adjustment screw near the lever pivot counter clockwise, usually with a 2mm or 2.5mm Allen key. This brings the lever closer to the handlebar for smaller hands.
How do I adjust hydraulic disc brake lever travel?
Use the reach dial or Allen screw near the lever pivot for basic reach. For bite point specifically, check if your lever has a dedicated control, such as Shimano's Free Stroke, SRAM's Contact Point Adjust, or Magura's BAT dial.
How much brake lever travel is normal?
The lever should stop well short of touching the handlebar during a full pull. If it gets close, that signals too much slack in the system rather than a reach problem.
What's the difference between reach and bite point?
Reach is how far the lever sits from the grip before you pull it. Bite point is how far into that pull the brake actually starts to engage. You can have perfect reach and still have a late, unsafe bite point.
Does lever angle really matter for comfort?
Yes. Mountain bikers descending steep terrain generally want a flatter angle around 40 to 45 degrees, while road and gravel riders usually prefer a steeper 50 to 55 degrees for a seated position.
How often should I check my brake lever setup?
Check it after any handlebar or grip change, after cold weather sets in (cold stiffens hydraulic fluid and thick gloves reduce effective reach), and any time the lever starts to feel spongy or inconsistent.


