Sanding disc brake rotors on a bike removes the glazed surface layer that causes squealing and weak braking. This DIY fix restores proper friction between the pad and rotor in under 30 minutes with basic tools.
Glazed rotors develop a shiny, hardened surface that reduces stopping power. Sanding exposes fresh material and brings back full braking performance. This method works for mountain bikes, road bikes, gravel bikes, and cyclocross bikes.
This BicycleXpert guide covers when sanding works, the step-by-step process for rotors and pads, the critical bed-in procedure, and troubleshooting for squealing brakes.
When Should You Sand Your Bike’s Disc Brake Rotors?
Sand your bike’s disc brake rotors when glazing or light surface contamination causes squealing or reduced braking power. Sanding fixes specific problems, not all brake issues.
Glazing appears as a shiny, smooth surface on rotors and pads. This happens due to overheating or improper bedding-in. Symptoms include weak stopping power and squealing during hard braking. Sanding works well for glazed surfaces.
Light surface contamination from minor exposure to oil or grease can be removed by sanding if it hasn’t soaked deep into the pads.
Sanding won’t fix deep contamination where oil has absorbed into the pad material, warped or blue-discolored rotors from overheating, or physical damage such as deep grooves. These problems require replacement.
Sanding removes the top layer of the surface to expose fresh material and restore proper friction.
How to Sand Disc Brake Rotors Step-by-Step
Sanding disc brake rotors requires five steps to restore proper braking performance. Follow this process for both front and rear rotors.
Step 1: Remove the wheel. This provides easier access to the rotor and prevents brake pads from contacting sanding debris.
Step 2: Clean the rotor first. Wipe the braking surface with isopropyl alcohol to remove loose dirt and grime. Let it dry completely before sanding.
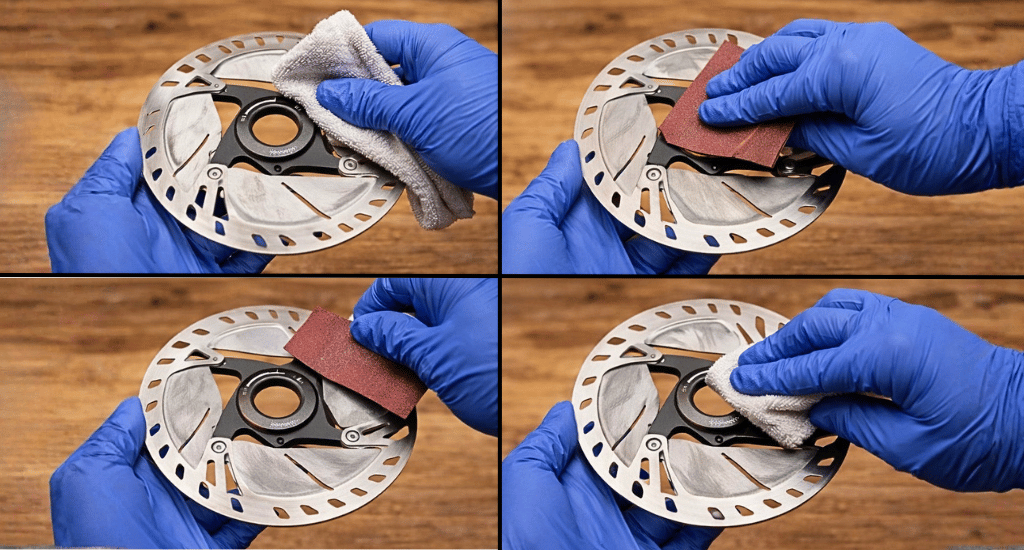
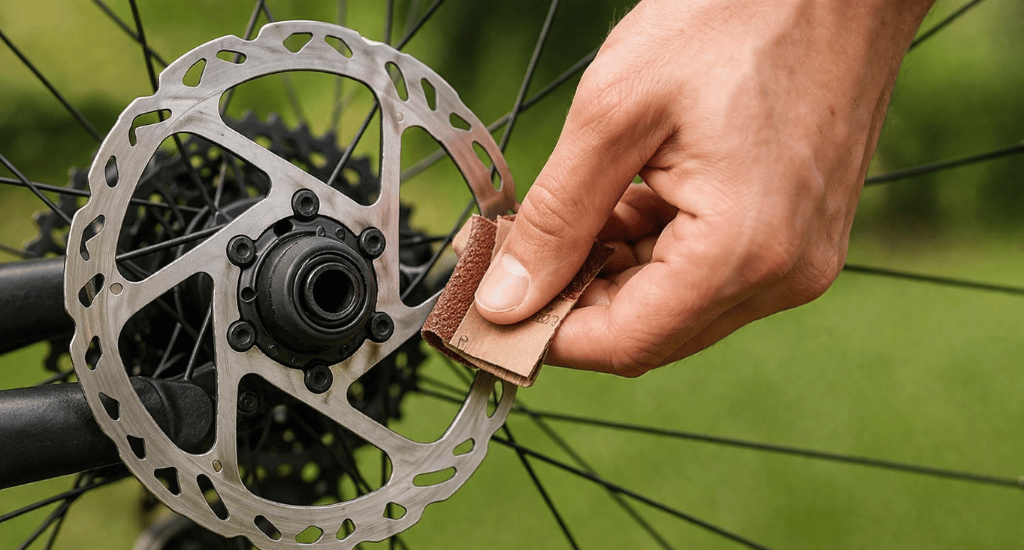
Step 3: Sand with even pressure. Wrap 120-220 grit sandpaper around a sanding block. Hold flat against the rotor braking surface. Move in a circular motion, covering the entire braking track. Sand both sides evenly.
Step 4: Check your progress. Look for a uniform matte finish across the surface. Shiny spots indicate more sanding is needed. Glazed rotors often show dark discoloration — continue until the surface looks uniform.
Step 5: Final clean. Wipe thoroughly with fresh isopropyl alcohol and a clean lint-free cloth. Continue wiping until the cloth shows no residue. Let dry completely.
Do not touch the braking surface with bare fingers after cleaning. Skin oils contaminate the surface immediately.
How to Sand Brake Pads (Do This Too)
Sand brake pads whenever you sand rotors. Sanding rotors alone leaves glazed pad material that transfers back during braking. Always do both for best results.
Step 1: Remove pads from the caliper by sliding out the retaining bolt or pin.
Step 2: Place the sandpaper flat on a hard surface, such as a workbench or table.
Step 3: Hold the pad and rub the braking surface on sandpaper in a figure-8 motion.
Step 4: Sand until the surface is uniformly colored and free of shiny spots. Takes approximately 20-30 seconds per pad.
Step 5: Clean the pad surface with isopropyl alcohol. Let it dry completely.
Sanded pads should appear lighter in color and have a uniform texture. Discolored spots indicate deeper contamination. Replace pads if discoloration remains after sanding.
How to Bed-In Brakes After Sanding
Bed-in your brakes after sanding to deposit an even layer of pad material onto the rotor surface. This critical step is why most riders’ brakes still squeal after sanding – they skip it.
Bed-in procedure:
- Find a safe area, such as a flat road, driveway, or empty parking lot.
- Accelerate to moderate speed (15-20 mph / 25-30 kph).
- Apply brakes firmly but do NOT come to a complete stop.
- Slow to walking speed, release brakes, then accelerate again.
- Repeat 15-20 times.
- Allow brakes to cool between repetitions.
Critical rules: Never come to a complete stop during bed-in. This creates uneven pad deposits. Never lock wheels or skid. Initial passes may squeal – this is normal and will stop.
After proper bed-in, brakes should feel significantly more powerful and operate quietly.
What If Brakes Still Squeal After Sanding?
Brakes still squealing after sanding usually indicates one of five issues. Check these problems in order.
- Improper bed-in: Most common mistake. Repeat the bed-in procedure correctly with 15-20 braking passes.
- Deep contamination: If pads were oil-soaked, sanding only removes the surface layer. Replace contaminated pads.
- Warped or overheated rotors: Blue discoloration indicates heat damage. Warped rotors cause pulsing and noise. Replace the rotor.
- Caliper misalignment: A misaligned caliper causes uneven pad contact. Check that the rotor spins freely without rubbing. To adjust, check our article on adjusting disc brakes.
- Mixed pad compounds: Switching between organic and metallic pads on a used rotor causes glazing. Sand the rotor thoroughly when changing compounds, or use a new rotor.
If all else fails, replace both pads and rotors. Sometimes starting fresh is the only solution.
What Grit Sandpaper Should You Use for Bike Brake Rotors?
Use 120-220-grit sandpaper to sand bike brake rotors. This range effectively removes glazing without damaging the rotor surface.
120 grit: Aggressive option for heavily glazed surfaces. Removes material faster but may leave visible scratches. Pads smooth these out during bed-in.
180-220 grit: Balanced option for most situations. Removes glazing without excessive scratching. Start here if unsure.
320-grit: Fine option for a light surface refresh. Takes longer but gentler on rotors.
Avoid: Grit below 80 removes too much material. Above 400 grit is too fine and won’t remove glazing effectively.
Pro tip: Use drywall sandpaper or mesh. The holes allow debris to fall through rather than embed in the surface.
| Grit | Best For | Notes |
|---|---|---|
| 120 | Heavy glazing | Aggressive, leaves temporary scratches |
| 180-220 | Most situations | Balanced, recommended starting points |
| 320 | Light refresh | Takes longer, gentler |
Tools You Need to Sand Bike Brake Rotors
Sanding bike brake rotors requires basic tools you likely already own. The total cost is under $10 if buying new.
Required tools:
- Sandpaper (120-220 grit) – a single sheet is enough
- Sanding block or flat wood block – keeps pressure even
- Isopropyl alcohol (90%+ preferred) – for cleaning
- Clean lint-free cloth or paper towels
- Allen keys – to remove wheel and pads
Optional: Gloves prevent finger oils from contaminating the rotor surface after cleaning.
We searched deep to find out the best tools from Amazon for you.
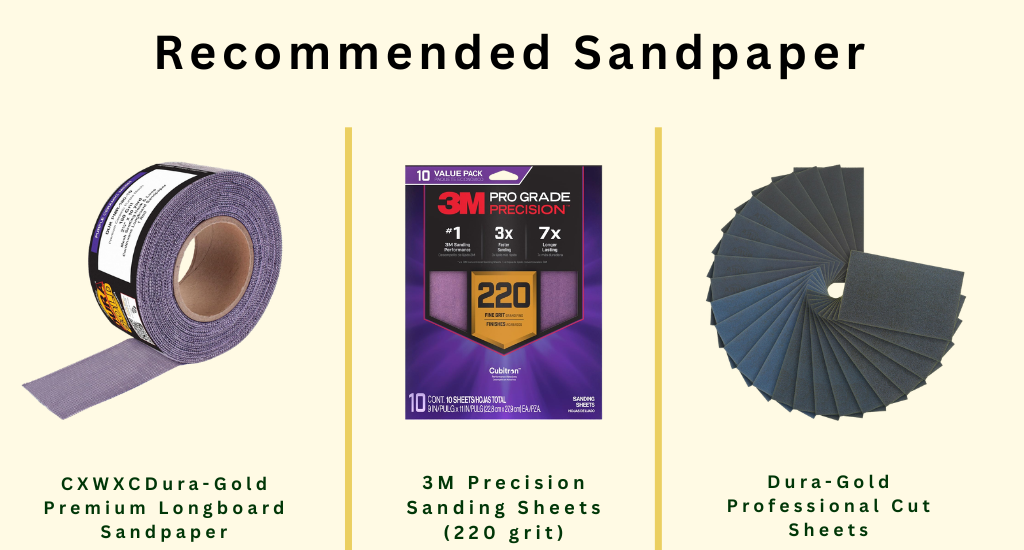
Recommended Sandpaper:
| Product | Grit | Type | Price |
|---|---|---|---|
| Dura-Gold Premium Longboard Sandpaper | Multi-grit | Continuous roll | Check on Amazon |
| 3M Precision Sanding Sheets (220 grit) | 220 | No-slip grip | Check on Amazon |
| Dura-Gold Professional Cut Sheets | Multi-grit | Automotive grade | Check on Amazon |
Recommended Isopropyl Alcohol:

| Product | Concentration | Size | Price |
|---|---|---|---|
| Swan Isopropyl Alcohol | 99% | 16 oz | Check on Amazon |
| MaxTite Isopropyl Alcohol | 99.90% | 32 oz | Check on Amazon |
| Amazon Brand Isopropyl Alcohol | 99% | 16 oz | Check on Amazon |
When Should You Replace Rotors Instead of Sanding?
Replace disc brake rotors rather than sanding when damage extends beyond surface glazing. Sanding cannot fix these issues.
Replace rotors when you see:
- Blue discoloration – Indicates overheating and likely warping
- Visible grooves or scoring – Deep grooves cannot be sanded out
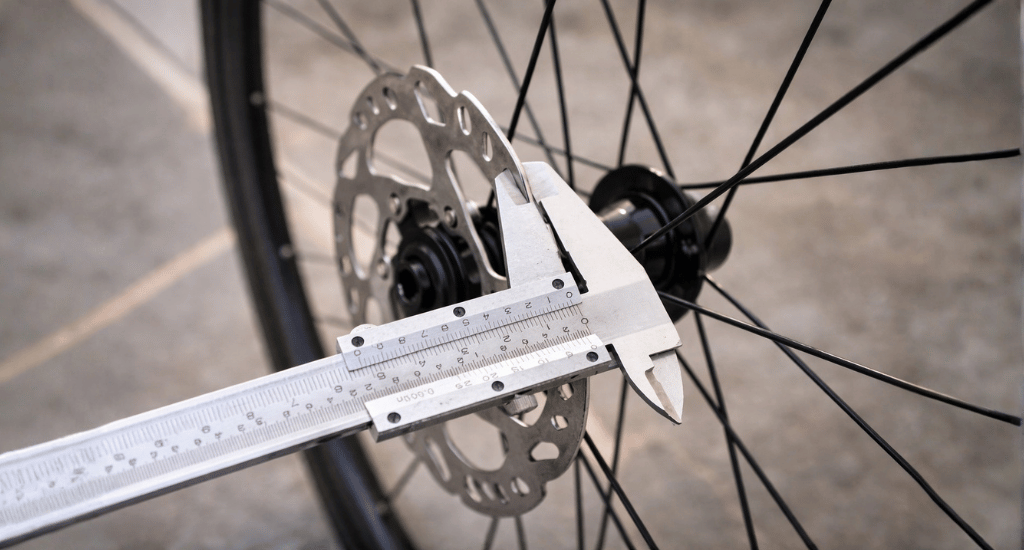
- Below minimum thickness – Check rotor specs; worn rotors are unsafe
- Persistent warping – Causes brake pulsation that sanding won’t fix
- Repeated contamination – Rotor may have absorbed contaminants permanently
Bike disc brake rotors cost $15- $50. If in doubt, replacing is safer than riding with compromised brakes.
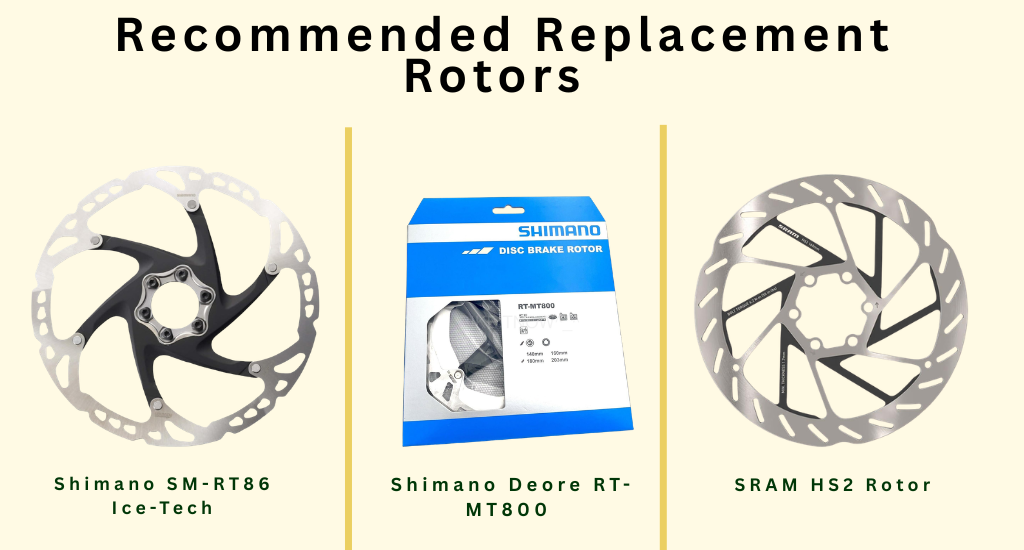
Recommended Replacement Rotors:
| Product | Type | Size | Price |
|---|---|---|---|
| Shimano SM-RT86 Ice-Tech | Ice-Tech, aluminum/steel | 180mm | Check on Amazon |
| Shimano Deore RT-MT800 | Ice-Tech FREEZA, internal lockring | 180mm | Check on Amazon |
| SRAM HS2 Rotor | Steel, rounded edges | 200mm | Check on Amazon |
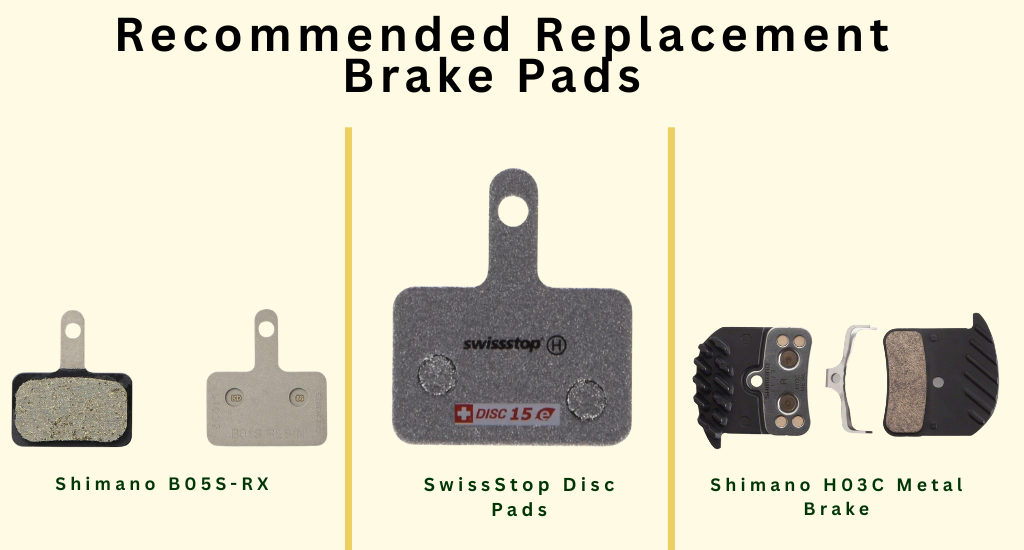
Recommended Replacement Brake Pads:
| Product | Compound | Compatibility | Price |
|---|---|---|---|
| Shimano B05S-RX | Resin | Shimano disc brakes | Check on Amazon |
| SwissStop Disc Pads | Organic | Shimano/SRAM compatible | Check on Amazon |
| Shimano H03C Metal Brake | Metallic (sintered) | Shimano disc brakes | Check on Amazon |
Conclusion
Sanding disc brake rotors is a proven DIY fix for squealing brakes and reduced stopping power. Use 120-220 grit sandpaper, sand both rotors and pads, clean thoroughly with isopropyl alcohol, and complete the bed-in procedure. This process restores proper friction and eliminates glazing.
If sanding doesn’t solve the problem, check for deep contamination, warping, or caliper alignment. When in doubt, replace pads and rotors for safe braking.
Follow BicycleXpert for more expert bike maintenance guides.
FAQs
Does sanding bike brake rotors actually work?
Can I sand rotors without removing the wheel?
Should I sand brake pads or just the rotors?
How often should I sand my bike’s brake rotors?
Is 400-grit sandpaper too fine for brake rotors?