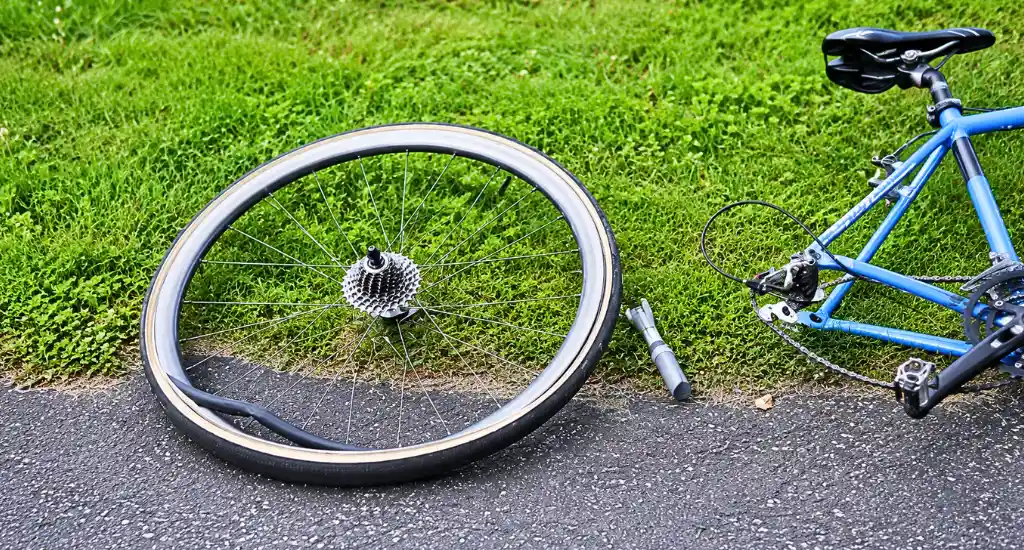
Buying the wrong inner tube or replacement tire is one of the most common frustrations cyclists face. The confusing numbers printed on your tire sidewall are usually to blame.
So, how to measure bicycle tire size? Locate the numbers on your tire’s sidewall; they show diameter and width (e.g., 26×2.1 or 700×25c). You can also place a tape measure from the floor to the center of your wheel hub and double that number for the diameter.
This guide covers how to read sidewall markings, decode sizing standards, and measure at home accurately. Read on to get it right.
Why Bicycle Tire Size Measurements Matter
Getting the right tire size isn’t optional; it directly affects your safety, performance, and ride comfort.
- Wrong Size, Real Problems: A mismatched tire can cause poor handling, blowouts, or a tube that simply won’t seat properly on the rim.
- Diameter and Width Work Together: Bike tires are measured in two dimensions, diameter and width, and both affect fit and performance significantly.
- Tire, Rim, and Tube Must All Match: The inner tire diameter must match the rim shoulder diameter, and your tube must fall within the correct size range.
How to Read the Numbers on Your Tire Sidewall
Every tire has its size printed directly on the sidewall; you just need to know what the numbers mean. Understanding these three systems helps you avoid costly mistakes when buying replacements or upgrading your setup.
The Imperial System: Inches
Common on mountain and hybrid bikes, imperial sizing uses inches for diameter, like 26″, 27.5″, and 29″. The second number shows width, so knowing the difference between 2.4 vs 2.6 mountain bike tires helps you choose the right fit for your terrain and rim.
The Metric System: 700c and 650b
Metric sizing is standard on road bikes. “700c” refers to the approximate outer diameter in millimeters, while “650b” is slightly smaller; both numbers describe wheel diameter, not just tire size, which often confuses beginners.
ISO/ETRTO Numbers: The Most Accurate System
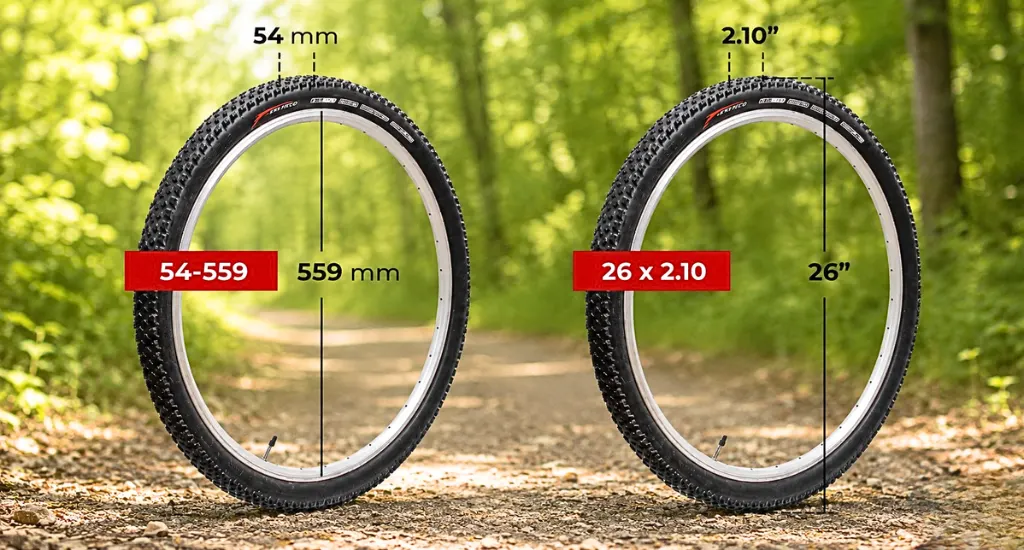
ISO/ETRTO is the most reliable sizing format. It shows two numbers, like 38-622, where the three-digit number after the dash is the more important: it’s the bead diameter that determines whether a tire fits onto your rim. Always cross-check this when in doubt.
How to Measure Bicycle Tire Size at Home: Step-by-Step
You don’t need special tools to measure your tire size accurately. A simple tape measure is enough to get both dimensions correctly, making this something any rider can handle before buying a replacement, similar to how adjusting gears requires no professional help.
Step 1: Measure Wheel Diameter from Floor to Hub Center
Place your tape measure flat on the floor and extend it straight up to the center of your wheel hub. This gives you the radius of your wheel, the first critical measurement you need.
Step 2: Double That Number for Full Diameter
Simply multiply your radius measurement by two. This gives you the full wheel diameter, matching it to standard sizes like 26″, 27.5″, or 700c, ensuring you buy the correct replacement tire every time.
Step 3: Measure Tire Width at Widest Point
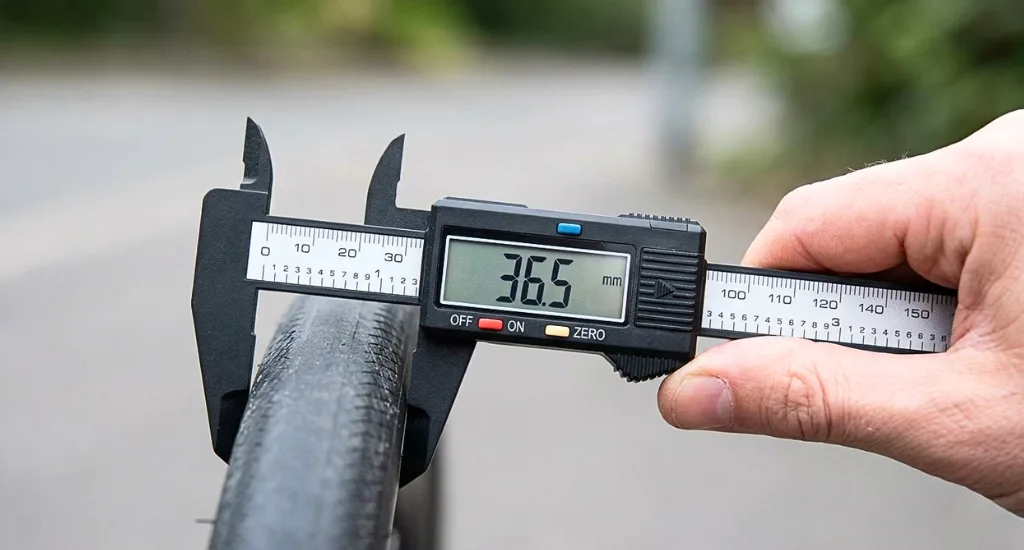
Stand your bike upright and measure the tire width at its widest point using a tape measure. This width number, combined with the diameter, gives you the complete tire size, for example, 26×2.1 or 700×38.
Step 4: Record Both Numbers Before Buying
Write down both the diameter and width before heading to a shop or ordering online. Having these two numbers ready prevents expensive sizing mistakes and saves time, whether you’re replacing a tire or finding the correct inner tube size.
Common Bicycle Tire Sizing Mistakes and How to Avoid Them
Even experienced cyclists make tire sizing errors. Most mistakes come from mixing up measurement systems or misreading sidewall numbers, small oversights that lead to wasted money, delayed rides, and potentially unsafe setups on the road or trail.
Buying Wrong Diameter but Correct Width
A tire can have the perfect width yet a completely wrong diameter. The diameter of the tire needs to match the diameter of your wheel; getting only one number right still means the tire won’t fit your rim at all.
Confusing 700c with 29 Inch MTB Size
These two sizes share nearly identical bead diameters but are not interchangeable. Road 700c tires are narrow, while 29″ mountain bike tires are wide. Mounting the wrong one creates clearance issues, handling problems, and potential damage to your frame.
Ignoring Bead Diameter When Replacing
Many riders focus only on the outer diameter and ignore the bead diameter entirely. Since the three-digit number after the dash is the more important figure in ISO sizing, overlooking it often results in a tire that simply won’t mount onto your rim correctly.
Measuring the Wrong Part of the Wheel
Measuring the outer tire edge instead of the rim or hub center throws off your diameter reading completely. Always measure tire size on a bicycle correctly, from the floor to the wheel hub center, then double it for an accurate result.
Mixing Imperial and Metric Numbers Online
Searching with mixed sizing systems online pulls up incompatible results. Stick to one system, or use ISO numbers, when shopping for tires or tubes to ensure what arrives actually fits your specific wheel and rim combination.
Final Thought
Measuring bicycle tire size comes down to two key numbers, diameter and width. Whether you read them off the sidewall or measure at home, getting both right ensures a safe, compatible fit for your tire, rim, and tube.
Always pay the closest attention to the bead diameter; it’s the most critical figure that determines whether a tire actually mounts correctly. Get that right, and everything else falls into place. Now grab that tape measure and get rolling with confidence.