
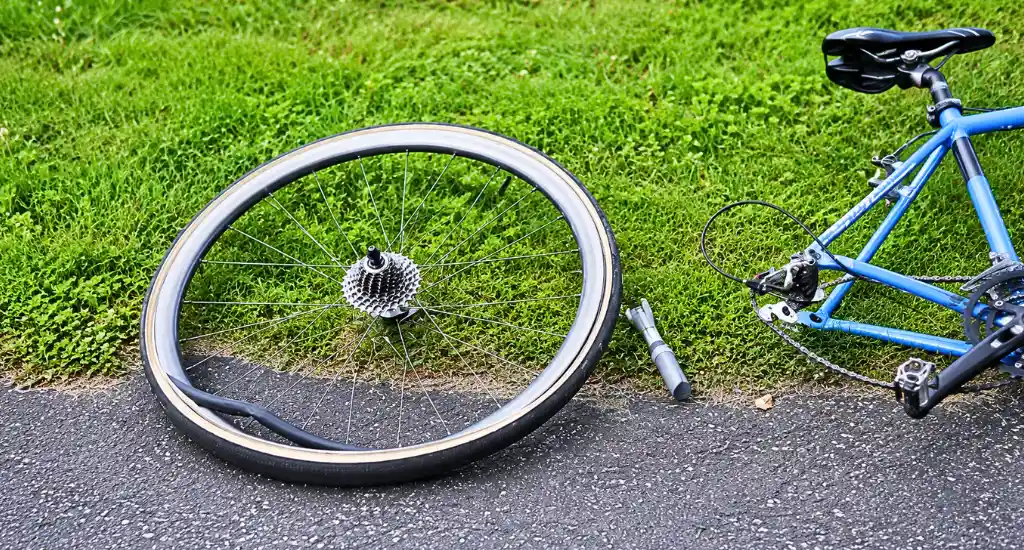
A bicycle tire coming off the rim mid-ride is one of the most alarming experiences a cyclist can face, and more common than most riders realize.
So, why does the tire come off the rim? A tire coming off the rim usually indicates a flat tire, severe low pressure, a damaged bead, or a mismatched tire-to-rim fit. Releasing all air, reseating the tire bead correctly, and reinflating to the recommended pressure typically resolves the issue.
This guide covers every cause, fix, and prevention tip you need. Read on to ride safely and confidently again.
Why Is Your Bicycle Tire Coming Off the Rim?
Understanding why your tire is separating from the rim is the first step toward a lasting fix. Most causes are preventable once you know what to look for.
- Flat Tire or Severe Low Pressure: An underinflated or completely flat tire loses its structural support, allowing the bead to slip off the rim under any riding load.
- Damaged or Mismatched Bead: A stretched, torn, or improperly seated bead cannot grip the rim securely, causing the tire to pop off even at normal riding pressure.
- Wrong Tire Size for the Rim: A tire too narrow or too wide for your rim won’t seat correctly. The reasons a tire separates from a rim include size mismatches that prevent proper bead engagement.
- Bent or Cracked Rim: A damaged or bent rim may not hold the bead properly, especially under stress or load, making tire separation almost inevitable over rough terrain.
Bike Tire Keeps Coming Off Rim: Is It Dangerous?
A tire that repeatedly comes off your rim isn’t just inconvenient; it’s a serious safety warning that demands immediate attention before your next ride.
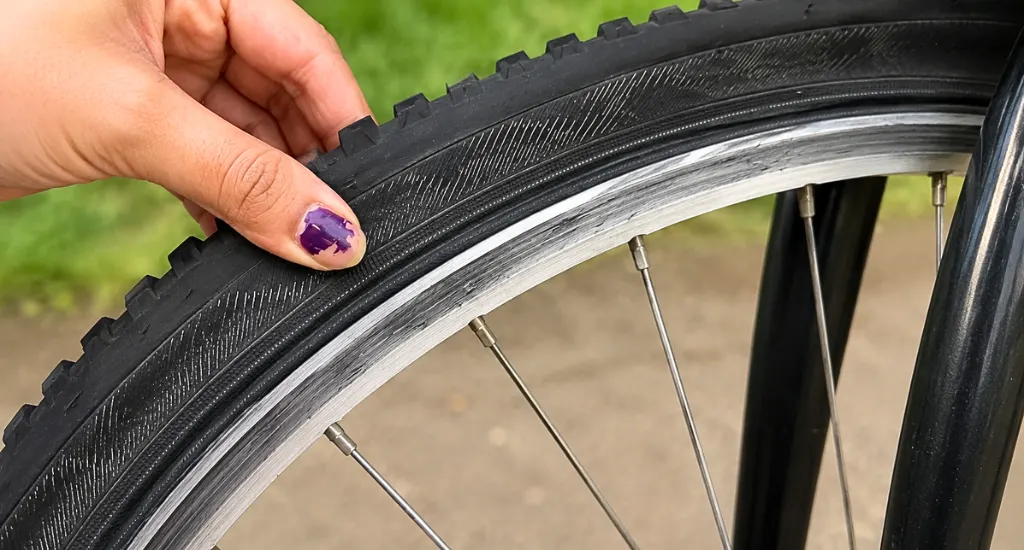
What Happens When a Tire Blows Off the Rim
When a tire violently separates from the rim, there is no warning and no second chance. The sudden loss of control at speed can throw you off the bike instantly, making a blowout one of cycling’s most dangerous mechanical failures.
Riding Risks You Should Never Ignore
A bicycle tire coming off the rim while riding eliminates your ability to steer or brake effectively. Even at low speeds, this creates a crash risk. Something is definitely not right if your tire keeps separating. Get it checked by a wheel specialist immediately.
When to Stop Riding Immediately
Stop riding the moment you notice your tire bulging, wobbling, or partially separating from the rim. Continuing even a short distance risks complete tire failure. A flat tire coming off the rim under load can cause the wheel to collapse entirely.
How to Put a Bicycle Tire Back on the Rim Step by Step
Reseating a bicycle tire is a straightforward process you can handle at home with basic tools. Following each step carefully ensures a safe, secure fit before you ride again.
Step 1: Release All Air Completely
Press the valve to release every bit of air from the tire. A fully deflated tire is far easier to manipulate and reseat. Attempting to reseat a partially inflated tire risks damaging the bead further and makes proper seating nearly impossible.
Step 2: Reseat the Tire Correctly
Work the tire bead back onto the rim by hand, starting opposite the valve and working both sides evenly toward it. Check that the bead sits uniformly inside the rim channel on both the left and right sides before moving to the next step.
Step 3: Apply Soapy Water for Better Seating
Apply soapy water generously to the rim and tire bead. This lubrication helps the bead slide into its correct seating position smoothly. Use a proper tire lever if needed, never a sharp tool that could damage the bead. If you also need to fix a buckled wheel, address that before reseating the tire to avoid repeat separation.
Step 4: Reinflate and Check Both Sides
Inflate slowly, pausing to inspect both sides of the tire as pressure builds. Confirm that the bead line, the thin ridge just above the rim, sits evenly all the way around. An uneven bead line means the tire isn’t fully seated and must be reseated before full inflation.
How to Seal and Secure a Bicycle Tire on the Rim
Seating a tire correctly goes beyond simply pushing it onto the rim. These steps ensure your tire stays locked in place through every ride, terrain, and weather condition.
Checking Bead Seating Properly
Run your fingers along both sides of the tire after inflation, feeling for any raised or uneven sections. The bead should sit consistently inside the rim edge with no gaps. An improperly seated bead is the leading cause of repeat tire separation on both road and best mountain bike setups.
Cleaning the Rim Before Mounting
Dirt, grease, or old sealant residue on the rim prevents the bead from seating flush. Always wipe the rim channel clean before mounting a new or reseated tire. A clean rim surface gives the bead the friction it needs to hold firmly under pressure.
Checking Rim Tape Condition
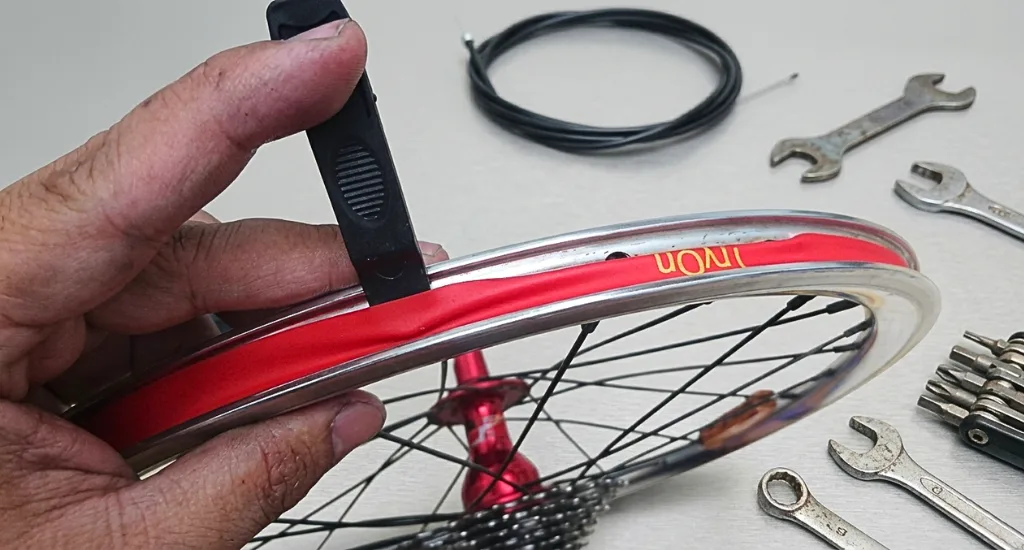
Worn or misaligned rim tape can push the bead out of position from the inside. Inspect the tape before reseating your tire and replace it if it’s cracked, peeling, or shifted away from the center of the rim channel.
When to Use Bead Sealer on a Bike Tire
A bead sealer is useful when a tubeless tire repeatedly fails to hold its seat. Apply it along the bead before mounting and inflate immediately. It creates an airtight bond between tire and rim, preventing air loss and bead slippage on technical trails.
How to Confirm the Tire Is Fully Secured
Inflate to the maximum recommended pressure, then release down to your riding pressure. Spin the wheel slowly and visually confirm the bead line runs parallel to the rim on both sides all the way around, before riding.
How to Prevent Your Bicycle Tire From Coming Off the Rim
Prevention is always easier than roadside repairs. Building a few simple habits into your regular maintenance routine keeps your tires firmly seated and your rides incident-free.
Maintain Correct Tire Pressure Always
Check your tire pressure before every ride using a reliable gauge. Riding on underinflated tires is the single most common reason a tire separates from the rim. Always inflate to the range printed on your tire sidewall.
Match Tire Size to Rim Width
Always confirm your tire’s width is compatible with your specific rim. A tire too narrow or too wide for the rim cannot seat its bead securely, increasing separation risk. Check your rim manufacturer’s recommended tire width range before purchasing.
Inspect the Bead and Rim Regularly
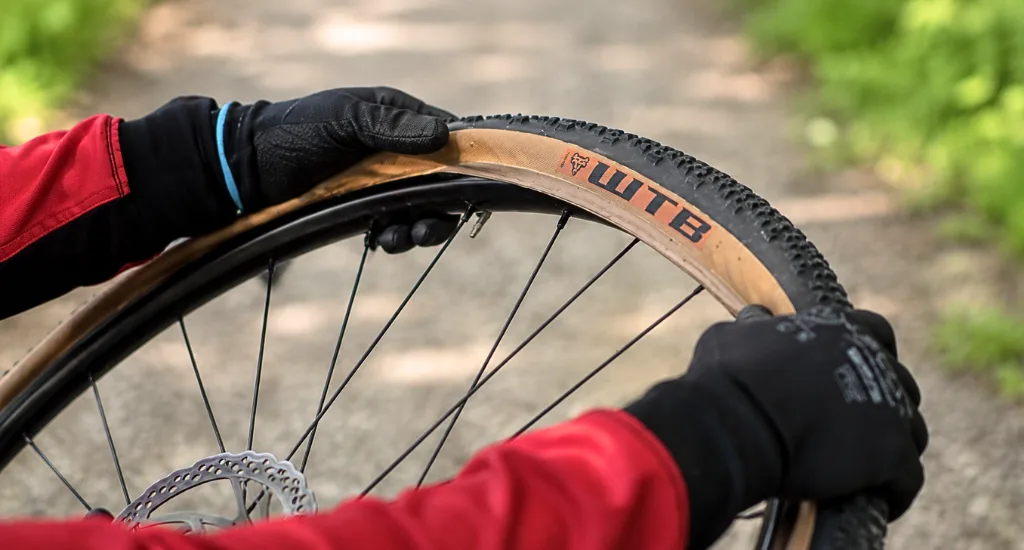
Make it a habit to inspect your tire bead and rim edge during routine cleaning. Look for bead fraying, cracking, or deformation. Also, check the rim for dents or cracks that could prevent proper bead retention over time.
Replace Worn or Damaged Tires Immediately
An aging tire with a weakened bead is a safety risk regardless of tread depth. If your tire shows cracking, sidewall bulging, or repeated seating issues, replace it without delay. Continuing to ride on a compromised tire invites sudden failure.
Address Other Bike Issues That Affect Riding Stability
Mechanical problems compound each other. A bicycle disk brake squeal fix, for example, often involves wheel and rotor inspection, the same check that catches early rim damage before it leads to tire separation. Regular full-bike checks keep every component working safely together.
Conclusion
A bicycle tire coming off the rim is always caused by something specific, like low pressure, a damaged bead, the wrong tire size, or a compromised rim. Identifying and fixing the root cause is the only way to stop it from happening again.
Check your pressure regularly, match your tire size to your rim correctly, and inspect your bead and rim after every rough ride. Take these steps seriously, and you’ll avoid one of cycling’s most dangerous mechanical failures entirely.


