
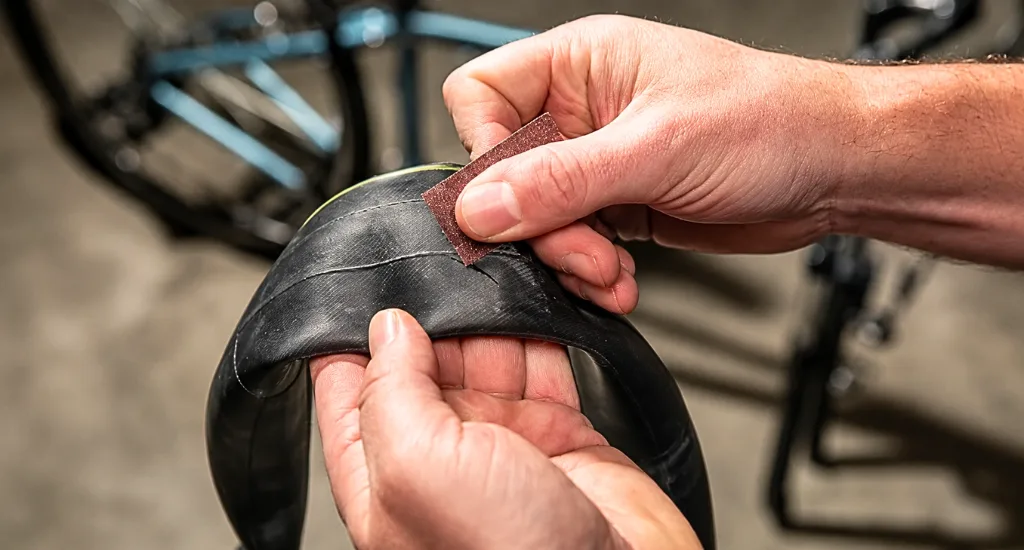
You fix a flat bike tire by removing the wheel, pulling out the punctured inner tube, patching the hole or swapping in a new tube, then reinstalling the wheel and inflating it back to the correct PSI.
I’ve spent 22 years wrenching on bikes, from trailside repairs to full shop overhauls, and a flat tire is the single most common fix riders face. This guide walks you through the entire process of how to fix a bike tire flat on a bike from start to finish, no shop visit required.
Below you’ll find the tools you need, how to pull the wheel safely, how to find and patch the puncture, and how to get rolling again in under 20 minutes.
Quick Answer Box
- Remove the wheel from the frame
- Pull the tube out from inside the tire
- Locate the hole using water or sound
- Patch the hole or install a new tube
- Reinstall the wheel and inflate to the proper PSI
- Time: 15 to 20 minutes | Cost: $5 to $15 DIY, $15 to $30 at a shop
Tools You Need to Fix a Flat Bike Tire
A flat tire repair only takes a handful of tools, and most riders already own half of them. You need something to pop the tire off the rim, something to patch or replace the tube, and a way to get air back in before you ride off.
- Tire levers ($5 to $10 for a set of three): Park Tool’s plastic levers pry the bead off the rim without scratching it
- Patch kit ($5 to $15): choose glueless patches for a quick fix or vulcanizing patches for a permanent bond
- Spare tube ($8 to $15): must match your wheel diameter and tire width, both printed on the sidewall
- Bike pump: a mini pump works trailside, a CO2 inflator gets you rolling in seconds, and a floor pump is best at home
- Multi-tool: handles axle bolts and brake adjustments if your bike isn’t quick-release
- Tire boot: patches a torn sidewall so the tube doesn’t bulge through
Before buying tubes, check whether your bike uses a Presta or Schrader valve, since the two aren’t interchangeable without an adapter.
How to Remove the Wheel from Your Bike
Removing the wheel depends on whether your bike uses a quick-release or a thru axle, and both come loose in under a minute. This is also a good time to check if you need to fix the buckled wheel, since a wobbly rim often gets mistaken for a flat.
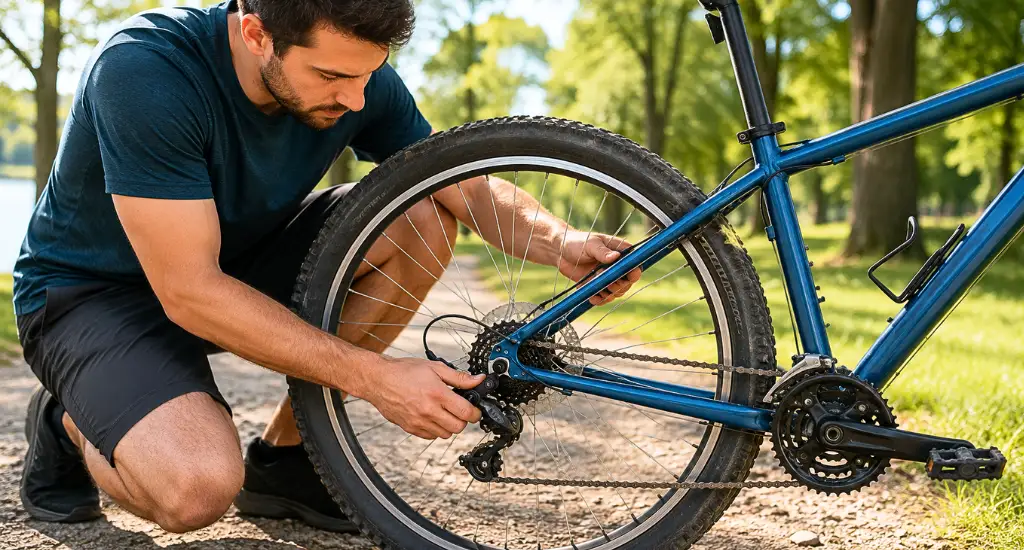
For the front wheel, release the brake if needed, then open the quick-release lever or unscrew the thru axle and slide the wheel free. Disc brakes skip the brake release step.
The rear wheel needs one extra move. Shift to the smallest cog first, release the brake and axle, then pull the derailleur back while lifting the wheel out.
- Flip the bike upside down or use a repair stand
- Shift to the smallest rear cog before removing the rear wheel
- Spin the wheel and check the rim near the brake pads for wobble
- Check for a motor cable near the rear axle on e-bikes
How to Remove the Tire and Inner Tube
Start by fully deflating the tube, then work the tire lever in the opposite direction of the valve stem to avoid bending it. Hook the lever onto a nearby spoke to hold the bead up off the rim.
Insert a second lever a few inches away and pry that section of bead loose, too. Slide one lever around the rim to unseat the rest of the bead in one motion. Once the bead pops free on one side, reach in and pull the inner tube out, starting at the valve stem and working around.
Only remove one side of the tire from the rim. Beginners often pry the whole tire off, which wastes time and makes reinstalling harder than it needs to be.
How to Find the Puncture in Your Bike Tube
You find a hole in a bike tube by inflating it, then checking for hissing air, submerging it in water, or running your fingers along the inside of the tire for embedded debris.
Visual and Sound Check
Inflate the tube by hand and hold it near your ear. A hiss usually points you straight to the leak, and you can often feel a faint stream of air against your skin.
Water Bucket Test
Submerge the inflated tube section by section in a bucket. Bubbles rising from one spot confirm the puncture location. Mark it right away with chalk or a pen.
Check Inside the Tire
Run your fingers carefully along the inside of the tire to catch glass, thorns, or wire still lodged in the rubber. Also check the rim strip for exposed spoke holes, which cause slow leaks over time.
Pinch Flat Pattern
Two small slits close together on the tube’s inner rim side signal a pinch flat, caused by low pressure, not road debris. If the rim itself looks warped rather than the tube, you’re dealing with fixing a bent bicycle wheel, which usually means a trip to a shop for truing rather than a home fix.
While the Bike Is Upside Down
Since the bike is already flipped over for tire work, it’s a good time to spin the pedals and check for play. Loose bicycle pedals often show up as side-to-side wobbles, and fixing loose bicycle pedals usually just means tightening the crank bolt with the right-size wrench.
How to Patch a Bike Tire Hole (Step-by-Step)
Patching a bike tire hole involves cleaning the area, scuffing the rubber, applying cement or a glueless patch, then pressing it firmly until it bonds. Most patches cure and hold within two minutes.
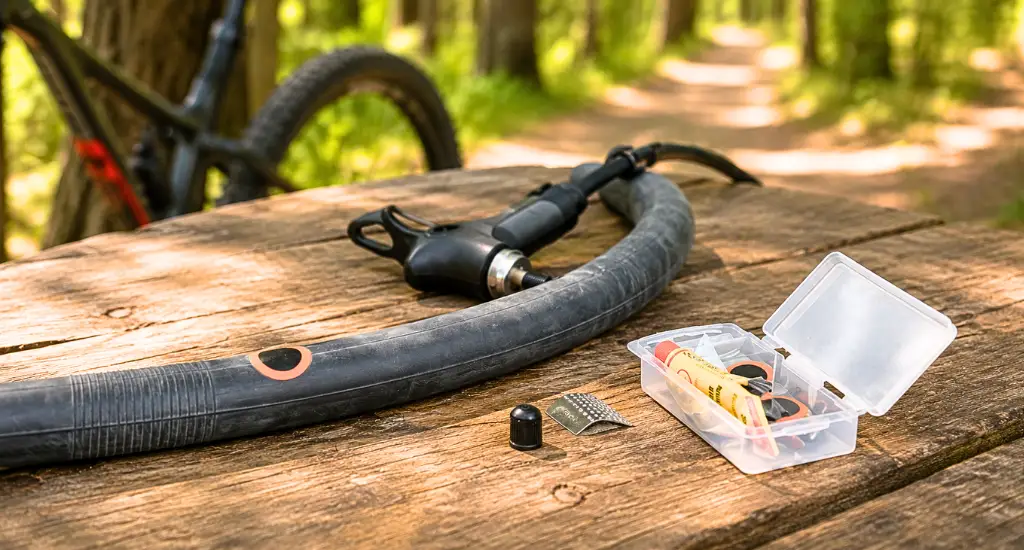
Clean and Prep
Wipe the area around the hole dry, then scuff it lightly with sandpaper to rough up the surface so the patch has something to grip.
Apply the Patch
For vulcanizing patches, spread a thin layer of rubber cement over the area and let it sit until tacky, about 30 to 60 seconds. Glueless patches skip this step entirely and go straight onto clean rubber.
Press and Seal
Press the patch firmly over the hole and hold steady pressure for 1 to 2 minutes. Peel off the backing film, then dust the patch with talcum powder so it doesn’t stick to the inside of the tire.
Beginner Mistake: applying the patch before the cement turns tacky is the top reason patches fail. Wait until the cement feels dry to the touch but still grabs your finger, then press the patch on.
Glueless patches work faster for trailside fixes, while vulcanizing patches last longer and hold up better on tubes you plan to keep riding for months. Most tubes handle up to three patches before they need to be retired.
How to Replace a Bike Inner Tube
Replacing a tube makes more sense than patching when the hole is too large, near the valve stem, or you’ve already patched that tube a few times. Match your new inner tube to the diameter and width printed on your tire sidewall before starting.
- Partially inflate the new tube, so it holds its shape and won’t twist inside the tire
- Insert the valve stem through the rim hole first, keeping it straight
- Tuck the tube into the tire, starting at the valve and working outward
- Reseat the tire bead with your thumbs, starting at the valve and working around both sides
- Push the sidewall aside near the bead and check for tube color peeking out. If you see it, the tube is pinched and will flatten immediately
- Inflate to the PSI range printed on the tire sidewall, not a guess
Take your time on the bead reseating step. Rushing it is the most common reason a fresh tube goes flat within minutes of riding.
How to Reinstall the Wheel
Reinstalling the wheel reverses the removal process. For the front wheel, slide it into the dropouts, close the quick-release or thru-axle, then reconnect the brake if you opened it earlier. For the rear wheel, drape the chain over the smallest cog, pull the derailleur back, slide the wheel into the dropouts, then close the axle and reconnect the brake.
Once it’s on, spin the wheel to check it runs true, squeeze the brakes to confirm they grip evenly, and glance at the wheel alignment to make sure it sits centered in the frame before you ride off.
How to Fix a Flat Tubeless Bike Tire
You fix a flat tubeless bike tire by rotating the hole downward so sealant can seal it, inserting a tire plug if sealant isn’t enough, or fitting an emergency tube if the damage is too large for either fix.

- Sealant seal: rotate the wheel so the hole faces down, then ride slowly for a minute so the sealant pools and plugs the gap
- Tire plug: insert a plug directly into the hole without removing the wheel, then reinflate with a mini pump or CO2 inflator
- Emergency tube: if the hole is too large for sealant or a plug, remove the tire, pull the valve stem, and install a standard tube as a fallback
- Top up sealant every 2 to 3 months, since it dries out and loses sealing power over time
- Check the rim tape condition if you’re getting repeated flats near the same spot
Tire plugs hold up as a permanent fix, while sealant alone is really a temporary patch until you can inspect the tire properly. And if you’re already stopped mid-ride, it’s worth a quick check on adjusting mountain bike brakes too, since brake rub often gets blamed on a flat when it’s really just a dragging pad.
End Note
Fixing a flat bike tire is a 15-minute skill every cyclist should practice at home before needing it on the road.
Carry a spare tube, patch kit, tire levers, and mini pump on every ride, and never ride on a flat rim since it damages the wheel and puts you at risk of losing control. For more bike maintenance guides, visit bicyclexpert.com.
FAQs
How much does it cost to fix a flat bike tire?
Fixing a flat bike tire costs $5 to $15 for a DIY patch kit or $15 to $30 at a bike shop. A replacement tube runs $8 to $15, and a new tire costs $25 to $60.
How long does it take to fix a flat bike tire?
Fixing a flat bike tire takes 15 to 20 minutes with basic tools and practice. First-timers often need 30 minutes or more, while experienced cyclists can finish in 5 to 10 minutes.
Can you ride a bike with a flat tire?
No, riding on a flat tire damages the rim and can cost $50 to $200 to replace. It also creates a loss of control risk, so walk the bike to the nearest repair point instead.
How do you fix a flat tire without a spare tube?
Fix a flat without a spare by patching the existing tube with a repair kit. In an emergency, tie a knot at the hole to isolate the leak, or stuff the tire with grass or leaves for a short limp-home ride.
What size inner tube do I need?
Check the two numbers printed on your tire sidewall to find the right tube size. The first is diameter, like 700c or 29, and the second is width, like 23-25 or 2.1-2.4, and tubes stretch to cover a range.


