
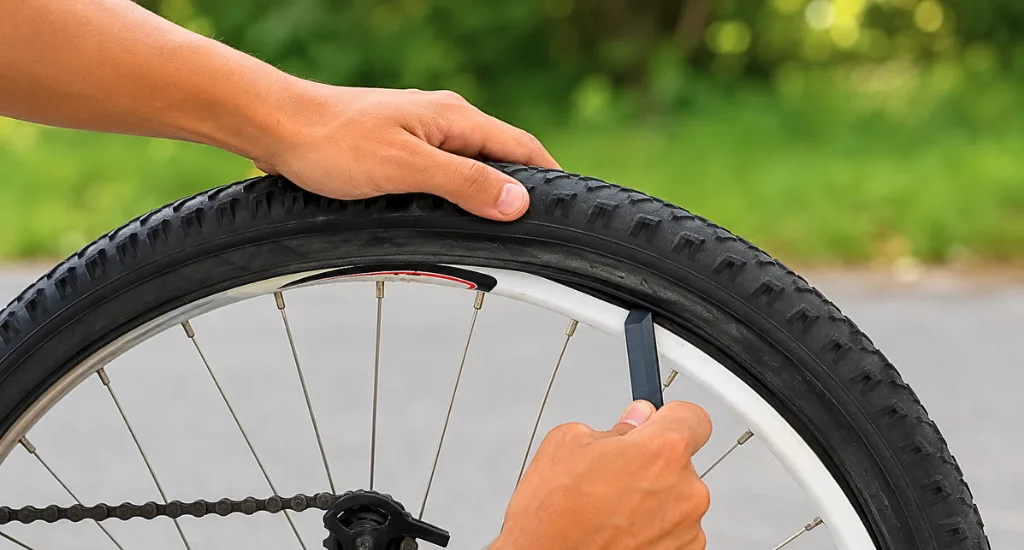
Wondering how to fix a bike tire hole? Remove the wheel, locate the puncture, patch or swap the tube, then reinflate and test the seal before your next ride.
A puncture usually comes from glass, thorns, or sharp debris on the road. Most riders finish the repair in fifteen to twenty minutes once they gather the right tools and follow each step in order.
This guide covers every stage of the repair, starting with the tools you need and ending with a full pressure check. Read on for a clear walkthrough you can follow the next time a tire goes flat.
What Causes a Bike Tire Hole
Sharp debris on the road causes most tire punctures. Glass, thorns, and metal shards puncture the outer tire and press into the tube underneath, creating a slow or sudden leak while riding on rough pavement.
- Worn tread that no longer resists sharp objects on the road
- Underinflated tires that flex and pinch against the rim under load
- Old rubber that cracks and loses its seal after long-term sun exposure
- Hard impacts against curbs or potholes that pinch the tube against the rim
- Sharp gravel or trail debris that works into the tread over time
I found a tire hole once while I was fixing a buckled wheel after a hard pothole hit. The rim had bent just enough to pinch the tube, and once I straightened the wheel, I noticed the same impact had left a small puncture near the rim edge. Now I check the tube every time a hit is hard enough to affect the wheel.
Signs Your Tire Has a Puncture
A soft or flat tire is the clearest sign of a bike tire hole. Beyond that, a few other clues can point you to a leak before the tire goes fully flat.
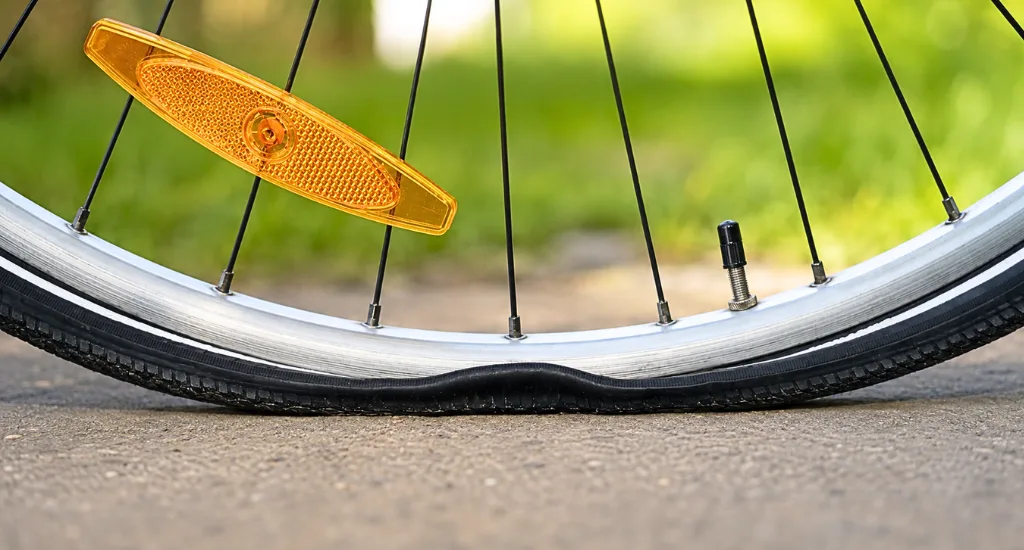
A Tire That Feels Soft Rather Than Flat
Some punctures leak slowly, so the tire may feel soft rather than fully flat at first. A slow leak often shows up as a tire that needs air every few days despite no visible damage on the surface. This is usually the earliest warning sign, so a quick squeeze before each ride can catch it early.
A Hissing Sound or Sudden Air Loss
Sudden blowouts feel and sound different from a slow leak. You’ll often hear a sharp hiss right after the puncture happens, followed by a fast drop in pressure. This usually means a larger object went through the tire, so check the tread closely once you stop.
The Bike Pulling to One Side
A tire running low on air can make the bike pull slightly toward that side, especially in turns. This happens because the tire flexes unevenly against the rim, which also makes the ride feel noticeably rougher than usual.
Checking the Tire Before You Remove It
Check the tire for visible objects before removing the wheel. A quick scan saves time and helps you find the exact spot that needs a patch, rather than guessing later once the tube sits in your hands.
Run a hand gently along the tread, look for cuts or bulges in the sidewall, and check the valve stem for cracks since it can leak on its own.
Tools You Need to Fix a Bike Tire Hole
A basic repair kit makes the job simple wherever you ride. Most cyclists carry these items in a small saddle bag so they stay ready for any flat, whether on a commute or a long trail ride.
- Tire levers to pry the tire off the rim without damage
- A patch kit or spare tube, matched to your wheel size
- A mini pump or CO2 inflator for quick reinflation
- Sandpaper or a scuffer, included in most patch kits
- A small multitool for adjustments to the axle or brake
- A clean rag to wipe grease and debris from your hands
How to Fix a Bike Tire Hole Step by Step
Fixing a bike tire hole starts with removing the wheel and ends with a full reinflation test. Each step below builds on the one before it, so work through them in order for the best seal on your first attempt.
Step 1: Remove the Wheel and Tire
Release the brake if needed, then loosen the axle and lift the wheel free from the frame. Use tire levers to work one side of the tire off the rim, starting opposite the valve stem, then pull the tube out completely.
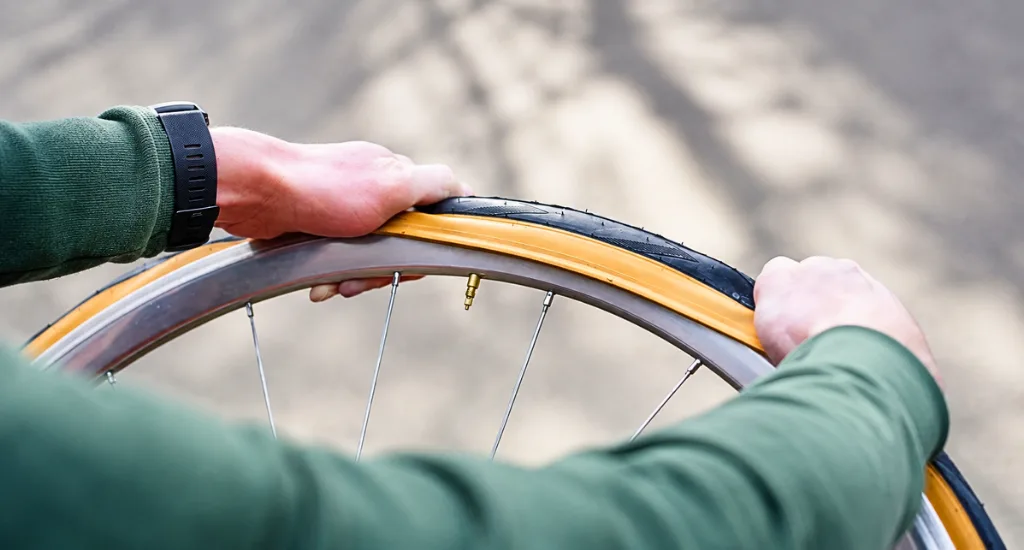
This step is also a good time for bicycle brake lever adjustment if the lever has felt loose or spongy on recent rides, since the wheel is already off and the caliper is easy to reach.
Step 2: Locate the Puncture
Inflate the tube slightly and listen closely for escaping air, or submerge it in water and watch for a steady stream of bubbles rising to the surface. Mark the spot with a pen so it stays visible once you reach the patch step, since small holes are easy to lose track of.
Step 3: Patch or Replace the Tube
Sand the area around the hole to roughen the surface, apply glue if your kit calls for it, then press the patch firmly in place. Hold it under steady pressure for thirty seconds so the adhesive bonds fully before you move the tube again or fold it into the tire.
Step 5: Reinstall and Reinflate
Check the inside of the tire for any remaining debris before refitting the tube, since a missed sliver can cause an immediate second flat right after the repair.
Seat the tire back on the rim evenly on both sides, inflate to the pressure printed on the sidewall, and spin the wheel to confirm a clean, even seal all the way around.
Patch or Replace: Which Option Fits Your Bike Tire Hole
Small, clean punctures usually patch well and hold for months without trouble on most rides. Larger tears or sidewall damage call for a full tube replacement instead of a patch, since the rubber rarely holds a lasting seal in those spots.
A bike tire hole near the valve stem is harder to patch reliably, since the rubber there sits thin and under constant stress from the valve itself. Replacing the tube is often the safer choice in that spot, and it saves you from a repeat flat soon after.
| Damage Type | Best Fix |
|---|---|
| Small puncture under 3mm | Patch kit |
| Torn sidewall | Replace tube |
| Hole near valve stem | Replace tube |
| Slow leak, no visible tear | Patch kit |
How to Prevent Future Flats
Regular tire checks lower your risk of another bike tire hole. A short inspection before each ride catches most problems before they cause a flat mid-trip and derail your plans.
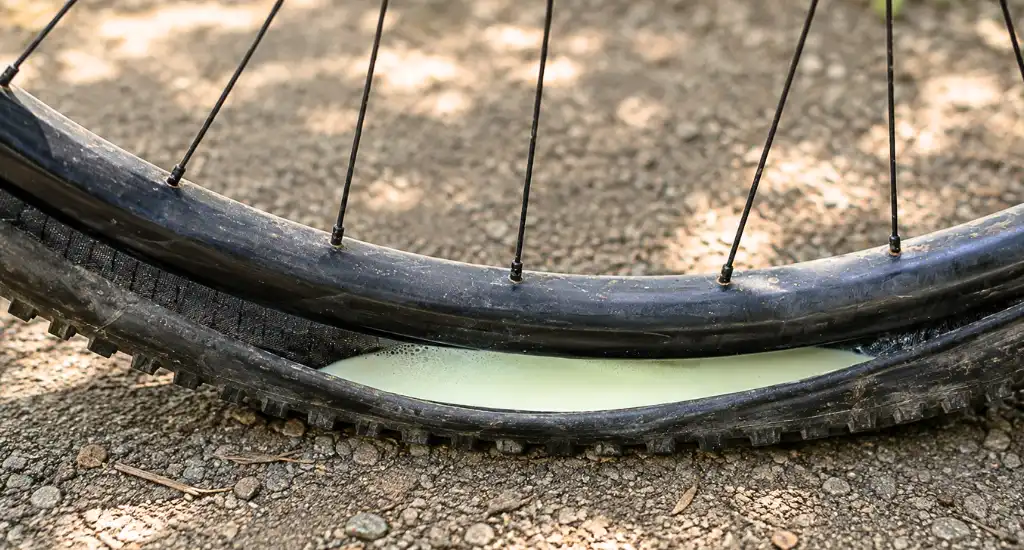
Consistent maintenance extends tire life and reduces roadside repairs across every season of riding. These habits take only a few minutes but pay off on longer rides, especially on rougher terrain where debris collects along the shoulder.
Simple Habits That Protect Your Tires:
Small routines built into your regular ride prep make flats far less common over time. Most riders find that these steps become automatic after just a few weeks of practice.
- Keep tires inflated to the pressure listed on the sidewall
- Replace tires once the tread wears thin or cracks appear on the surface
- Avoid riding through visible glass or debris when the route allows it
- Consider tire liners or sealant for high-mileage or off-road riders
- Pair tire checks with adjusting mountain bike brakes during routine maintenance, since both tasks take only a few minutes and keep the whole bike safer on rough trails
Final Thought
A bike tire hole rarely has to end a ride early or leave you stranded far from home. With a patch kit, a pump, and a few minutes of attention, most riders can handle the job with confidence.
Once you know how to fix a bike tire hole, flats stop feeling like a setback. Keep a kit in your bag, check your tires often, and you’ll spend more time riding and less time walking.
FAQs
Can I ride on a patched tube long-term?
Yes, a properly patched tube holds air as well as a new one. Most patches last for years unless the tube develops additional punctures nearby or the rubber ages poorly.
How long does a bike tire hole repair take?
Most repairs take fifteen to twenty minutes with basic tools on hand. Experienced riders often finish a roadside patch in under ten minutes once they know the steps.
Do I need glue for every patch kit?
No, many modern kits use self-adhesive patches that skip the glue step. Check your kit's instructions first, since application steps vary noticeably by brand and patch type.
What if the hole is too large to patch?
Replace the tube instead of attempting a patch. Holes larger than a few millimeters or damage near the valve stem rarely hold a reliable seal under pressure.
Can I patch a bicycle tire?
Yes, small cuts in the tire itself can be reinforced with a tire boot or patch. This keeps the new tube from bulging through the damaged spot again.


