
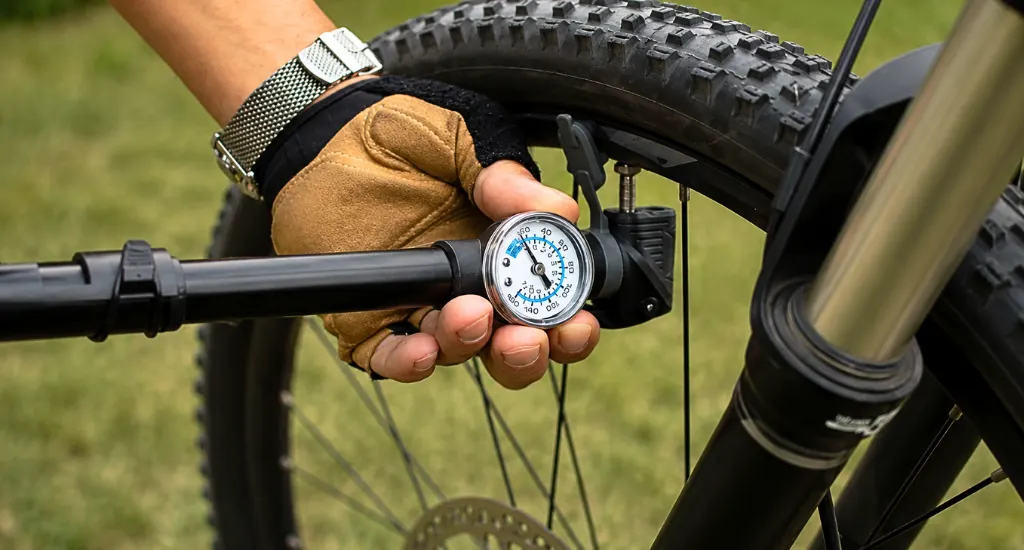
Checking your tire pressure is one of the simplest maintenance tasks you can do at home, and knowing tire pressure gauge how to use correctly takes only a few minutes. A gauge measures the exact air pressure inside your tire, giving you a precise reading instead of guessing by looks alone.
Correct pressure affects far more than comfort. It changes how your car handles, how long your tires last, how safely they perform in wet conditions, and even how much fuel you burn on every trip.
Gauges come in three common types: digital, dial, and stick or pencil style. This guide walks through each one, so keep reading to check your tires with confidence today.
What You Need to Know Before Using a Tire Pressure Gauge
A few quick checks before you start make the whole process more accurate and prevent wasted effort on a wrong reading.
Find Your Vehicle’s Recommended Tire Pressure
Look at the sticker inside the driver’s door jamb or check your owner’s manual for the correct PSI rating for your specific vehicle. Front and rear tires often call for different pressures, so do not assume both axles match.
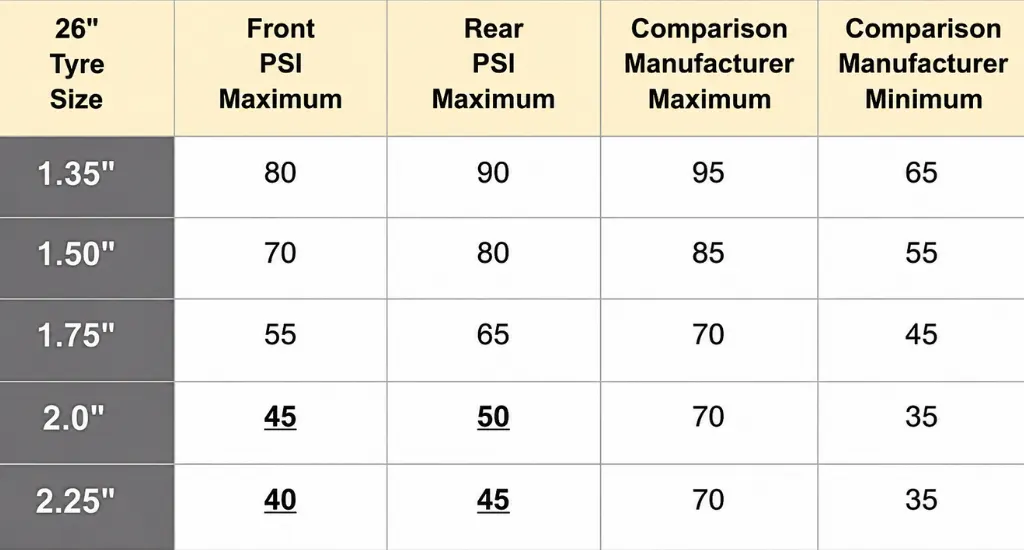
The number printed on the tire sidewall is the maximum pressure the tire can safely hold, not the everyday recommended pressure your manufacturer suggests for normal driving.
Check the Tires When They Are Cold
Cold tires simply mean tires that have not been driven for at least three hours, since driving heats the rubber and the air trapped inside.
That heat temporarily raises the PSI reading, giving you a false sense that pressure is higher than it actually is at rest. The best time to check is first thing in the morning, before the car has moved anywhere.
Park Safely and Prepare the Gauge Before You Begin
Park on a flat, level surface away from traffic, then switch off the engine and engage the parking brake fully. Keep your tire pressure gauge and an air compressor or portable inflator nearby before you begin, so you are not walking back and forth mid-check.
If you notice a wobble or pulsing feeling through the steering wheel while parking, that usually points to fixing a bent rotor rather than anything tire pressure-related, and it is worth addressing separately.
Tire Pressure Gauge: How to Use Step-by-Step
To use a tire pressure gauge, remove the valve cap, press the gauge firmly and straight onto the valve stem, wait for the reading, and compare the PSI with your vehicle manufacturer’s recommended tire pressure.
Following the same order every time keeps the process quick and accurate across all four tires.
Step 1: Remove the Valve Cap
Unscrew the small cap from the tire valve stem by turning it counterclockwise, then set it somewhere you will not lose it, such as a cup holder or your pocket. Losing this cap is common, so many drivers keep a spare in the glove box just in case.
Step 2: Attach the Gauge to the Valve Stem
Press the gauge straight down onto the valve firmly, since an angled connection lets air escape and gives an inaccurate reading.
You will hear a brief hiss as the gauge seats itself against the valve, and that sound should stop completely once a proper seal forms. If air keeps escaping steadily, pull the gauge off and reattach it more squarely with firmer pressure.
Step 3: Read the PSI on Your Gauge
Digital gauges display the number directly on a small screen, making them the easiest style to read at a glance. Dial gauges show the reading on a needle that settles into place once pressure equalizes inside the gauge body.
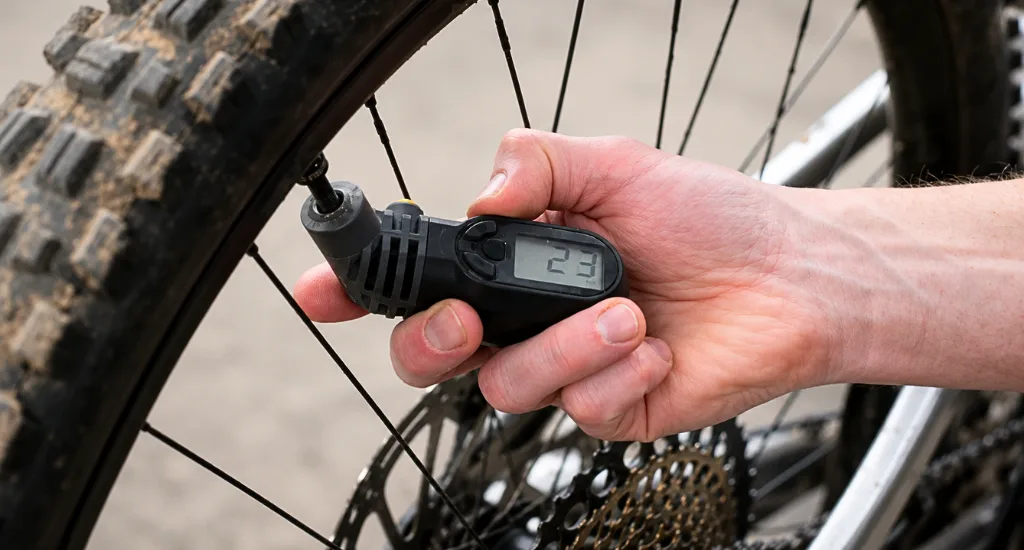
A stick or pencil tire pressure gauge extends a small ruler outward from the housing, and you read the PSI marking printed along the exposed portion of that stick.
A loose or rattling feeling near the pedals during this check points to something unrelated to your car, more like fixing a loose crank on a bike stored in the same garage.
Step 4: Compare the Reading With the Recommended PSI
If the number on your gauge matches the recommended pressure, move on to the next tire without adjustment. If the reading comes in low, add air using a compressor or inflator. If it reads high instead, release a small amount of air through the valve stem.
Step 5: Recheck the Pressure After Adjusting
Check the tire again after adding or releasing air to confirm the number lands exactly where it should. Take a second reading if the first result seems unusually high or low, since rechecking twice helps confirm the accuracy of your adjustment.
Step 6: Repeat for All Four Tires
Check every tire individually rather than assuming one matches the others, since pressure can vary from tire to tire. Replace each valve cap firmly once you finish checking that tire, then move to the next one.
How to Use Different Types of Tire Pressure Gauges
Each gauge style works a little differently, though the basic goal of a firm, straight connection stays the same across all three.
Digital Tire Pressure Gauge
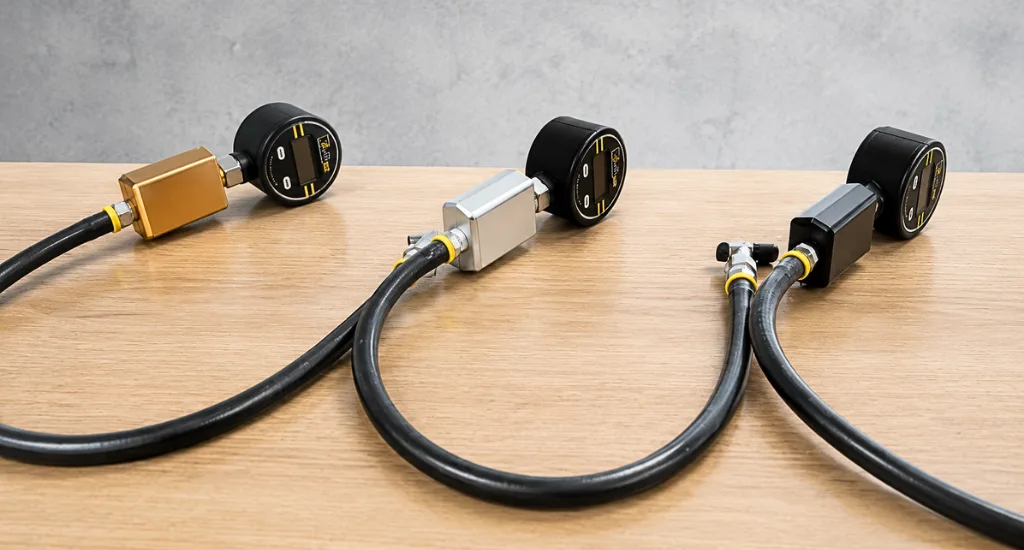
Turn the gauge on, select PSI as your unit if the device offers a choice, then attach it to the valve stem and wait for the digital number to appear. This style suits beginners who want a clear, easy-to-read display without guessing at a needle position.
Dial Tire Pressure Gauge
Press the gauge firmly onto the valve and wait for the needle to settle before reading the PSI marked on the dial face.
Stick or Pencil Tire Pressure Gauge
Attach the tool to the valve stem, and the internal measuring stick extends outward automatically. Read the PSI number printed along the exposed portion of the stick. Regardless of which gauge you choose, a proper seal and a straight connection are essential for a reliable result every time.
What to Do If Your Tire Pressure Is Too Low or Too High
Adjusting pressure is straightforward once you know which direction to go and how much to change at a time.
If the Tire Pressure Is Too Low
Connect an air compressor or portable inflator to the valve stem and add air in small amounts. Recheck the PSI with your gauge between each burst of air, and stop as soon as you reach the recommended number.
If the Tire Pressure Is Too High
Press the small pin inside the valve stem to release air slowly, checking the pressure again after each short release. Avoid letting out too much air at once, since overshooting means starting the process over.
When to Be Concerned About Pressure Loss
A tire that keeps losing pressure repeatedly may be dealing with a puncture, valve stem damage, or a bead leak along the rim edge. A professional inspection is worth scheduling if pressure loss continues after a fresh fill, especially if you notice the same tire going soft within just a day or two.
Common Mistakes While Using a Tire Pressure Gauge
A few small errors throw off readings more often than people expect, and most are easy to avoid once you know what to watch for.
- Checking tires while they are still hot from driving
- Using the tire sidewall maximum PSI instead of your vehicle’s recommended PSI
- Skipping one or more tires instead of checking all four
- Holding the gauge at an angle instead of straight onto the valve
- Failing to form a proper seal, which causes a hissing sound that never stops
- Not rechecking the pressure after adding or releasing air
- Confusing a manual tire pressure gauge reading with a dashboard warning light estimate
A sticking pedal that will not spring back after you press it is a different problem entirely, closer to bike brakes not releasing than any issue involving tire pressure.
Final Takeaway
Knowing how to use a tire pressure gauge comes down to a simple routine. Check the recommended PSI, wait for the tires, attach the gauge, read the number, adjust the air, then recheck.
A gauge is a small tool that makes a real difference in routine maintenance. Check your tires regularly, especially before long trips or after the vehicle has sat unused for a while.
FAQs
How long do you hold a tire pressure gauge on the tire?
You only need to hold it firmly against the valve stem until the reading stabilizes, which usually takes just a second or two once the seal forms properly.
Why does my tire pressure gauge keep hissing?
Continuous hissing usually means the gauge is not forming a proper seal against the valve stem. Reposition it straight and press firmly until the hissing stops completely.
What PSI for RAV4 tires?
Most RAV4 models recommend around 32 to 35 PSI for both front and rear tires, though the exact number is printed on the driver's door jamb sticker.
Should I check tire pressure when the tires are hot or cold?
Cold tires give the most accurate reading, since heat from driving temporarily raises PSI. Check first thing in the morning before the car has moved.
How often should I check my tire pressure?
Check monthly and before any long trip for the most reliable results. Sudden pressure loss between checks requires immediate attention rather than waiting for the next scheduled check.


