Bicycle brake lever adjustment affects comfort, control, and safety on every ride. Many riders face levers too far from the handlebars, a long pull distance, and weak stopping power that reduces confidence.
A simple setup can fix these issues and improve bicycle brake response quickly. You can move the lever closer, adjust its angle, and shorten the pull distance with basic tools and easy steps.
This guide will explain reach, angle, and lever travel in simple terms, so you can ride with better control and safety.
Bicycle Brake Handle Adjustment (Step-by-Step Setup)
Proper brake handle setup improves control and makes every ride feel safe and smooth. This section will explain each step in simple words, so you can adjust reach, angle, and lever travel without confusion.
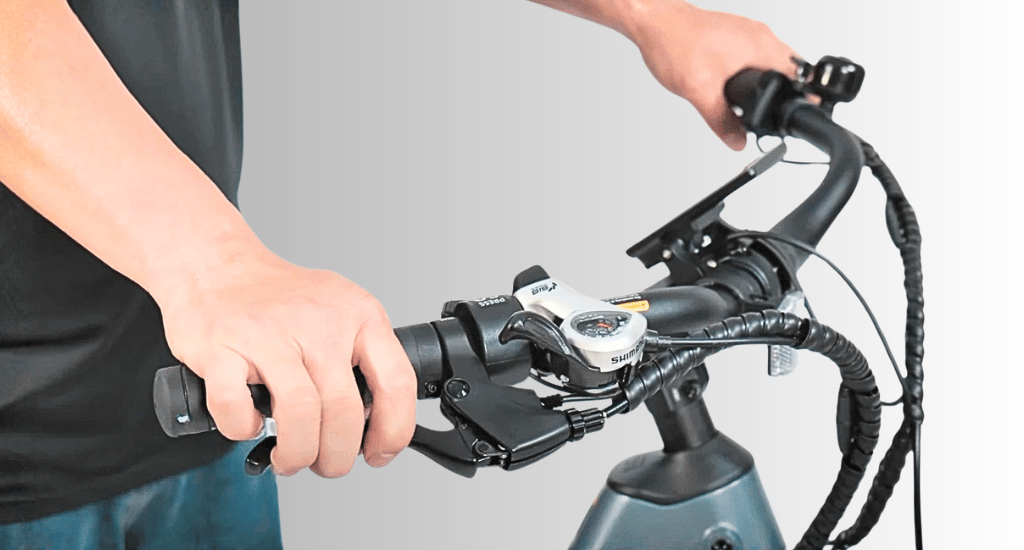
Step 1: Position the Brake Levers on the Handlebars
You should start with the correct lever placement before any fine adjustments on your bike. This step builds the base for all other brake settings and improves hand comfort.
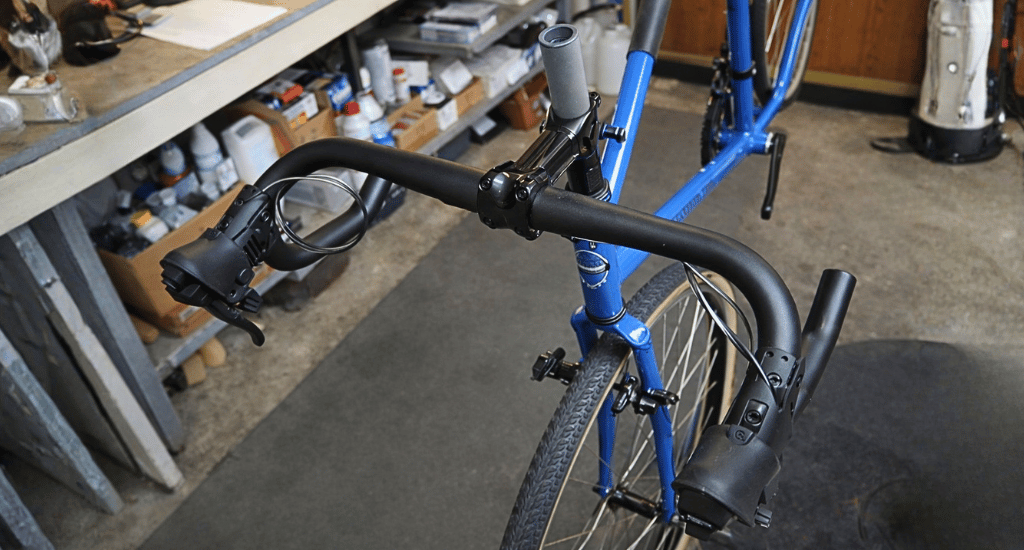
- Install the brake levers firmly on the handlebars before any adjustment steps.
- Place them where your fingers can reach easily without shifting your grip.
- Keep the position natural so your hand stays relaxed during braking.
- Works for both flat handlebars and drop handlebars on road bikes.
A good position allows quick response and reduces hand strain during long rides. Poor placement can make braking feel slow and uncomfortable, especially on rough trails.
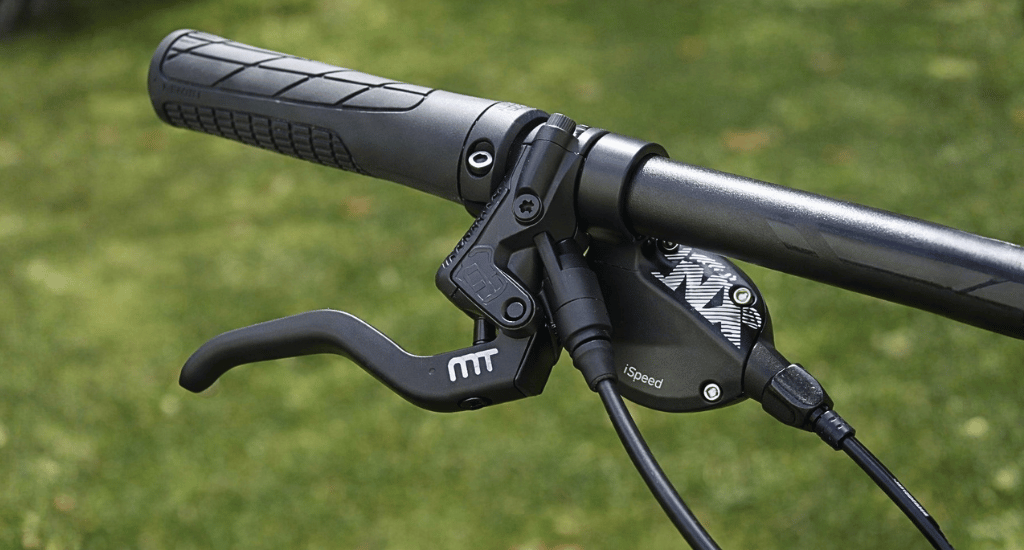
Step 2: Adjust Brake Lever Reach (Distance from Handlebar)
Brake lever reach means how far the lever sits from your handlebar. This setting matters a lot for hand comfort and control during braking.
- Turn the small knob counterclockwise to bring the lever closer to your fingers.
- You should use a 2mm Allen key if your lever has a reach adjustment screw.
- Look near the lever pivot area to find this small adjustment screw.
This adjustment works well for riders with different hand sizes and preferences. Smaller hands need closer levers, while larger hands may prefer a bit more distance.
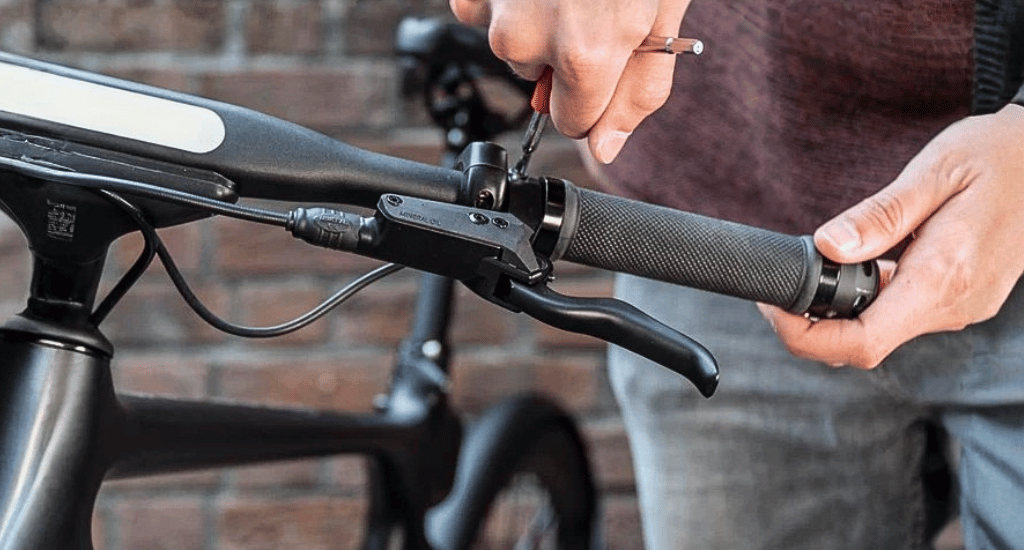
How to Reduce Brake Lever Reach
- Turn the reach adjustment screw inward to move the lever closer.
- Use a tool-free dial if your brake lever supports quick adjustment.
- Keep testing until your fingers rest comfortably on the lever.
This setup reduces finger stretch and gives better control during sudden stops. It can also help you react faster when you need strong braking power.
Step 3: Adjust Brake Lever Angle for Comfort
Brake lever angle affects wrist position and overall comfort during your ride. A wrong angle can cause pain and reduce braking strength over time.
- You should align the levers with your natural wrist angle while holding the handlebars.
- Keep your wrist straight to improve braking efficiency and reduce fatigue.
- Adjust the clamp angle on the handlebar using the clamp bolt.
Mountain bikes and road bikes may need different lever angles for best comfort. Off-road riders often set levers slightly lower for better control on uneven terrain.
Step 4: Adjust Brake Lever Throw (Travel Distance)
Brake lever throw refers to how far the lever moves before the brake engages. Too much travel can delay braking and reduce confidence on the road.
- Use a 2.5mm Allen key or Torx T25 tool to adjust lever throw.
- Turn the adjustment screw to reduce the distance the lever pulls inward.
- Some modern levers include tool-free knobs for quick changes.
Shorter lever travel gives quicker brake response and improves overall stopping performance. You should always test after adjustment to ensure smooth and safe braking.
How to Reduce Brake Lever Travel
- You can tighten the throw adjustment screw to shorten the pull distance.
- Check the brake response after each small adjustment.
- Avoid over-tightening, which can make brakes feel too sensitive.
This adjustment improves braking speed and gives more stopping power when needed. It also helps you control the bike better in traffic or steep areas.
Step 5: Fine-Tune for One-Finger Braking
Final adjustments depend on your riding style and comfort preference. Many riders prefer using fewer fingers for a better grip on the handlebars.
- Set up the levers for one-finger, two-finger, or three-finger braking.
- You should adjust the reach and angle again if your grip style feels uncomfortable.
- One-finger braking is common among mountain bike riders.
This setup permits a stronger grip on the handlebars while still maintaining good brake control. You should adjust the handlebars on a mountain bike properly. It also improves handling on rough paths and sharp turns.
Key Factors for Optimal Brake Lever Adjustment
Proper brake lever setup depends on a few key factors that directly affect comfort, control, and safety. Small changes in position, reach, and angle can make a big difference during everyday riding.
Lever Position on the Handlebar
The brake lever position should feel natural when your hands rest on the handlebars during normal riding. A poor position can slow reaction time and reduce braking confidence on busy roads.
- You should keep the levers slightly away from the grips, not too close.
- Place them where your fingers can reach without shifting your hand.
- Test the position while sitting on the bike in riding posture.
This type of setup allows quick access and helps maintain balance during sudden stops or turns.
Lever Reach (Critical for Hand Size)
Lever reach controls how far your fingers must stretch to press the brake lever. This setting is very important for comfort and steady control.
- Small hands need a shorter reach for easy access and quick braking.
- Large hands may prefer a longer reach for better grip and leverage.
- You should adjust until your fingers rest naturally on the lever surface.
A correct reach reduces hand strain and helps you control braking pressure more easily.
Lever Angle and Wrist Alignment
Brake lever angle affects wrist position and overall comfort during long rides. A wrong angle can cause pain and reduce braking strength over time.
- You should align the levers with your natural wrist angle.
- Keep your wrist straight while holding the handlebars.
- Adjust the clamp angle to match your riding posture.
This setup can improve control and keep your hands relaxed in different road conditions.
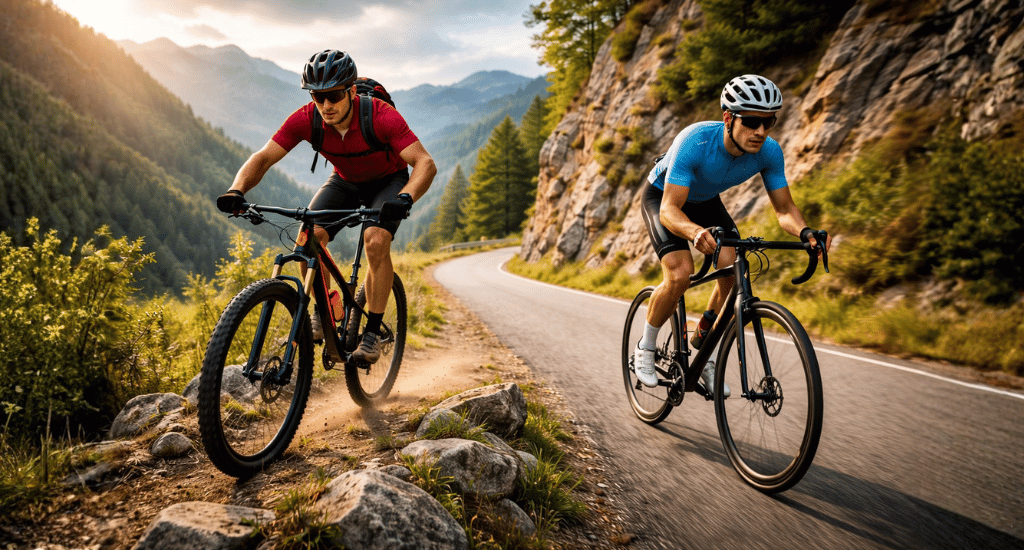
Riding Style Considerations
Your riding style also changes how your brake levers should feel during use. Different setups suit different bikes and riding conditions.
- Mountain bike riders often prefer one-finger braking for better grip control.
- Road bike riders usually choose a smoother pull with slightly longer reach.
- You should adjust settings based on your comfort, terrain, and riding habits.
Final Thought
Proper brake handle adjustment improves safety, comfort, and control on every ride. You should focus on three key settings: reach, angle, and lever throw. These adjustments help your hands stay relaxed and improve brake response in daily use.
Always test your brake setup in a safe area before riding on busy roads. You should check how the levers feel during slow stops, then make small changes if needed for better control and confidence.