
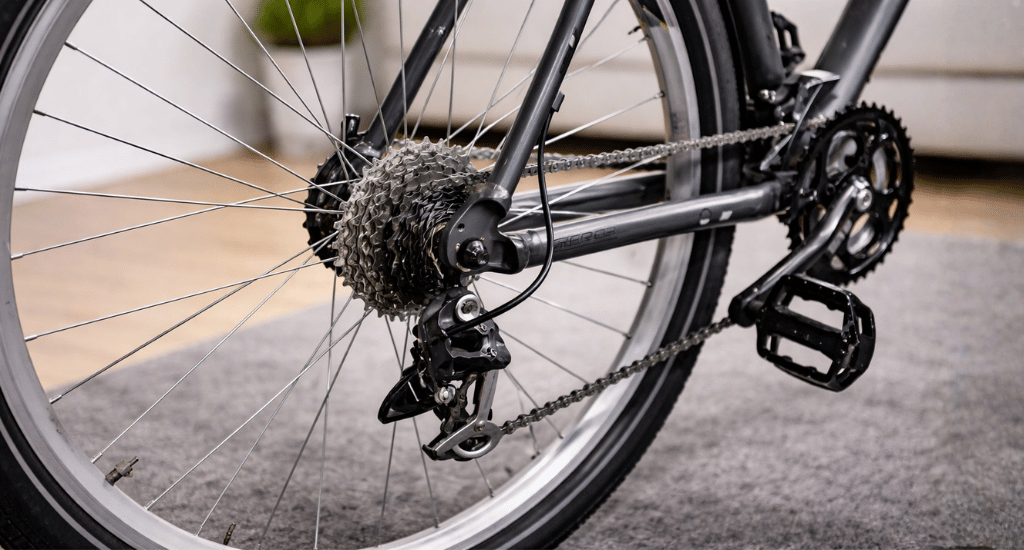
A worn chain and cassette cause most uphill slipping. Climbing puts maximum torque on your drivetrain. Any weakness in the chain, cassette, or cable tension gets exposed under load.
Your chain may work fine on flat ground. Hills reveal what flat roads hide.
This guide explains why uphill slipping happens, the most common causes, and step-by-step fixes you can do at home. Most repairs take under 15 minutes. For a complete overview of all slipping causes, see our guide on how to fix bike chain slipping.
Why Does a Bike Chain Slip More When Going Uphill?
Uphill pedaling applies maximum torque to your drivetrain. More force means the chain pulls harder against cassette teeth. Any weakness in worn parts, cable tension, or derailleur alignment gets exposed under load.
On flat ground, less force is applied. Marginal wear goes unnoticed. Climbing changes that.
Worn cassette teeth develop a shark fin shape. The pointed profile can’t hold the chain under high pressure. The chain rides up and skips over the teeth.
The chain “stretch” makes this worse. Worn pins and rollers increase chain pitch. The spacing no longer matches cassette tooth spacing. Under torque, the mismatch causes the bike chain to slip under pressure.
Common Causes of Chain Slipping on Climbs
A worn chain and cassette cause most uphill slipping. Chain pins and rollers wear down, increasing pitch. Cassette teeth develop a shark fin shape. The worn chain can’t grip worn teeth under torque.
Stretched shift cables prevent precise derailleur positioning. The chain sits between gears instead of fully engaging. Slipping happens on the cogs you use most.
A bent derailleur hanger throws off alignment. The derailleur can’t position the chain correctly, causing slips across multiple gears. Common after crashes or bike falls.
A dirty or dry chain creates friction and inconsistent movement. Grit accelerates wear. Lack of lubrication makes the chain bind and skip.
Freehub or ratchet failure feels like chain slipping, but it is a different problem. Pedals spin forward without driving the wheel. The chain stays on the cog. This is hub engagement failure, not drivetrain wear. Requires bike shop inspection.
Most causes above are fixable at home. Freehub failure is the exception.
How to Fix a Bike Chain Slipping When Going Uphill
Start with quick adjustments before replacing parts. Cable tension fixes take seconds. Check component wear only if adjustments don’t solve the problem.
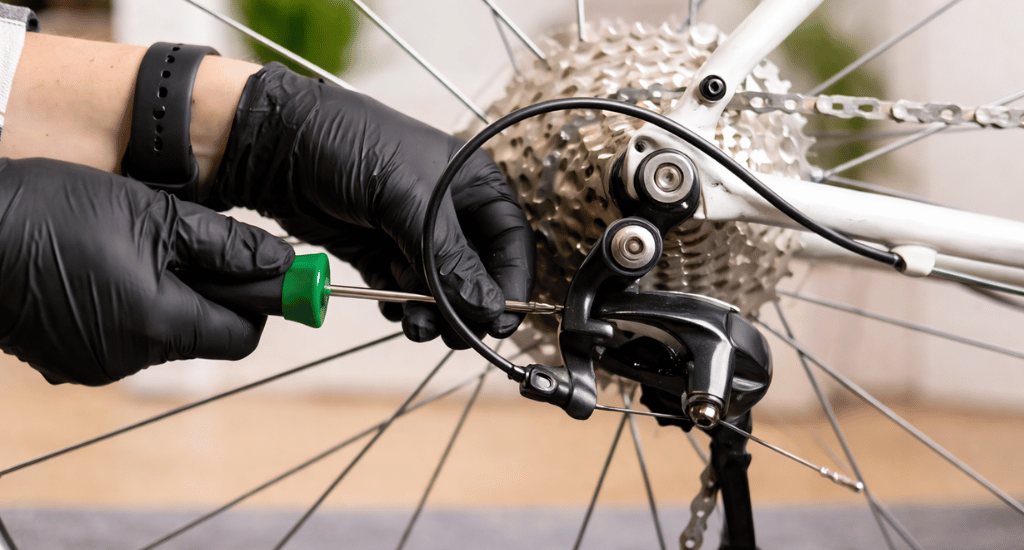
1. Adjust Cable Tension With the Barrel Adjuster
Stretched cables prevent the derailleur from positioning the chain precisely. The chain sits between gears and slips under load.
Locate the barrel adjuster on your rear derailleur or shifter. Turn counter-clockwise to add tension. This helps the chain shift to larger cogs. Turn clockwise to reduce tension for smoother shifts to smaller cogs.
Make quarter-turn adjustments. Test after each turn. The goal is for one click to equal one clean gear shift. If shifting feels hesitant or the chain skips, keep adjusting until each shift is crisp.
2. Check and Replace Worn Chain and Cassette
A worn chain and cassette is the number one cause of slipping on climbs. Check chain wear with a chain checker tool. Replace at 0.5% wear for 11-12 speed drivetrains or 0.75% for 9-10 speed.
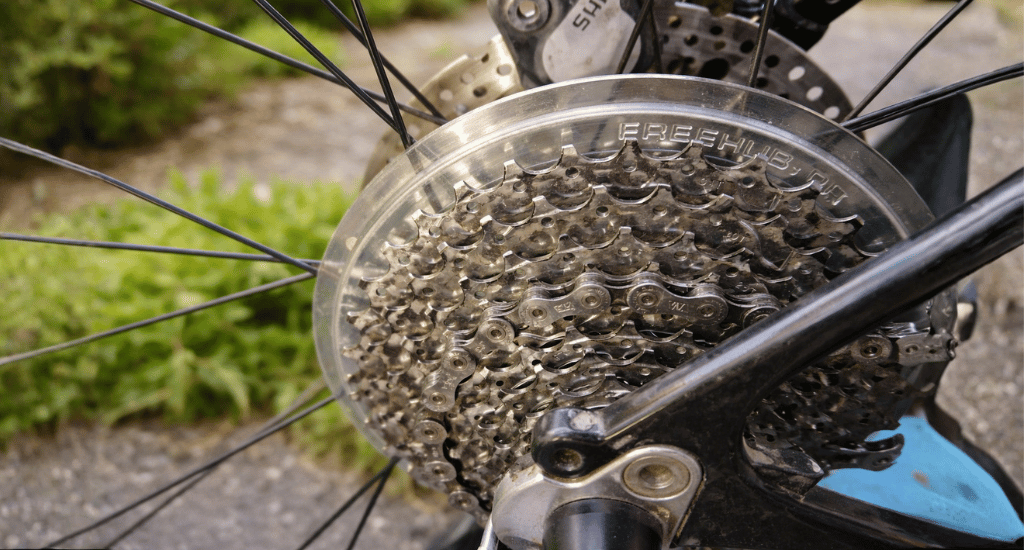
Inspect your cassette for shark fin teeth. Worn cogs develop pointed, hooked profiles instead of flat-topped teeth. These can’t grip the chain under high torque.
If your cassette shows wear, replace the chain and cassette together. A new chain on a worn cassette will slip immediately. The parts must match.
Cost runs $15-50 for a chain and $30-150 for a cassette. Replacing both prevents repeat slipping and protects your chainrings.
3. Fix a Bent Derailleur Hanger
A bent derailleur hanger causes poor alignment and slipping across multiple gears. This is common after bike falls or impacts.
Check alignment by standing behind your bike. The jockey wheel should sit directly below the cassette cog. Any tilt indicates a bent hanger.
Use a derailleur alignment tool for minor bends. Replace severely bent hangers. Replacement hangers cost $15- $40 and are bike-specific.
4. Clean and Lubricate the Chain
A dry or dirty chain creates friction and jerky movement. Grit between rollers accelerates wear and causes skipping under load.
Clean with bike-specific degreaser and let it dry completely. Apply chain lube to the inner plates while backpedaling. Wipe off excess with a clean rag.
WD-40 is a degreaser, not a lubricant. It strips existing lube and leaves the chain dry. Use proper chain lube instead.
5. Check for Freehub or Ratchet Failure
Freehub failure feels different. Pedals spin freely, but the chain stays on the cog. This is hub engagement failure, not chain slipping over teeth.
Inside the rear hub, freehub pawls or a ratchet mechanism transfer pedal force to the wheel. When worn, they fail to engage under high torque. Climbing exposes this weakness.
You cannot fix freehub issues at home. Have the freehub inspected and serviced at a bike shop. Replacement or rebuild may be necessary.
How to Tell If It’s Chain Slipping or Freehub Slipping
Chain slipping and freehub slipping feel similar but look different. Watch your drivetrain as you apply pressure to identify the problem.
Chain slipping: the chain visibly jumps over the cassette teeth, making a clicking sound. This is a drivetrain issue. Check the chain, cassette, and derailleur.
Freehub slipping: the chain stays seated on the cog, but the pedals spin forward without driving the wheel. This is a hub issue. The pawl or ratchet mechanism needs to be inspected.
Test by pedaling hard while watching the chain. If the chain stays engaged but the pedals slip, it’s a freehub failure.
How to Prevent Chain Slipping on Climbs
Lubricate your chain every 100-150 miles. Dry chains wear faster and skip under load.
Check chain wear monthly with a chain checker tool. Replace before 0.5% wear to protect your cassette. A $30 chain replacement prevents a $150 cassette replacement.
Shift to an easier gear before the steep section, not during. Shifting under full load stresses the drivetrain and accelerates wear.
Ease off pedal pressure slightly when shifting on hills. This allows clean engagement between the chain and the cog.
Keep your drivetrain clean. Grit acts as a grinding paste on every pedal stroke.
Conclusion
A worn chain and cassette is the number one cause of bike chain slipping when going uphill. Start by adjusting the cable tension using the barrel adjuster. If slipping continues, check the chain and cassette wear.
Pedals slip, but the chain stays engaged? That’s a freehub issue, not drivetrain wear.
Regular maintenance prevents most problems. Lube every 100-150 miles, check wear monthly, replace parts before they fail. Explore BicycleXpert guides for more drivetrain repairs.


