
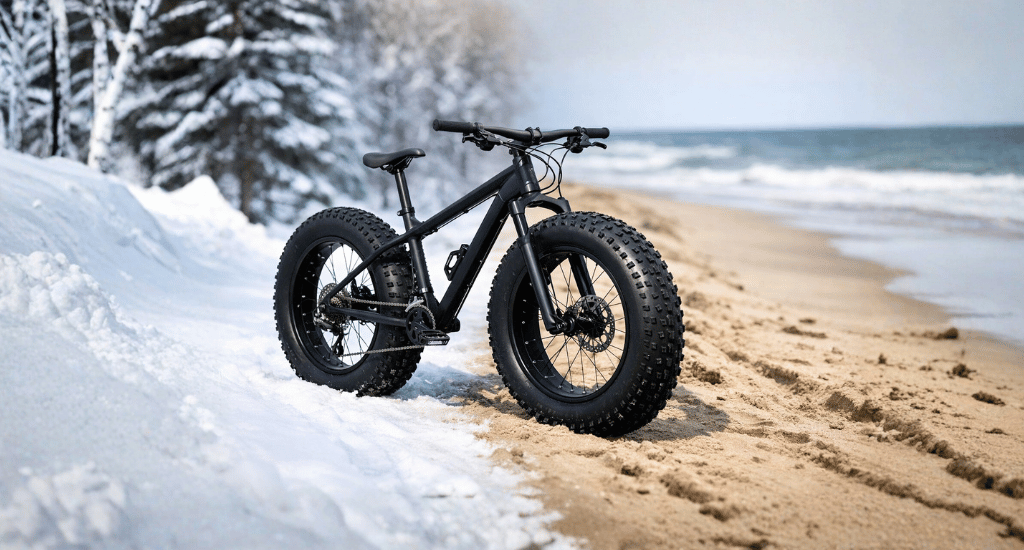
Cold sand, deep snow, and loose mud ask one simple question: can you convert a mountain bike to a fat bike and ride through it all? A mountain bike, or MTB, fits dirt trails with medium tires. A fat bike uses very wide tires, about 3.8 to 5 inches, which float better on soft ground and give a stronger grip.
Many riders want this change for winter, beach rides, and soft forest paths. Fat tires spread weight, so the bike sinks less and stays stable. Pedal feel turns heavier, but control improves where normal tires fail.
Not every MTB can fit true fat tires. Frame space, fork width, hub size, chainline, and bike shape matter. Some riders use plus tires, around 2.6 to 3.0 inches. Read this blog to see what works and what fits your bike.
Key Takeaways: Convert Mountain Bike to Fat Bike
- True fat tires (3.8”-5”) need 4-5” frame and fork clearance.
- Most MTBs fit up to 2.6”; plus tires (2.6”-3.0”) are easier.
- Wide rims, new hubs, and sometimes a fat fork are required.
- The chainline and bottom bracket may need adjustment.
- Converting can cost more than buying an entry-level fat bike.
- Always measure your bike before buying parts.
Can You Convert a Mountain Bike to a Fat Bike?
Short answer: sometimes, but not always. You can convert a mountain bike to a fat bike only if the frame and fork allow very wide tires. Most standard MTBs lack enough space. In many cases, plus tires give a more realistic result.
What Qualifies as a Fat Bike Tire?
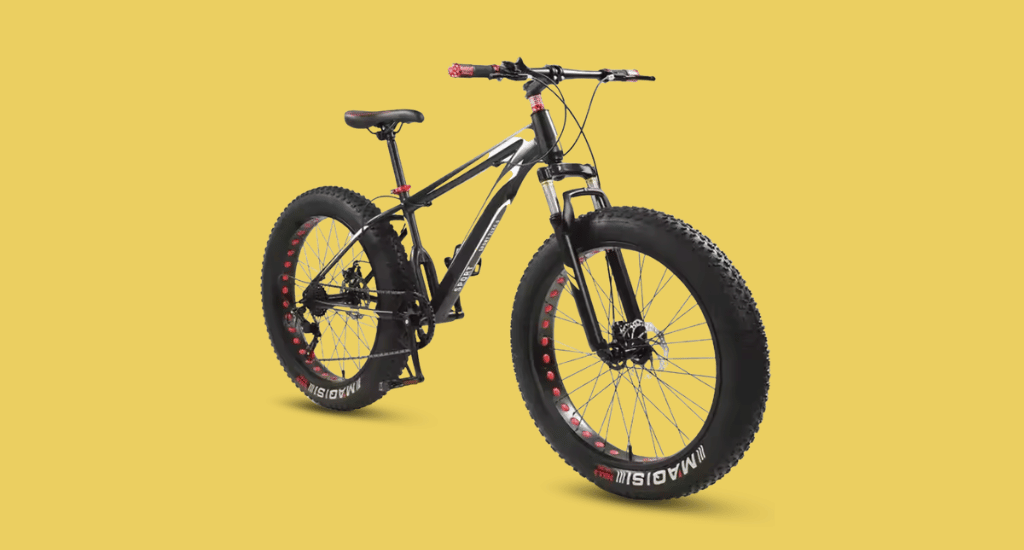
A fat bike tire measures 3.8 inches or wider, often up to 5 inches. Standard MTB tires stay around 2.1 to 2.6 inches. Plus tires fall between 2.6 and 3.0 inches. Fat tires also use very low air pressure, usually 5 to 10 PSI.
Is Your Mountain Bike Frame Compatible?
Frame design decides everything. Tire width means nothing if the bike cannot hold it. Most regular MTBs fail here. You must check the rear and front space before spending money on parts.
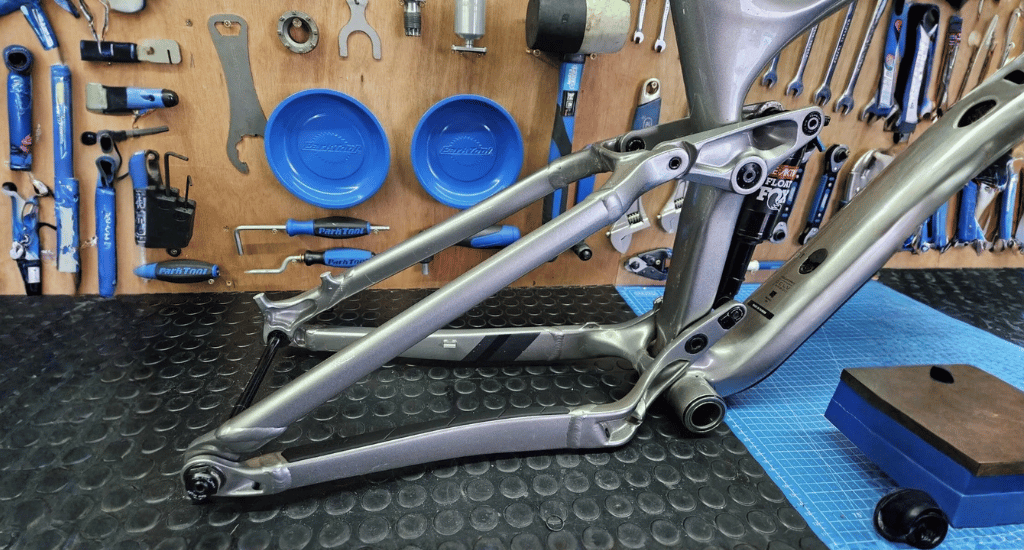
Frame & Chainstay Clearance
The rear triangle needs around 4 to 5 inches of free space. Check chainstays, seatstays, and the bottom bracket area. If space feels tight, tire rub will happen, and riding becomes unsafe.
Fork Clearance
Most suspension forks feel too narrow for fat tires. Many riders need a special fat bike fork. Rigid forks work better since they come in wider sizes and cost less to replace.
Boost-Spaced Frames
Boost 148mm rear spacing may fit 3-inch tires. It usually fails with true 3.8 to 5-inch fat tires. Real fat bikes use much wider hubs than standard MTB frames.
Step-by-Step Guide to Converting MTB to Fat Bike
Yes, you can convert a mountain bike to a fat bike, but only with the right parts and correct space. This process needs careful checks first. Rushing often leads to wasted money and parts that never fit.
Step 1 – Measure Everything First
Start with basic measurements. Check the inner width of the frame and fork. Measure rear dropout spacing and bottom bracket shell width. Chainline also needs attention. If these numbers stay small, true fat tires will never fit, no matter what parts you buy.
Write all values down. Compare them with fat bike standards. This step saves time and prevents mistakes later.
Step 2 – Choose the Right Wheels & Tires
Wheel Size Options
Fat bikes use 26-inch or 27.5-inch wheels. These wheels need very wide rims. Standard MTB rims feel too narrow and cannot support big tires safely. Wide rims keep the tire’s shape stable at low air pressure.
Tire Width Selection
Entry fat width starts at 3.8 inches. Extreme flotation uses 4.5 to 5 inches. Many riders pick 2.6 to 3.0-inch plus tires instead. These fit more frames and still improve grip on soft trails.
Step 3 – Upgrade the Hubs
Standard MTB hubs feel too narrow for fat setups. Fat bike hubs come in 170mm, 190mm, or 197mm spacing. Most conversions need new front and rear hubs. In many cases, a full wheel rebuild becomes necessary.
Step 4 – Replace or Modify the Fork
Fat forks support wider axles and a large tire space. Normal suspension forks often fail here. Geometry can also change after the swap. Many snow riders use rigid fat forks since they feel simple, strong, and easy to fit.
Step 5 – Fix Chainline & Bottom Bracket Issues
Chain Rub Problems
Wide rear tires push the chain outward. This often causes rubbing in low gears. Climbing becomes noisy and rough if spacing feels wrong.
Bottom Bracket Considerations
Some builds need wider bottom brackets. Crank spacing may also need adjustment. In extreme cases, fat-specific cranksets solve clearance problems.
Step 6 – Tubeless Setup for Low-Pressure Riding
Fat tires work best at 5 to 10 PSI. Tubeless setup helps avoid pinch flats and air loss. Use proper rim tape, tubeless valves, and sealant. This setup keeps pressure stable and improves grip on soft ground.
Challenges & Limitations of Converting MTB to Fat Bike
Big tires look fun, but every conversion has limits. Converting a mountain bike to a fat bike brings changes that many riders do not expect. Some problems feel small at first, but they affect comfort, safety, and long-term cost. This section explains the main issues you should know before you start.
Geometry Changes
Fat tires change the whole shape and balance of the bike. The head angle becomes slacker, so steering feels slower. The bottom bracket sits higher, which can reduce control on climbs. Suspension performance also suffers because heavier wheels react more slowly to bumps. The front end feels heavy, especially during sharp turns or quick direction changes.
Rear Triangle Modification (Advanced Cases)
Some extreme builds need work on the rear triangle. This may include rebuilding the swing arm or cutting and welding the frame. These steps need professional tools and skills. For beginners, this path feels risky and unsafe. The cost often rises higher than a ready-made fat bike, with no guarantee of perfect results.
Cost vs Buying a Dedicated Fat Bike
A real conversion needs new wheels, new hubs, a new fork, different bottom bracket parts, and wide tires. Labor also adds cost. When you total everything, the price often matches or exceeds an entry-level fat bike. In many cases, buying a proper fat bike makes more sense than a full rebuild.
Alternative Option – Convert MTB to “Plus Bike” Instead
Not every rider needs extreme fat tires. A plus bike setup offers a practical middle path. It keeps the mountain bike feel but adds more grip and comfort. This option suits most riders and avoids major frame and part changes.
What Are Plus Tires?
Plus tires measure between 2.6 and 3.0 inches in width. These tires fit most modern mountain bikes without major frame changes. They offer better contact with the ground than standard tires and improve control on loose dirt, rocks, and wet trails.
Why Plus Tires Are Often the Smarter Upgrade
Plus tires do not need new hubs or special wheel spacing. Many bikes accept them with the same fork. Chainline stays normal, so gear shifts remain smooth. Cost stays much lower than a full-fat build. You get better grip, comfort, and stability without heavy parts or complex upgrades.
Conclusion
Converting a mountain bike into a true fat bike with 3.8 to 5-inch tires needs serious space and parts. You need around 4 to 5 inches of clearance, new hubs, wide rims, and often a new fork. Chainline and bottom bracket changes also come into play. Not every bike can handle this setup.
For many riders, plus tires between 2.6 and 3.0 inches feel more realistic and affordable. If snow or sand is your main goal, a dedicated fat bike works better in the long run. Always measure your bike first before spending money on parts.


