
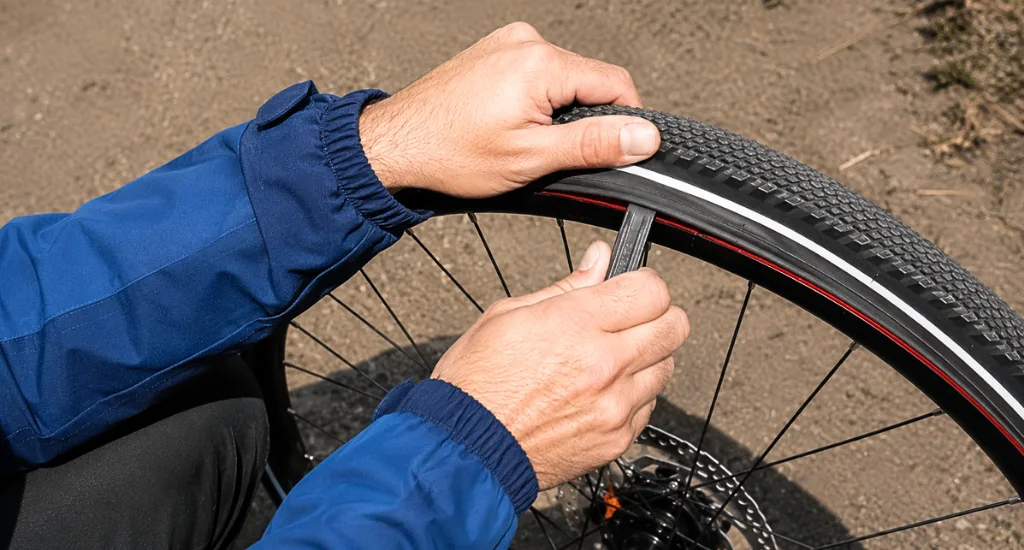
Fixing a bicycle tyre puncture means removing the wheel, taking the tyre off the rim, patching or replacing the inner tube, then reinflating and refitting everything back in place. The whole job takes most riders 15 to 30 minutes once they know the steps.
Punctures happen to every cyclist, no matter how careful you are with your tyre choice or your route. A stray thorn, a shard of glass, or a pothole hit at low pressure can leave you stranded miles from home, and the timing is never convenient. Knowing how to handle it on the spot turns a ruined ride into a short delay.
This guide covers roadside fixes and full workshop repairs for fixing a bicycle puncture on clincher, tubular, and tubeless tyres, including the tools you need and how to prevent the next one.
Quick Answer
Here is the fast version of how to fix a punctured bike tire:
- Remove the wheel and deflate the tyre fully.
- Pry one side of the tyre off the rim with tyre levers.
- Pull out the inner tube and locate the puncture.
- Rough up the area around the hole with sandpaper.
- Apply glue and press the patch firmly in place.
- Reinflate the tube, refit the tyre, and check for leaks.
What Tools Do You Need to Fix a Bike Puncture?
A basic puncture repair kit covers most flats, but a few extra tools make the job faster and cleaner. All-in-one kits bundle everything below into one compact case for easy transport.
Essential:
- Tyre levers, a set of two or three, lift the tyre bead off the rim.
- Puncture repair kit with patches, vulcanizing solution, and sandpaper.
- Bike pump or CO2 inflator to reinflate the tube. A CO2 inflator works in seconds, while a hand pump costs nothing to reuse.
- Chalk or a marker to mark the hole location.
Optional:
- A bucket of water to spot bubbles from a leak.
- Nitrile gloves to keep hands clean.
- Tyre boot for a larger sidewall tear.
Before we get into what causes flats, a quick note on parts. The rim is the metal wheel structure. The tyre bead is the edge that hooks onto the rim. The inner tube sits inside the tyre, between the bead and the tread.
What Causes a Bicycle Tyre Puncture?
Search for a tyre puncture bike fix, and you will find five main causes: sharp objects, pinch flats, valve failures, worn rim tape, and slow leaks. Each type needs a different fix and a different way to prevent it.
Sharp Object Punctures
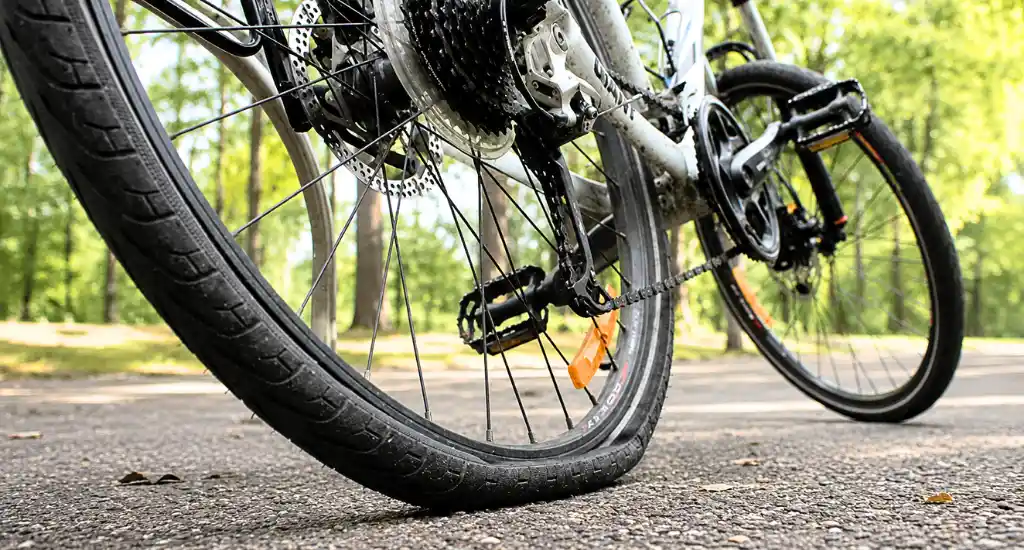
Glass, thorns, nails, and flint cause most cycle tyre puncture repair jobs. These objects pierce the tyre in one spot, leaving a single clean hole that is easy to spot.
Pinch Flats and Snakebite Punctures
A pinch flat happens when a tyre with low pressure hits a pothole or kerb hard enough to pinch the tube against the rim. This leaves two parallel holes, known as a snakebite, and low pressure is almost always the cause.
Valve Failures and Rim Tape Wear
A loose or cracked valve lets air escape slowly. Worn rim tape can shift and expose a spoke hole, which wears through the tube over time. Both are easy to miss on a quick check.
Slow Punctures
A slow puncture comes from a tiny hole that leaks air for hours or days. A bucket of water often reveals the bubbles when nothing else works.
While you have the wheel off, it’s also worth checking your brakes. A puncture repair is a good moment to spot early signs of fixing bicycle disk brake squeal, since a dragging or misaligned brake can sometimes be mistaken for tyre trouble.
How to Fix a Bicycle Tyre Puncture Step by Step
Follow these ten steps in order. Each one matters, and skipping ahead is the most common reason a patch fails or a tyre re-punctures within days.
Step 1: Flip Your Bike and Remove the Wheel
Turn your bike upside down onto the handlebars and saddle, or lock it into a bike stand. For quick-release wheels, open the lever, hold the axle nut steady, and pull the wheel free. For thru-axle setups, unscrew the axle fully before removing the wheel.
On the rear wheel, shift to the smallest sprocket first and pull the derailleur back. Open caliper brakes with their release lever, and note rotor position before removing a disc-brake wheel.
Step 2: Deflate the Tyre Completely
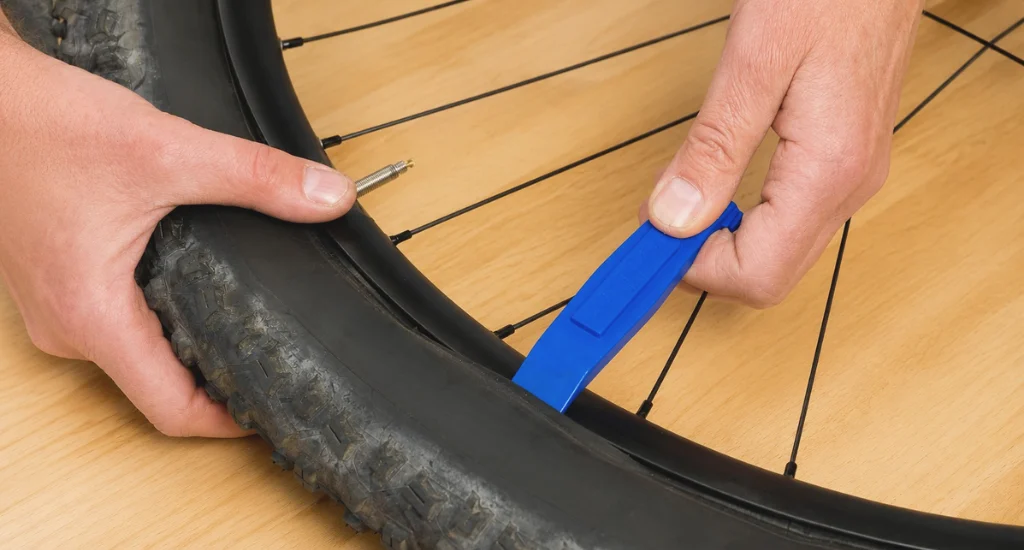
Pop off the valve dust cap first. A Schrader valve deflates when you press the centre pin. A Presta valve needs the locknut at the tip unscrewed, then a press to release air. Deflate the tyre fully before touching the tyre levers, since any leftover pressure makes the bead far harder to lift.
Step 3: Remove the Tyre from the Rim
Start opposite the valve, not next to it. Slide one tyre lever under the bead and hook it to a spoke. Insert a second lever 5 to 10cm away and pry the bead over the rim edge. Slide it around the circumference until one side is free, then pull the tube out through the gap. Push the valve through last.
Step 4: Inspect the Tyre Interior
This is the step most beginners skip, and skipping it is why the same puncture often returns. Run your fingers slowly around the inside of the tyre, feeling for embedded thorns, glass, or wire. Check the rim strip covers every spoke hole.
A shifted rim strip can also point to a fix a buckled wheel situation, so check the rim runs true while the wheel is off.
Step 5: Find the Puncture
Inflate the tube slightly and rotate it near your ear, listening for a hiss. You can also hold it near your lips or submerge it in a bucket of water and watch for bubbles. Mark every hole you find with chalk or a pen. Slow punctures usually only show up in the water test.
Step 6: Prepare the Surface
Dry the tube fully if you used water to find the leak. Sand the area around the hole with emery paper, covering a patch slightly larger than the patch itself. Wipe away dust and debris. Skipping this step is the single biggest cause of a patch not sticking.
Step 7: Apply the Patch
For glue patches, spread a thin layer of vulcanizing solution over an area wider than the patch, then wait at least 5 minutes until it turns tacky rather than wet. Peel the foil, center the patch, and press firmly from the middle outward for a full minute.
Self-adhesive patches skip the glue: peel the backing, center it, press for a minute, then remove the film without lifting the edges. This is the core of how to fix a bike tire hole, and glue patches tend to hold longer than self-adhesive ones.
Step 8: Test the Repair
Inflate the tube a little and submerge the patched area in water again. Bubbles mean the patch has failed, so remove it and repeat from Step 6. No bubbles mean the repair has held.
Step 9: Reinstall the Tyre and Tube
Inflate the tube just enough to hold its shape, which stops it from pinching later. Feed the valve through the rim hole first, then tuck the rest of the tube inside the tyre.
Push the bead back onto the rim with your thumbs, working outward from the valve in both directions. Check that the tube isn’t trapped between the bead and rim before you finish.
Step 10: Inflate and Reattach the Wheel
Inflate to the PSI printed on the tyre sidewall. Reattach the wheel, tightening the quick-release lever or the thread on the thru-axle, then reconnect the brakes.
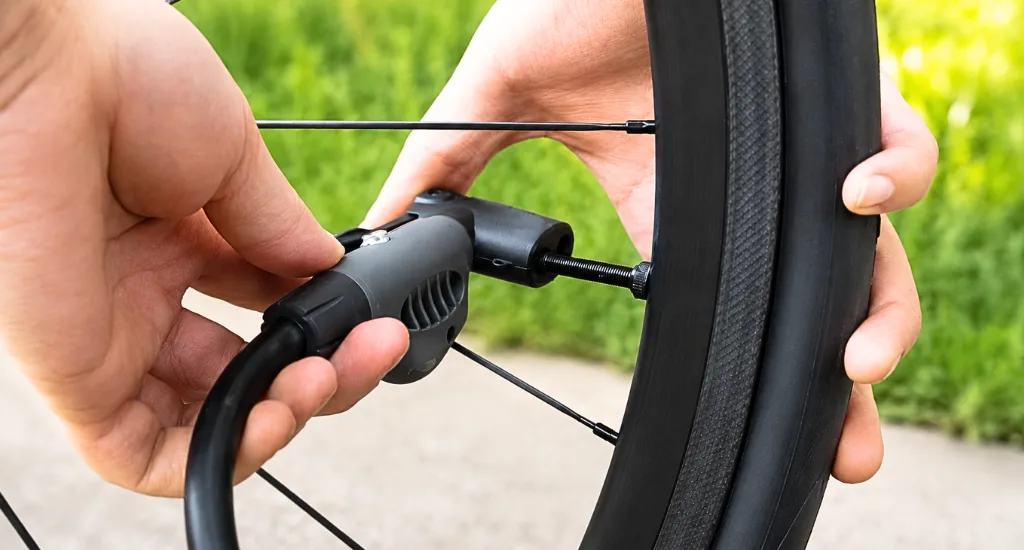
Spin the wheel to check for wobble or rubbing, and test the brakes before riding off. This final check completes how to repair a punctured bike tire safely.
Can You Fix a Bike Puncture Without Removing the Wheel?
Yes, for a simple patch, you can skip removing the wheel entirely. Deflate the tube, unseat one side of the tyre with a lever, and slide enough of the tube out to reach the puncture. Patch it, tuck the tube back inside, and reinflate.
This method works best on the front wheel or during a roadside emergency when you don’t have a stand. It also answers how to fix a tyre puncture, which bike owners often ask when stuck without tools.
The trade-off is a limited interior inspection and a much harder job on a rear wheel tangled with the derailleur. Skip this shortcut if you suspect debris is still lodged inside.
How to Fix a Tubeless Tyre Puncture
Tubeless tyres run sealant instead of an inner tube, so small holes often seal themselves without any work from you. Larger holes need a plug or a patch, depending on size.
- Sealant seal: ride on and let the sealant do the job, checking pressure once you stop.
- Plug repair: insert a plug using a tubeless plug tool, reinflate, then rotate the wheel so the plug faces down and let the sealant pool around it.
- Larger punctures: remove the tyre, clean the area, roughen it with sandpaper, and apply a patch from the inside with vulcanizing solution, the same method used on an inner tube.
Check the rim too, since fixing a bent mountain bike rim can cause repeat sealant failures even after a good plug repair. Carry a spare inner tube as backup for holes too large to plug.
Closing
Learning how to fix a bicycle tyre puncture turns a roadside disaster into a short pause in your ride. With the right kit and a bit of practice, most repairs take less than half an hour. Keep a patch kit and spare tube in your saddle bag. The next flat won’t catch you off guard.
FAQs
How do I know what size inner tube I need?
Check the tyre sidewall for the size marking, usually shown as two numbers like 700x25c. Match your tube to that exact size.
How long does it take to fix a bicycle puncture?
Most punctures take 15 to 30 minutes to fix. Roadside repairs with self-adhesive patches can be finished in under 10 minutes.
Can I ride a bike with a punctured tyre?
Riding on a flat tyre damages the rim and tube further. Stop, patch or swap the tube, and reinflate before continuing your ride.
Do self-adhesive puncture patches work?
Self-adhesive patches work well for quick roadside fixes. They hold less permanently than glue patches, so replace them with a proper repair soon after.


