
Riding with brakes that rub or feel soft can spoil any mountain adventure. Knowing how to adjust disc brakes on a mountain bike makes every ride safer and smoother, giving you sharp stopping power and a comfortable lever feel.
Mountain bikes use two main brake types. Mechanical brakes rely on cables, while hydraulic brakes use fluid for stronger, precise control. Each type needs a slightly different approach to adjustment.
Basic brake alignment is something you can handle at home, but full hydraulic bleeding is tricky. Keep reading this blog to learn simple tips and keep your brakes performing like new.
How Do You Adjust Disc Brakes on a Mountain Bike
Adjusting disc brakes on a mountain bike keeps your ride safe and smooth. Even a small misalignment can make brakes rub, feel weak, or give poor lever response. The first step is to know your brake type.
Identify Your Disc Brake Type First
Mechanical brakes use cables to pull the pads against the rotor. They are simple and easy to adjust at home with basic tools.
Hydraulic brakes rely on fluid to move the pads. They give stronger, smoother stopping, but can be tricky if the fluid needs attention.
Adjustment steps differ because cables stretch over time, while hydraulics depend on fluid pressure. Knowing your brake type ensures you follow the right method and protects your brakes from damage.
Tools Needed for Disc Brake Adjustment
Before starting, gather a few basic tools. You’ll need a 4mm Allen key and a 5mm Allen key, which fit most caliper bolts. Some rotors or calipers use a T25 Torx key, so keep one handy.
A clean rag is useful for wiping dust or grease off the rotor. Optionally, you can use a caliper alignment tool or a thin piece of paper to help check the gap between the rotor and pads. Most guides and videos focus on the 4mm and 5mm Allen keys as essential tools.
General Disc Brake Alignment Steps (Applies to All MTBs)
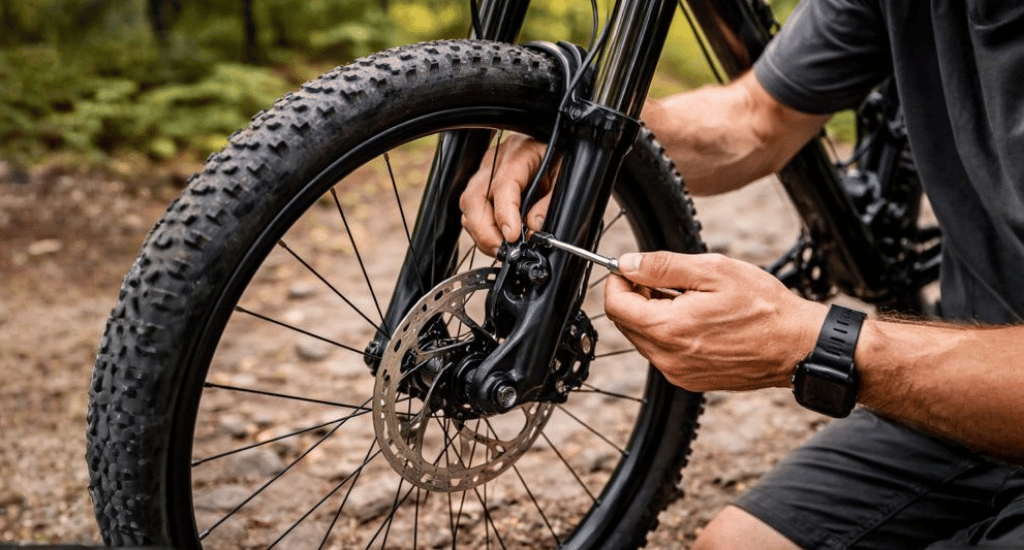
Loosen the Caliper Bolts
Start by loosening the two bolts that attach the caliper to the frame. The bolts should be loose enough to allow the caliper to move side to side, but not so loose that it flops around. This gives you room to adjust the caliper to line up with the rotor.
Center the Caliper Using the Brake Lever
Spin the wheel to make sure it turns freely. Squeeze and hold the brake lever firmly. While holding the lever, tighten the caliper bolts evenly. This automatically centers the caliper over the rotor for proper alignment.
Check Rotor Alignment
Release the brake lever and spin the wheel again. Listen and look carefully for any rubbing. If the rotor touches the pads, repeat the process. A good target gap is about 1/32 inch per side, and most caliper bolts use a 5mm Allen key.
How to Check for Disc Brake Rub
Spin the wheel and listen for scraping sounds. Use a bright light to inspect the pad-to-rotor gap. For tiny misalignments, you can slide a piece of paper between the rotor and pads; if it moves easily, the spacing is correct. Adjust as needed until the wheel spins freely and brakes feel smooth.
How to Adjust Mechanical Disc Brakes (Cable-Actuated)
Mechanical disc brakes rely on cables to pull the pads against the rotor. Adjusting them properly keeps braking smooth, firm, and safe. Small tweaks to tension and pad position can stop rubbing and improve lever feel.
Adjust Cable Tension Using Barrel Adjuster
The barrel adjuster controls how tight the brake cable is. Turn it counter-clockwise to increase tension, which makes the lever pull shorter and brakes firmer. Turn it clockwise to loosen the cable.
You can find the barrel adjuster either at the brake lever on the handlebar or near the caliper on the wheel. Adjust slowly and test the lever until it feels right.
Adjust Brake Pad Position
Pads press against the rotor to stop the bike. Use the pad adjustment screws on the caliper to move them.
Turn clockwise to bring the pads closer, counter-clockwise to move them away. Check that both sides have an even gap, about 1/32 inch, so the rotor spins freely without rubbing.
Final Mechanical Brake Lever Feel Check
Test the brake lever after adjustments. It should engage firmly halfway through the pull, not reach the handlebars. The bike should stop confidently, with smooth lever movement and no rotor scraping. Adjust tension or pad position again if needed.
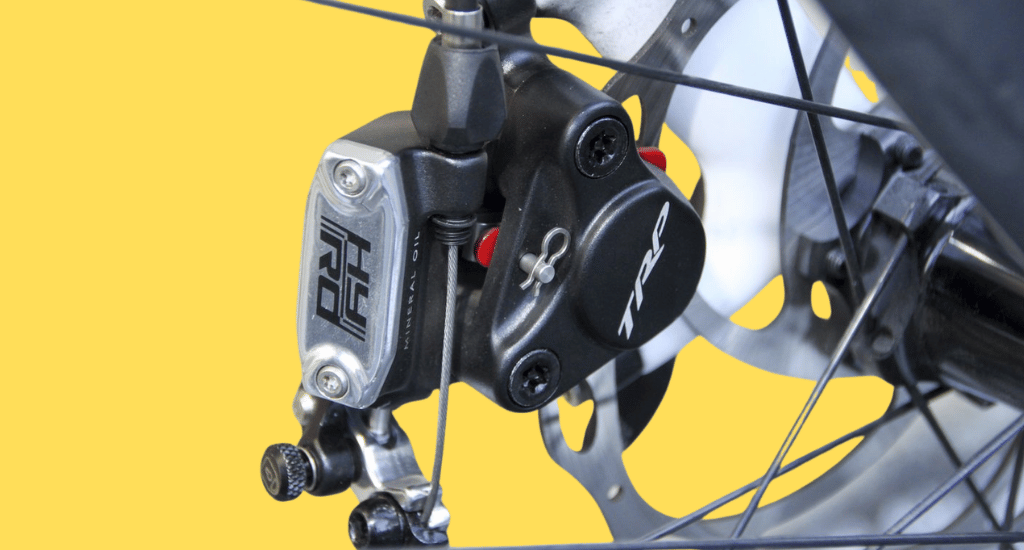
How to Adjust Hydraulic Disc Brakes
Hydraulic disc brakes use fluid to move the pads, giving smooth and powerful stopping. Most adjustments focus on caliper alignment, pad clearance, and lever feel. Full fluid maintenance, like bleeding, is advanced and rarely needed at home.
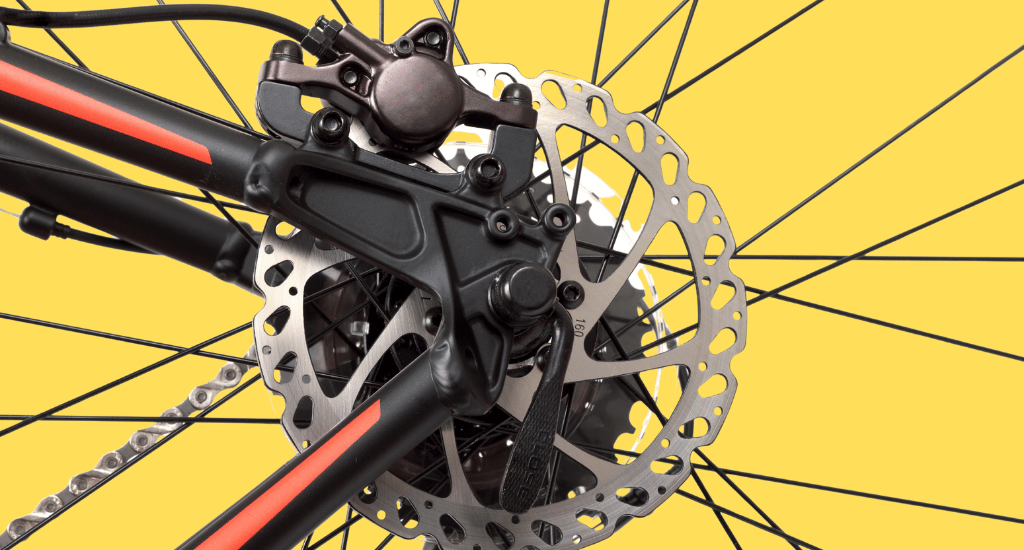
Caliper Centering (Primary Adjustment)
To align the caliper, follow the same steps as general disc brake alignment. Loosen the caliper bolts, squeeze the brake lever to center it over the rotor, then tighten the bolts evenly. Hydraulic pads automatically adjust as they wear, keeping braking smooth.
Pad Clearance & Auto-Adjustment
Hydraulic systems don’t use cables, so no tension changes are needed. Some brakes have pad set screws. Turn them slightly to create a small gap between pads and rotor. This prevents rubbing while keeping braking strong and responsive.
Adjusting Lever Reach and Bite Point
Lever reach changes how far the lever sits from your fingers. Bite point adjust, if available, changes when the brake engages during lever pull.
Set the reach so it’s comfortable, and keep the bite point slightly away from the handlebars for safety and control.
When Hydraulic Brakes Need Bleeding
Bleeding removes air from the brake fluid. Only do this if the lever feels spongy or braking is inconsistent. This is advanced maintenance and not part of regular alignment, so most riders don’t need to do it often.
Final Hydraulic Brake Check
Spin the wheel and squeeze the lever fully. Brakes should engage smoothly without rubbing and feel firm mid-pull. Check caliper alignment, pad gap, and lever settings again. Proper adjustment ensures safe and reliable braking on every ride.
Conclusion
Properly adjusted brakes make every ride safe and enjoyable. Knowing how to adjust disc brakes on a mountain bike ensures smooth stopping without rubbing or a weak lever feel.
Focus on correct alignment and pad spacing rather than force-tightening bolts. Check your brakes regularly for consistent performance.
Visit a bike shop if rotors are bent or hydraulic fluid needs bleeding. With simple home adjustments and careful maintenance, your brakes will stay reliable, giving you confidence on every trail.


